


TOPO | CLIMBING7.COM
Publié le
 Partager sur WhatsApp
 Partager sur Twitter
Partager sur Instagram
Partager sur Twitter
Partager sur Instagram

 Partager sur Facebook
 Imprimer le topo
 Laisser un commentaire
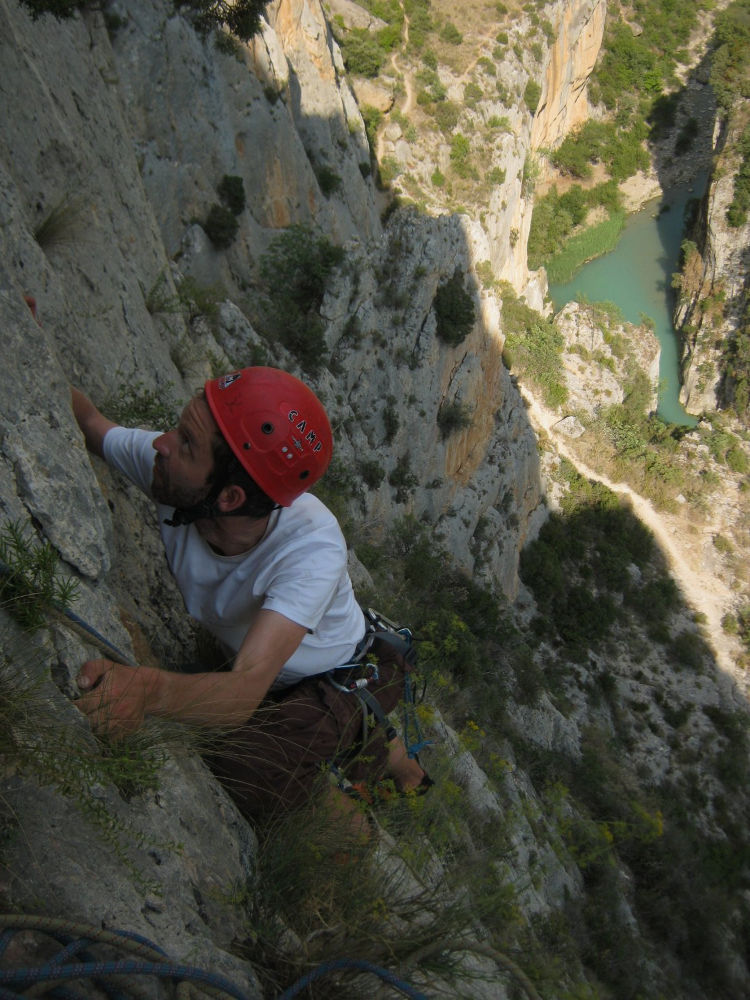
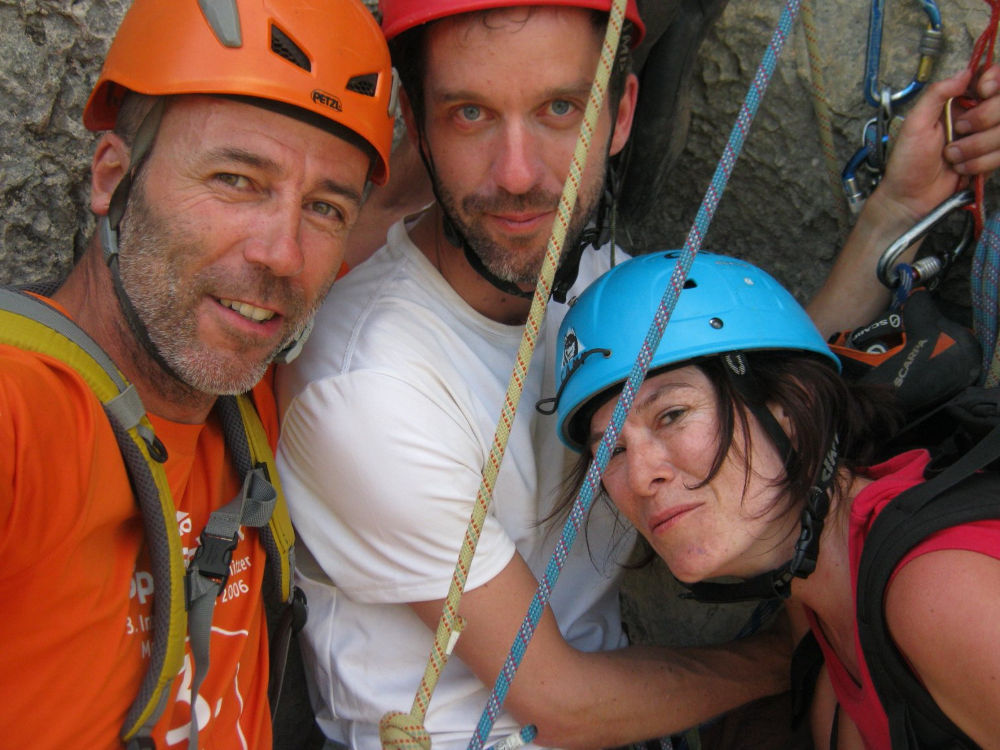
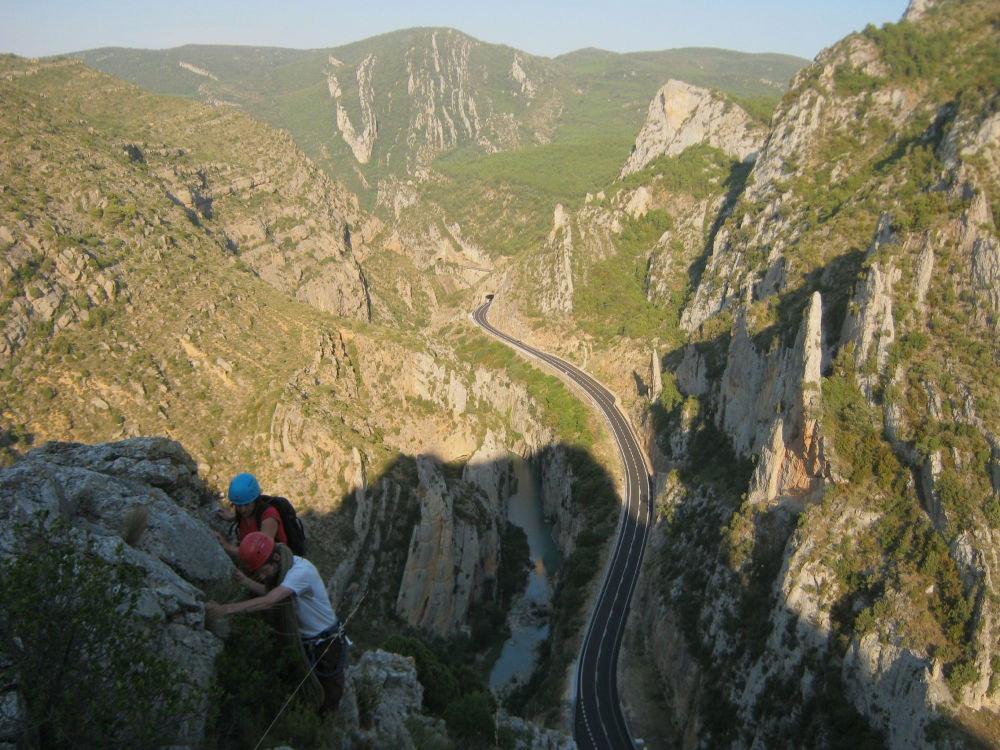
Back to Olvena, Aragón. Just east of the Sierra de Guara. The setting is as magnificent as ever: the gorge and the turquoise waters of the rio beneath our feet. The via Asterix climbs up the south-west face of the peña and allows us to enjoy the atmosphere while quickly gaining height. No major difficulties, apart from a 6a step at the end of L2 and a rather curious L3 (unless we'd climbed it in the wrong place?). The route ends on the ridge with an impressive view over the gorges before joining the via ferrata to finish and reach the summit. The only drawback, if there is one, is that the presence of the road and passing cars "spoil" the picture a little... but hey. We'll be back, as there's the via Frixis a little further to the left, 240m in 6a, which looks really nice!
❱❱ Technical summary
❱❱ Access to the place
From Barbastro, take the N123 road to Benabarre. After about 10 km, you enter the gorge through a series of tunnels. The first bridge on the left leads to the village of Olvena on the opposite side. Continue on and watch for the tunnel signposted "puente de la sierra". Immediately afterwards, park on the left, where there is a small space for cars.
❱❱ Map & topo
❱❱ Itinéraire
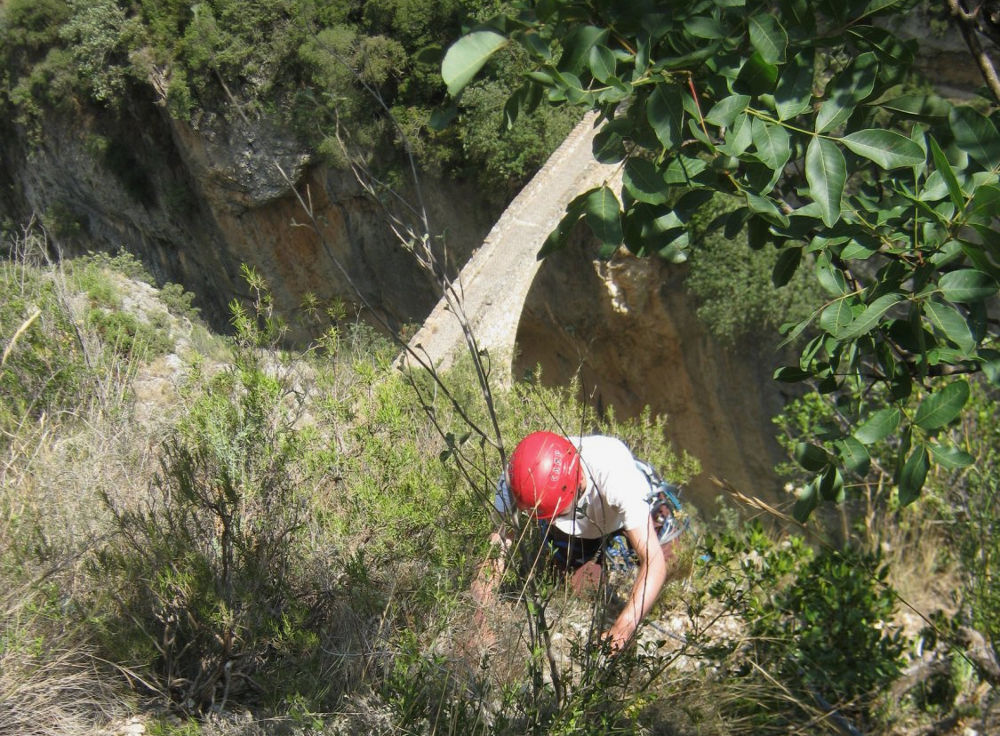
Take the narrow path that runs alongside the road and drops down to cross the old bridge. Cross it and head for the wall, slightly to the left. The sloping start is easy to recognize with the topo, but the 1st point is very high (12 to 15m).
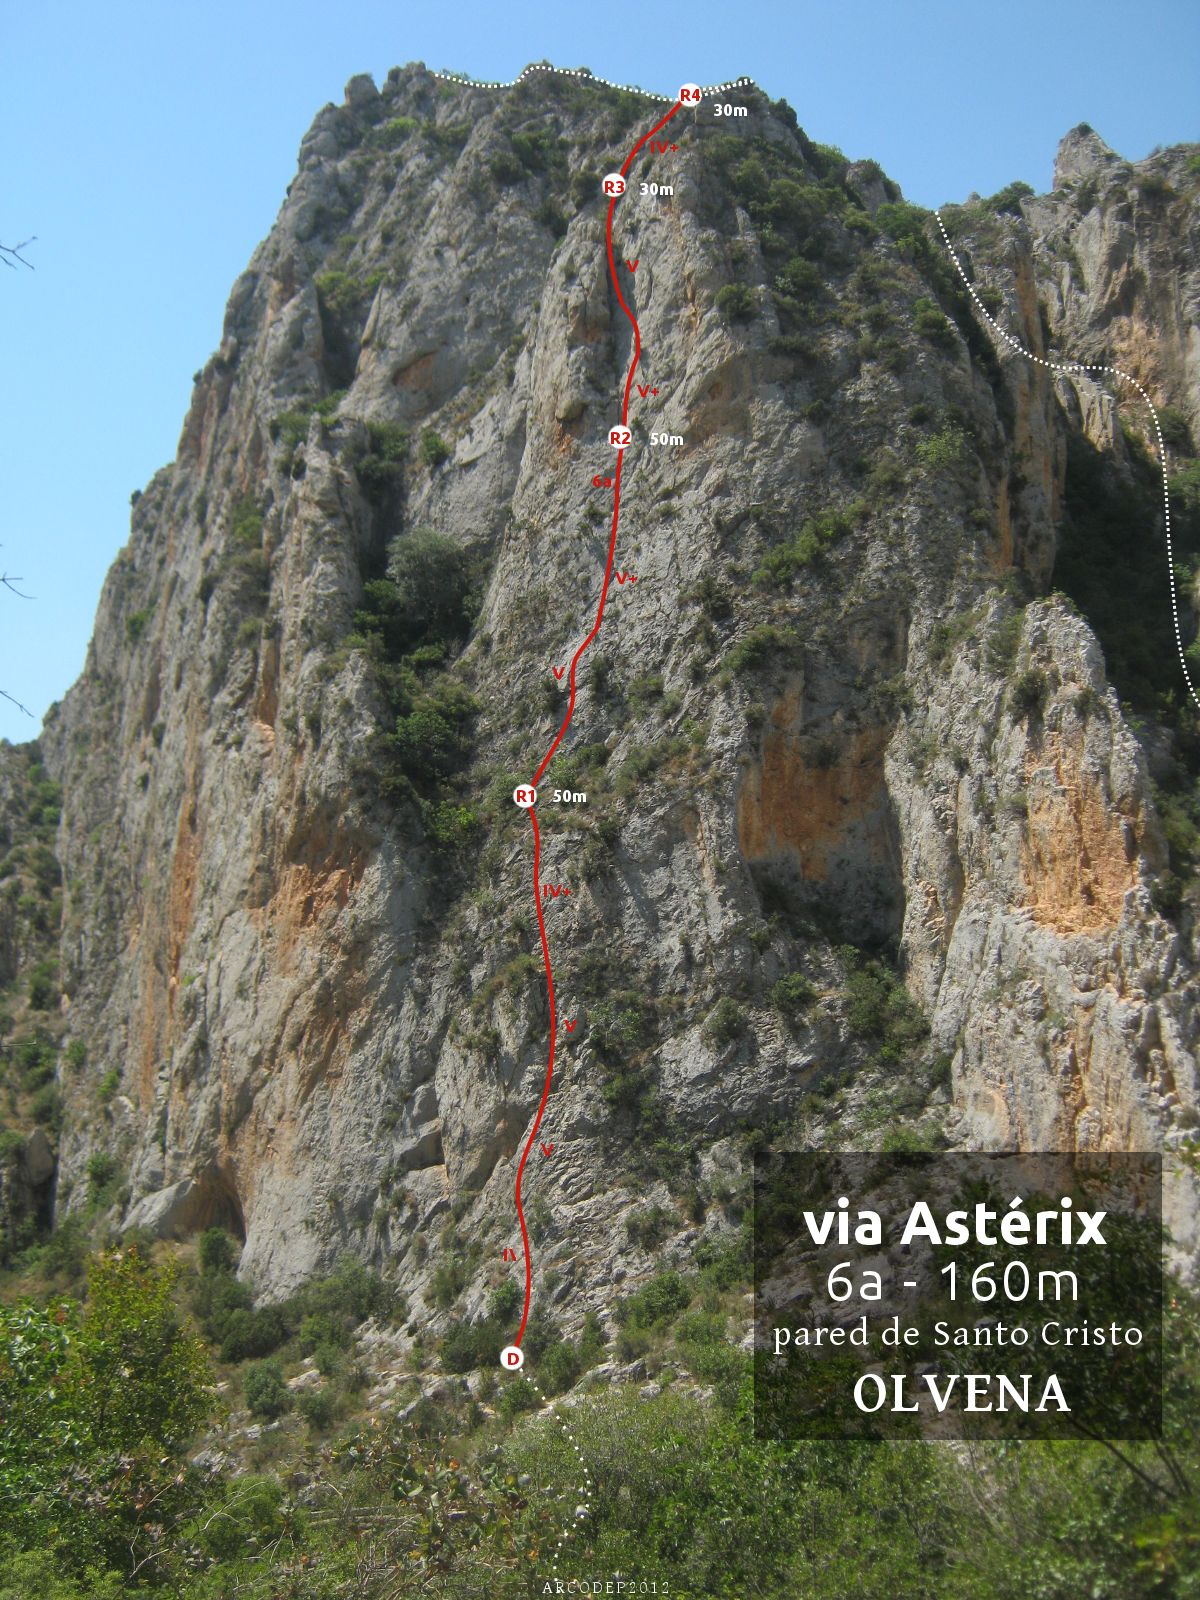
The route is 160m in 4 pitches (50m, 50m, 30m, 30m), fully equipped (bolts, stone bridges, pitons). A 2x60m and a dozen quickdraws are required.
L1 (50m, V)
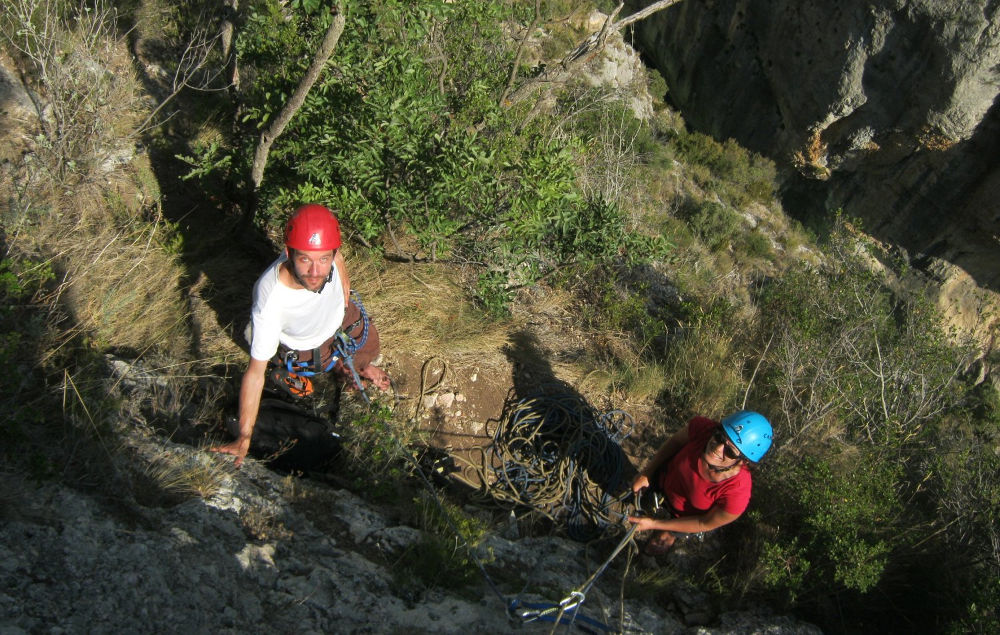
The 1st point is easily reached on a slightly sloping wall with small steps. The rest is easy, but there are 2 more vertical passages to negotiate. The route runs diagonally upwards on the left, passing between 2 boulders, then becoming more crumbly and ending up in grass and shrubs. There's a lot of friction on the rope! The R1 belay is very comfortable and is on the left after a strap-equipped sabine and at the foot of a vertical slab.
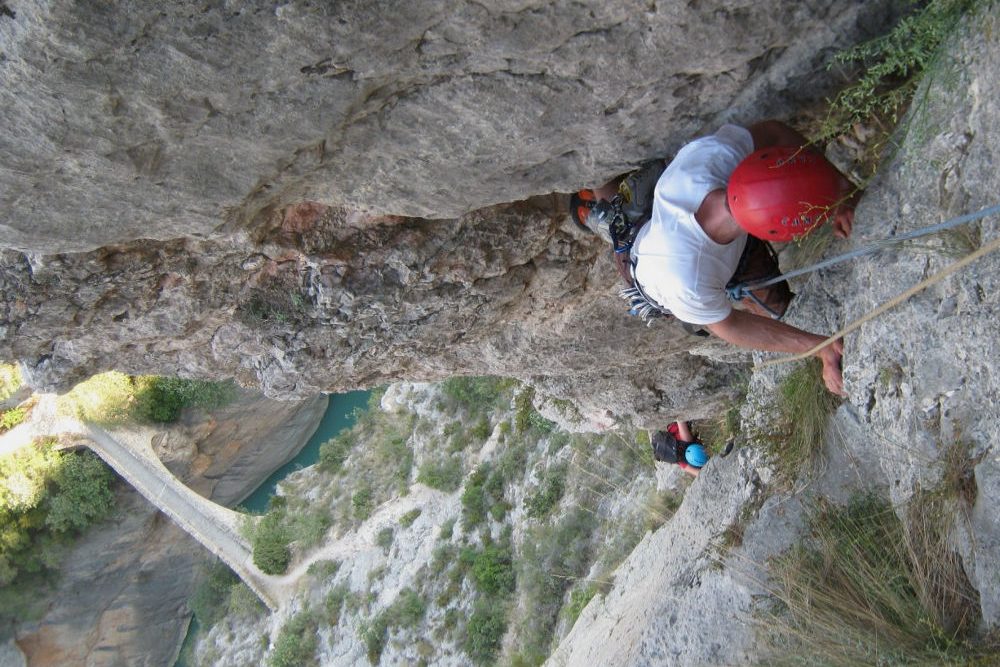
L2 (50m, 6a)
This is a beautiful pitch that verticalizes in the middle to finish in the middle of the wall. You have to zig-zag to find the best holds, which are straightforward. Halfway through the pitch, after a traverse to the right, there's a V+ passage, then even higher up, and just before the belay, the 6a pitch (better negotiated on the right). A sling is used to switch to A0 if necessary. The R2 belay is less comfortable, narrow and airy. We then find ourselves under a large dihedral.
L3 (30m, V+)
A very vertical start before reaching the base of the dihedral. At this point, the line of nails makes a right turn and you can't (at the head) continue up the dihedral. The passage is difficult and could be worth 6a (or maybe I've negotiated it wrong!). Follow the crack and return to the dihedral to finish in an easier V. The R3 belay is above on a flat area.
L4 (30m, IV+)
Easy length with very few nails. 2 small walls easy to surmount and you follow the ridge. The R4 belay can be done on a point to avoid too much friction. The length is of little climbing interest, but the view is splendid!
Continue along the ridge without difficulty to reach the 2nd part of the via ferrata. Finish off with a few extra rungs and pulls, just in case the route isn't enough (!), all the way to the summit. From the viewpoint, descend to the village and turn right just before the church. Follow the signs and take the GR winding down to the bridge (25′). On the other side of the bridge, following the cables to the right, you'll come to a very aerial suspension bridge which is under construction for a continuation of the défilé...?


Leave a Reply