


TOPO Climbing | CLIMBING7.COM
Publié le
 Partager sur WhatsApp
 Partager sur Twitter
Partager sur Instagram
Partager sur Twitter
Partager sur Instagram

 Partager sur Facebook
 Imprimer le topo
 Laisser un commentaire

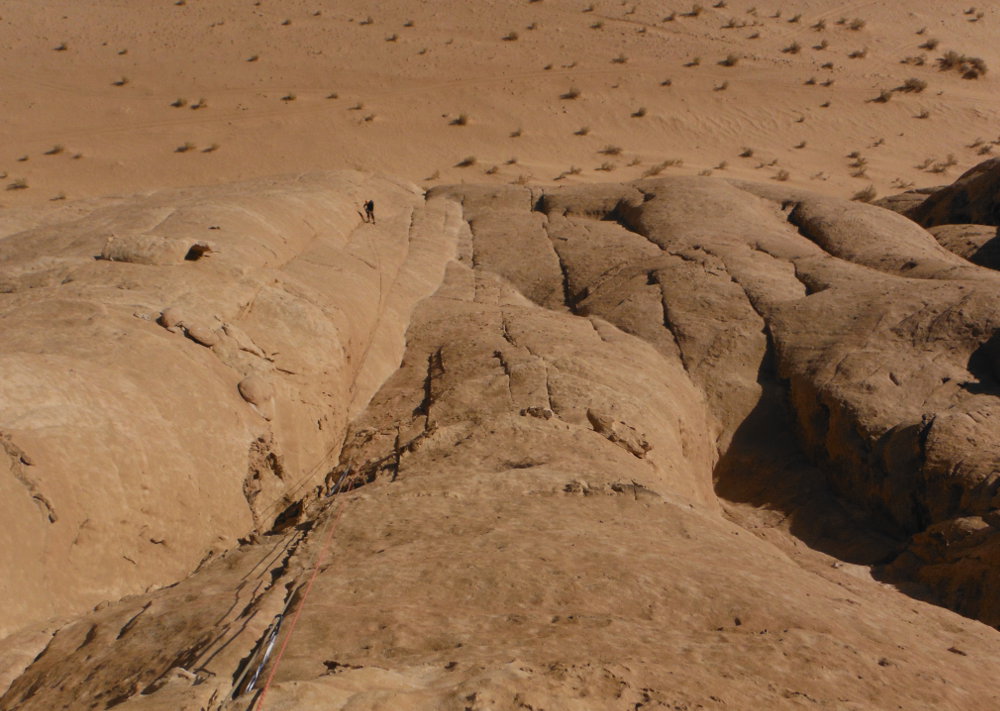
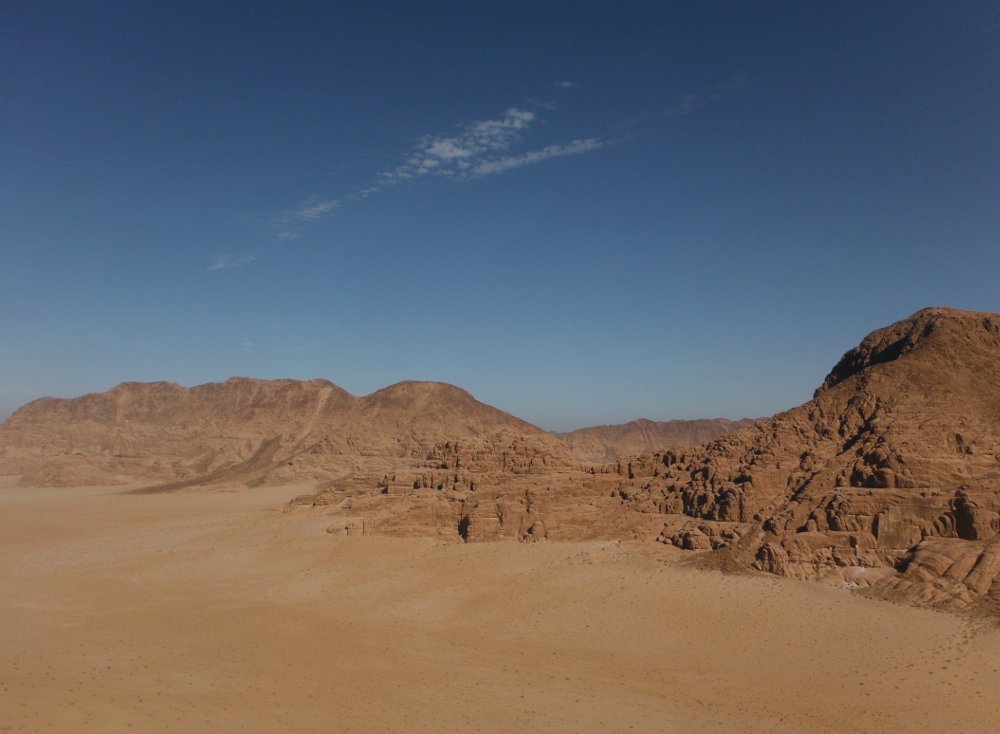
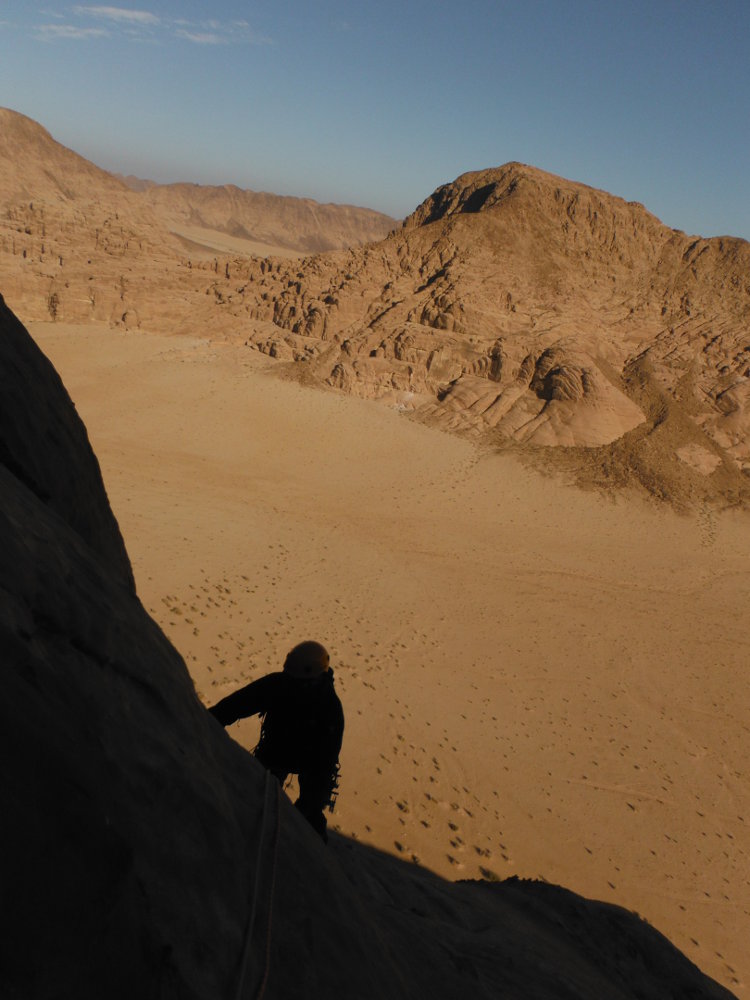
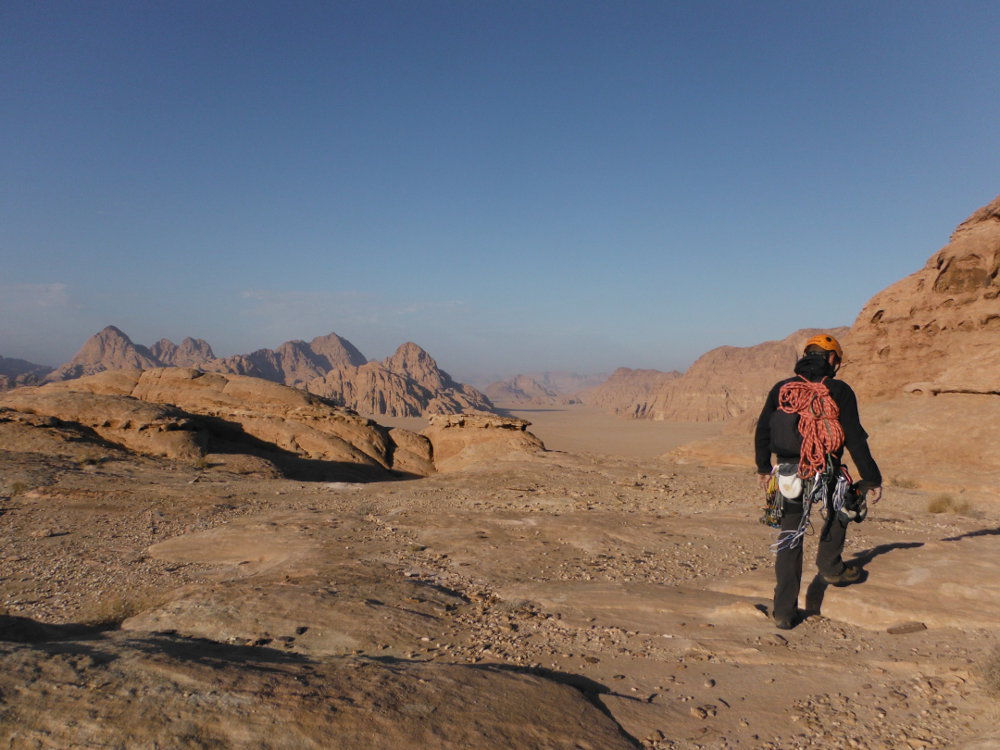
Wadi Rum, due south. 20′ of track to weave through the huge boulders embedded in the sea of sand, past the Khazali jebel and south-east to reach the south face of Burdah Rock and its famous arch. The Orange Sunshine route starts there, some 200m to the left of the arch, and climbs the south face for almost 400m before reaching the summits. 8 pitches on an obvious route on the 1st part, less so on the second where we apparently made our way, off-piste, to reach the top. The route is accessible in the V category overall, with perhaps one or 2 steps in the V+ category, but no more. The rock is excellent, both soft and abrasive sandstone, enough to protect you just about anywhere with a good set of friends. A great atmosphere above the desert, before taking a stroll over the domes and dominating part of Wadi Rum, an absolutely incredible panorama. The descent on the north side is not at all straightforward, with no or too many cairns and some surprisingly tricky descents.
❱❱ Technical summary
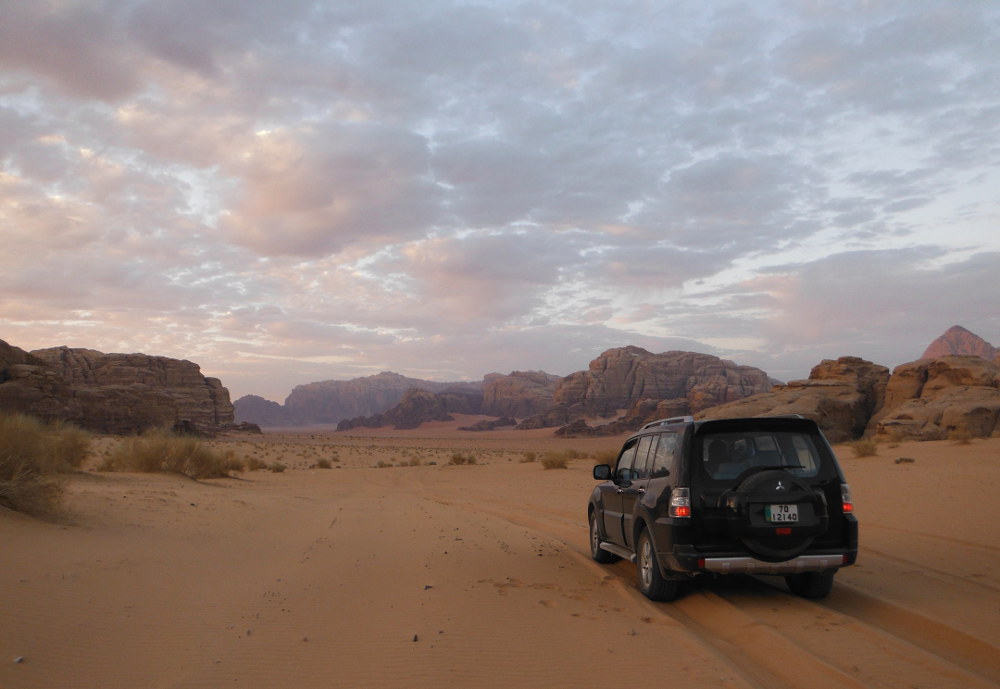
❱❱ Access to the place
From Rum village 15kms of track, south and east. Take a map of Wadi Rum or ask for a Bedouin guide. Go around Jebel Burdah to face south-east and locate the arch at the very top. Get dropped off there.
❱❱ Map & topo

❱❱ Itinéraire
Walk in the sand along the base of the cliff to find the start. Marked 150/200m to the left of the arch gully, the route starts a little further to the left at a corner with 2 or 3 landings, under large sloping slabs (see photo).
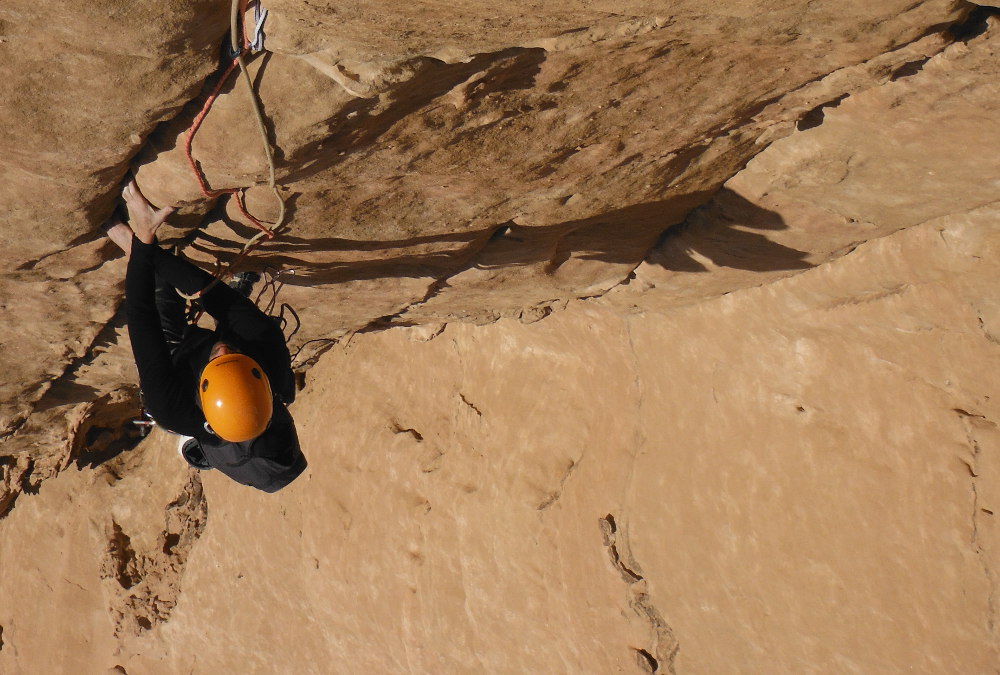
The route faces south-east, so it's sunny until mid-day. No equipment other than 2 or 3 lunula cords. Excellent rock, long cracks, a few holes, lots of grip and beautiful ridges carved in sandstone. Advertised at 300m, it's more like 350/400m (8 pitches of almost 60 rope each). A fairly straightforward route, except for the rocky bars (2nd part) where you'll have to look for the best option. Bring a full set of friends and a few straps.
L1 (IV+)
Climb up the corner and reach the large inclined slabs. A long crack allows you to climb the R1 belay.
L2 (III)
Climb the ramp following the crack. R2 belay not so easy to find safe points.
L3 (IV)
Continue straight on, following the cracks.
L4 (IV)
Another long slab climb to almost the platform under the bars.
L5 (IV)
Reach a wide platform under an impassable rocky bar. Here we went completely to the right to climb up a dihedral and find a lanyard in a lunula. The belay can be set up a little above, below the vertical exit dihedral.
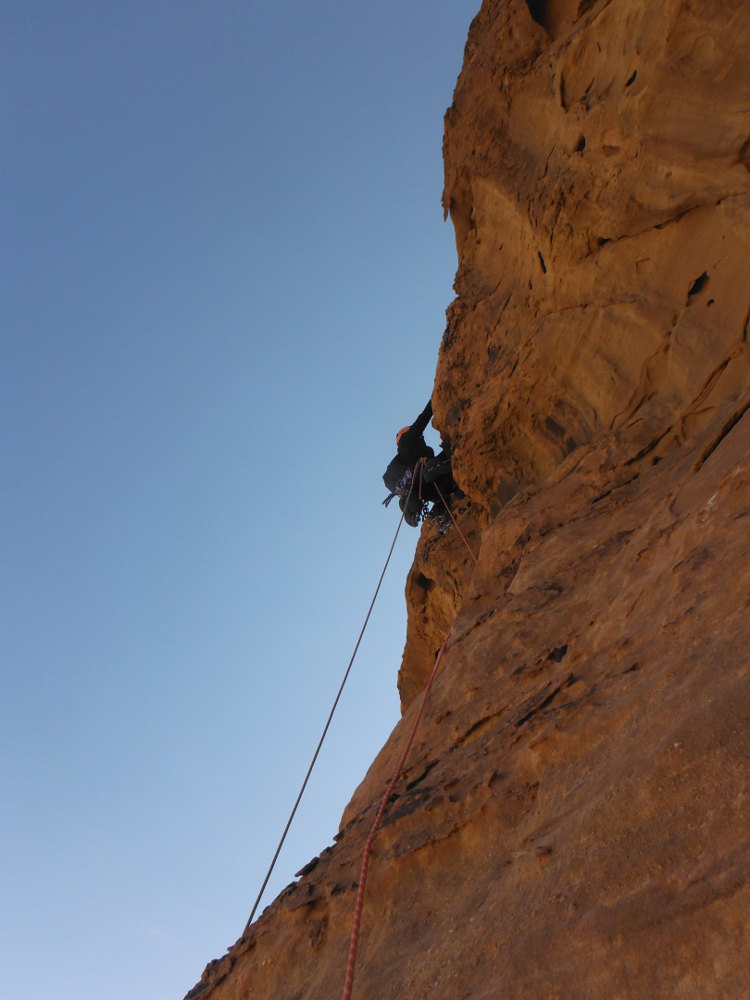
L6 (V+)
Exit to the left to aim for the very vertical dihedral. 2 or 3 committed moves with good holds, then an easier 2nd part on an incline.
L7 (V)
Climb a long sloping dihedral with a nice protective crack and finish on the left, crossing a little. Climb the belay on a small bowl at the foot of a new dihedral.
L8 (IV)
Climb the sloping dihedral, which starts off more to the right. Over rocks that are just waiting to fall. R8 belay in the scree on the ridge (cairn marking the path).
It's not easy at all. Climb to the top of the arch, passing from dome to dome, and then into the canyon that runs north under the arch. Further down is a plateau, and it was from here that we struggled to find our way back.


Leave a Reply