


TOPO Climbing | CLIMBING7.COM
Publié le
 Partager sur WhatsApp
 Partager sur Twitter
Partager sur Instagram
Partager sur Twitter
Partager sur Instagram

 Partager sur Facebook
 Imprimer le topo
 Laisser un commentaire

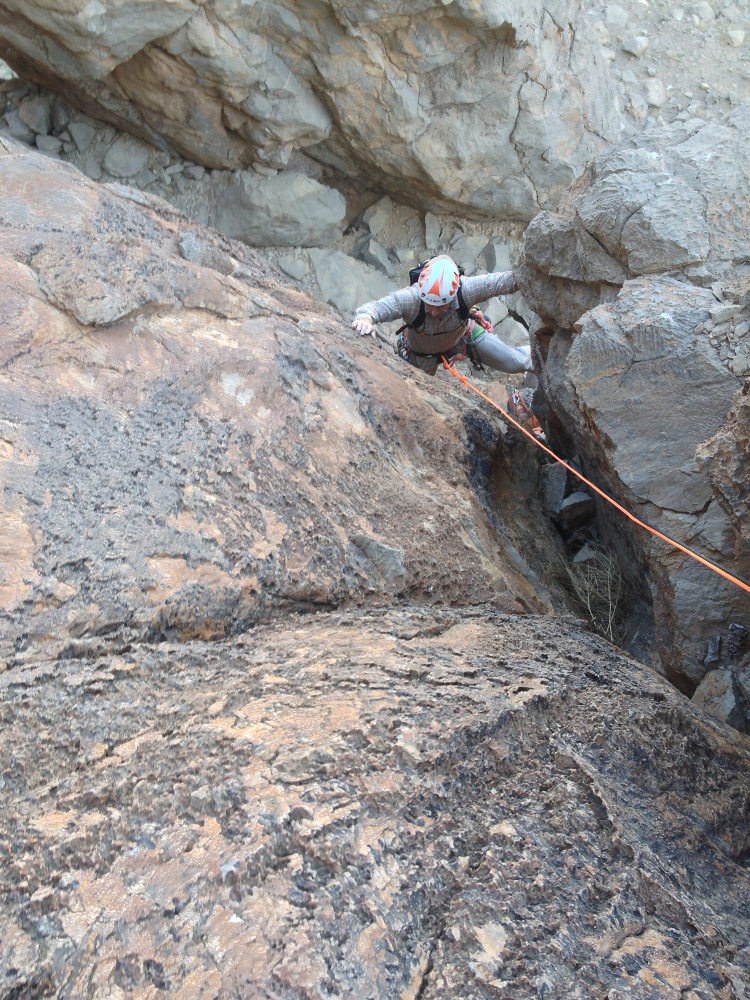
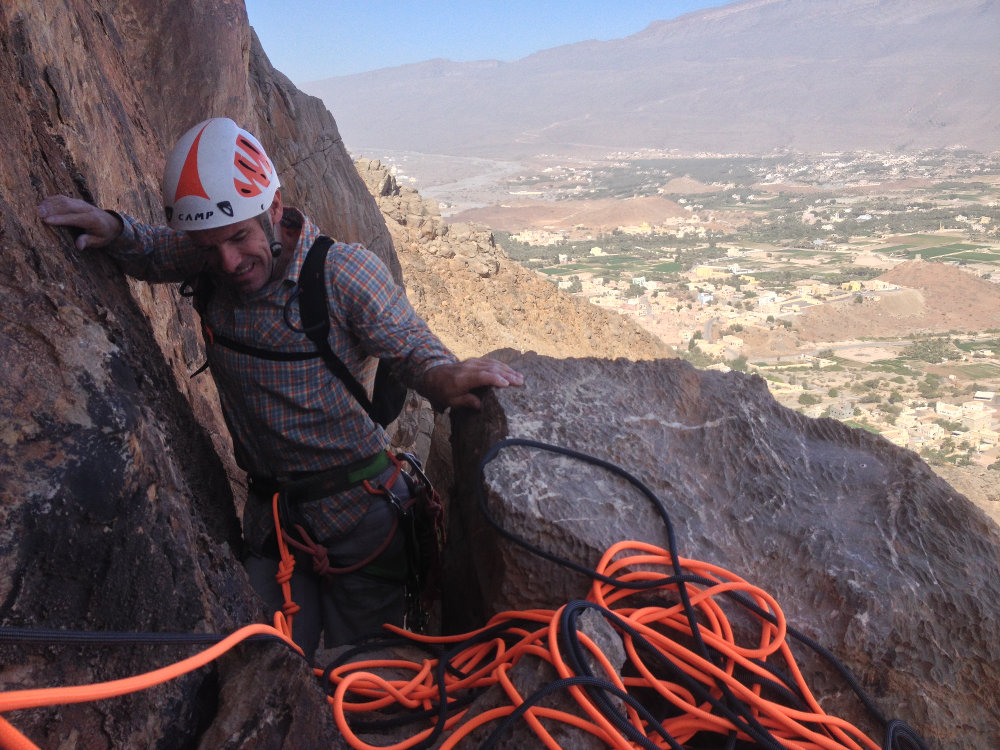
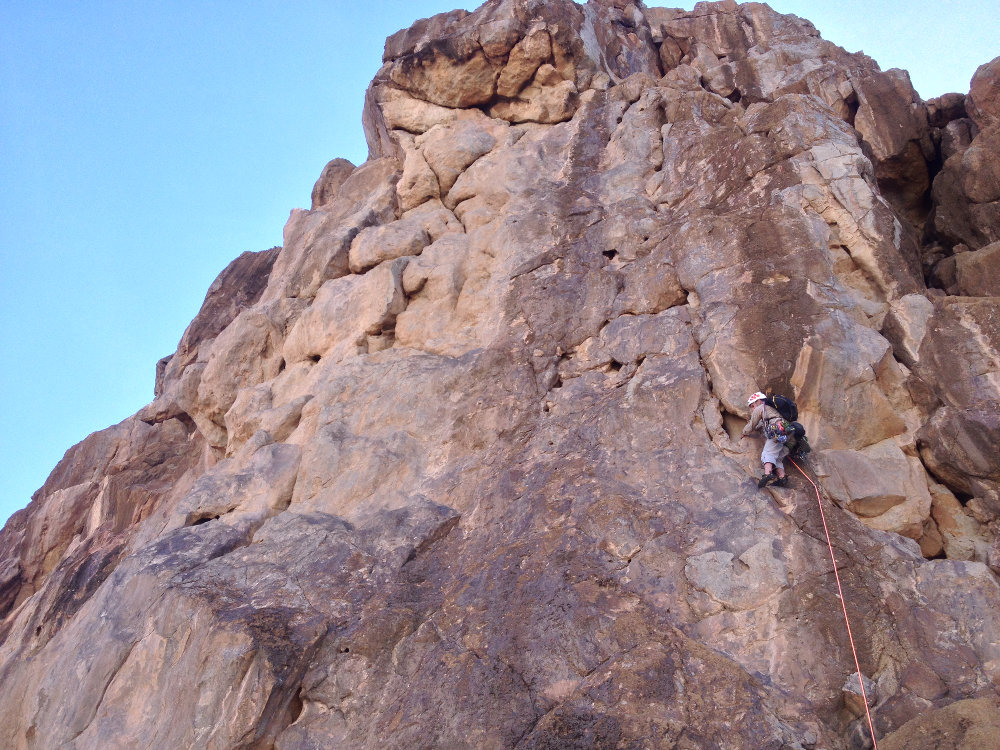
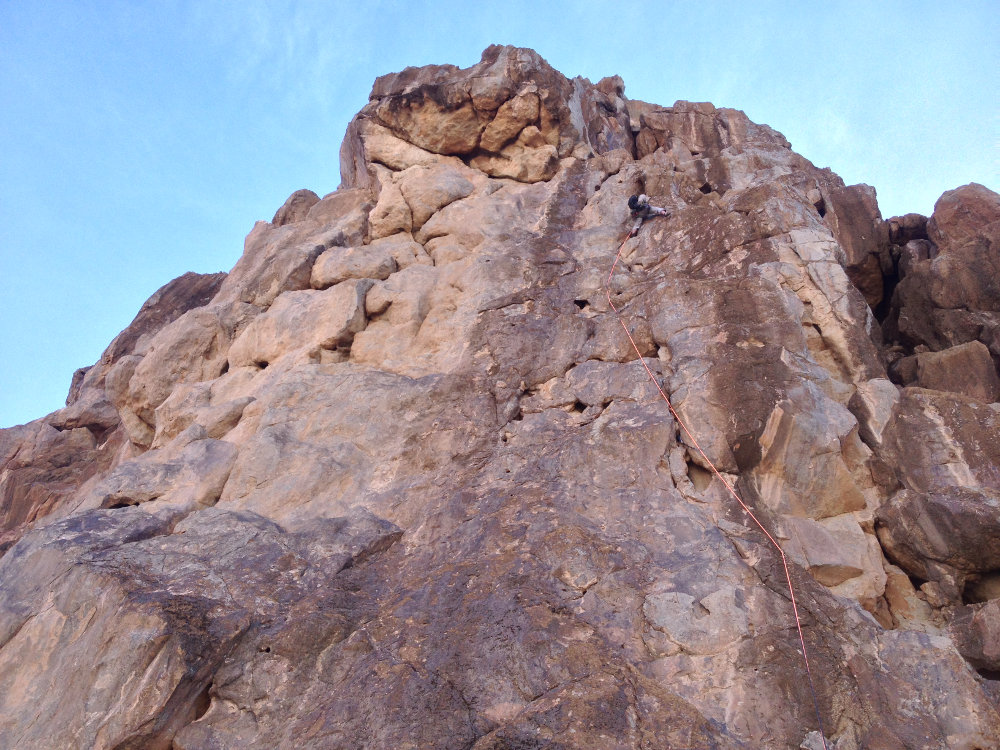
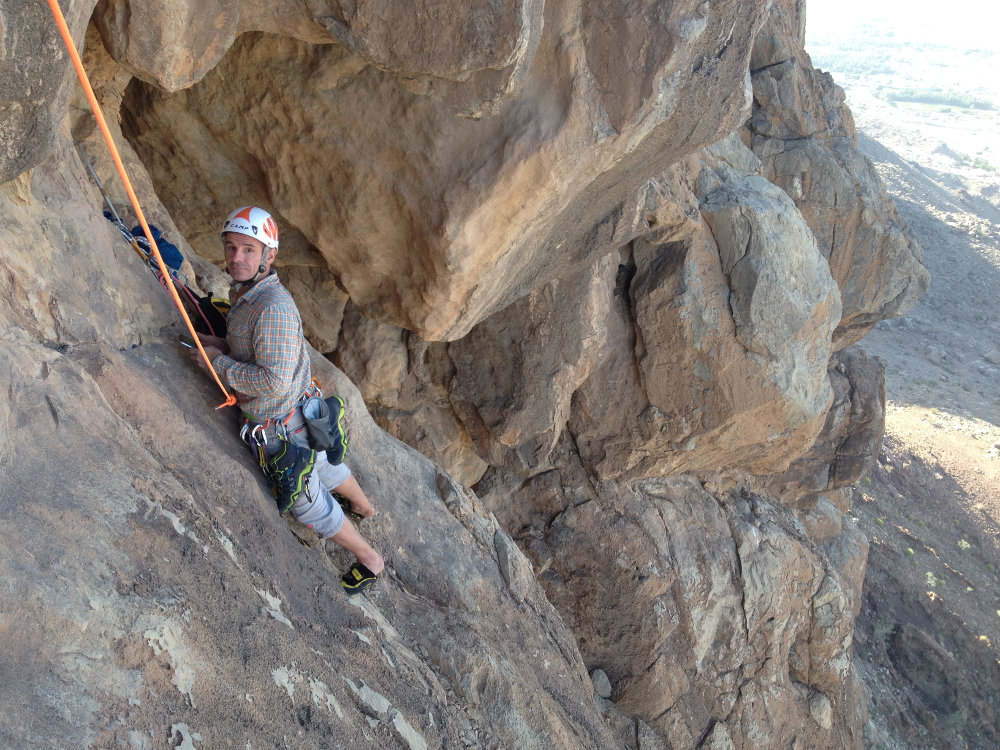
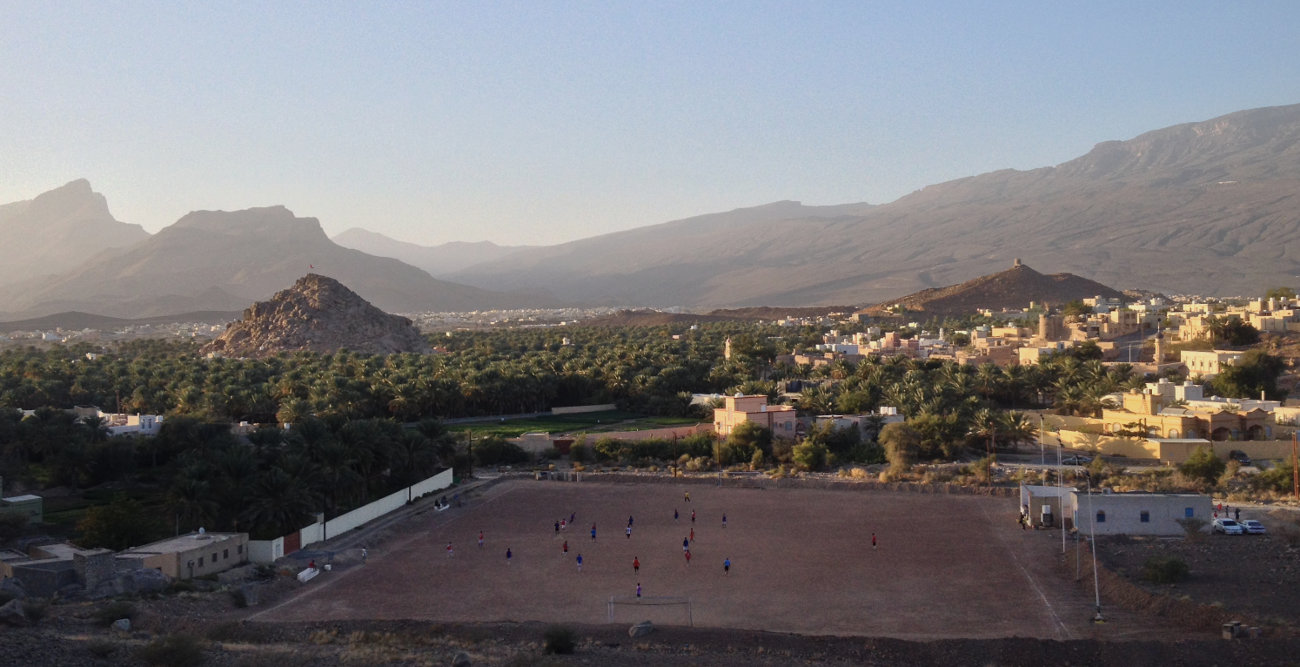
After the fabulous En attendant les lents, a return to Al Hamra was in order. We changed to another superb route, "La Mama", which runs roughly through the center of the central tower. More sustained in the 6a, equipped with a few bolts and lunulas on the hardest passages, this trad route is absolutely worth the detour. The atmosphere is as magnificent as ever, with an exceptional panorama of the AL Hamra palm grove and the Jebel Shams massif in the background. The rock is also top-notch, so there's more great climbing to be discovered.
❱❱ Technical summary
❱❱ Access to the place
Al Hamra is located between Ibri and Nizwa, at the foot of the Jebel Shams on the southern slopes. The town, set in a vast palm grove, is dominated to the south by several towers: east, central and west. Look for the road running along the base of the towers and park to the right of the central tower (GPS N 23°05.046′ E 057°18.079′).
❱❱ Map & topo

❱❱ Itinéraire
From the parking lot, climb diagonally at sight to reach the base of the central tower (cairns indicate the path halfway up). At the base of the central tower, spot the small brown pyramids and look for the start between 2 of the center, under a white area that runs over a large overhang. A cairn at the start, slightly between the pyramid and the wall.
The route is around 265m long in 7 pitches (20m, 35m, 45m, 35m, 40m, 35m, 55m). North-facing, almost all the belays are equipped except for the last 2, and there are a few bolts, pitons and lunules on the route, particularly on pitch 6 and on the unprotected passages (L2 and L6). The mandatory level is 6a.
L1 (20m, V)
Climb the dihedral diagonally to the left, passing a slightly more vertical pitch at 2/3. Relay R1 is on the summit of the small pyramid, to the left of the dihedral of L2 (start with 2 pitons).
L2 (35m, 6a)
Sustained length! Climb the narrow dihedral with 2 pitons (thin and vertical), continuing before reaching the white zone (right). Then cross to the left with 1 bolt to pass over a picot slab (not tricky), go up to the next dihedral before climbing again (1 bolt higher up) then pass to the left of the white overhang to finish on an easy ramp where you'll find the R2 belay.
L3 (45m, V+)
The first part is on polished rock, which isn't easy, then on to the diagonal dihedral (crack to be exploited on the right). It's not that easy. At the top, recover on the picot. The second part is great, with a magnificent scale to climb in opposition.
L4 (35m, V+)
A step that starts out easier than it looks, but the rest is easier. Climb more or less straight up the picot, pass a small horizontal plate and finish on a sloping grey slab beneath a high white wall.
L5 (40m, 6a)
The most beautiful pitch. Attack the wall on the right to reach a nice hole. This is the start of a very vertical section, but with everything you could need: tris, rulers and 4 bolts + 2 lunules for protection. Near the top, cross to the right to join the next route and climb a belay (one bolt in place).
L6 (35m, 6a)
Cross horizontally to reach the wide dihedral, which you climb for about 10m (V-shaped start) before crossing to the right with a bolt on a fine, balanced pitch (6a) and joining a spiked ridge. Further up, finish under large boulders and climb the belay here or a little to the left (more comfortable).
L7 (55m, IV)
Weave our way up the last boulders and sharp blades, then walk to the near-summit on a small col below the true summit.
Descend to the west and reach more or less the foot of the tower to join the approach path.


Leave a Reply