


TOPO Via ferrata | CLIMBING7.COM
Publié le
 Partager sur WhatsApp
 Partager sur Twitter
Partager sur Instagram
Partager sur Twitter
Partager sur Instagram

 Partager sur Facebook
 Imprimer le topo
 Laisser un commentaire

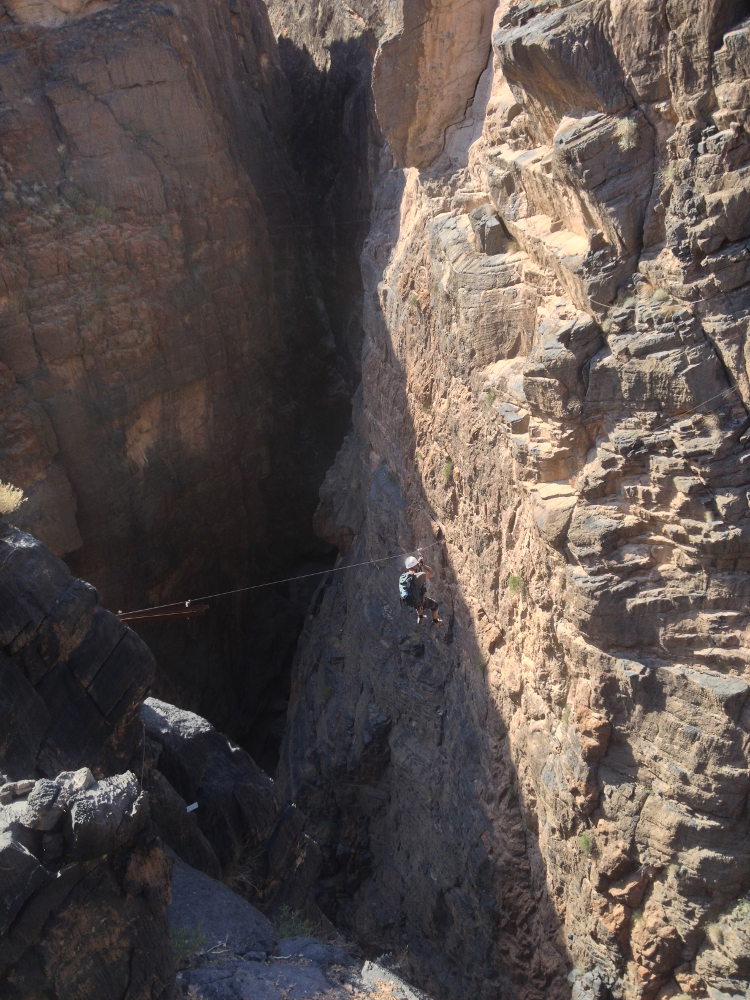
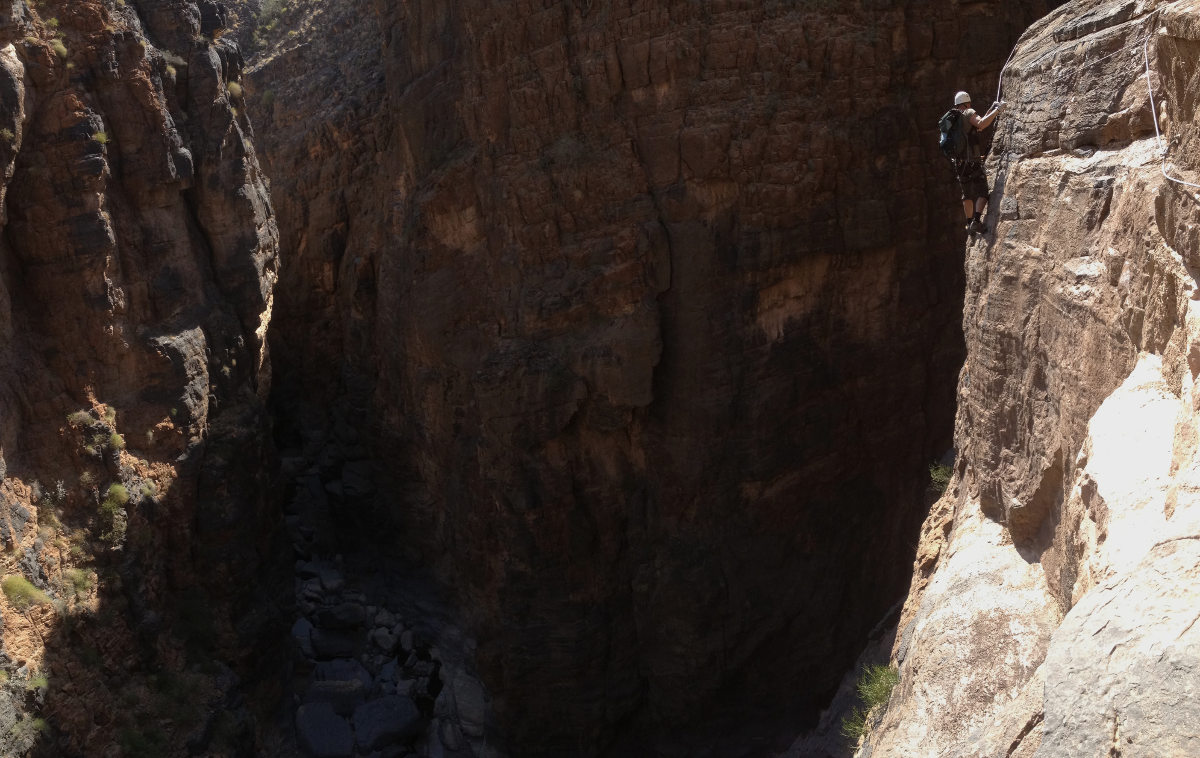
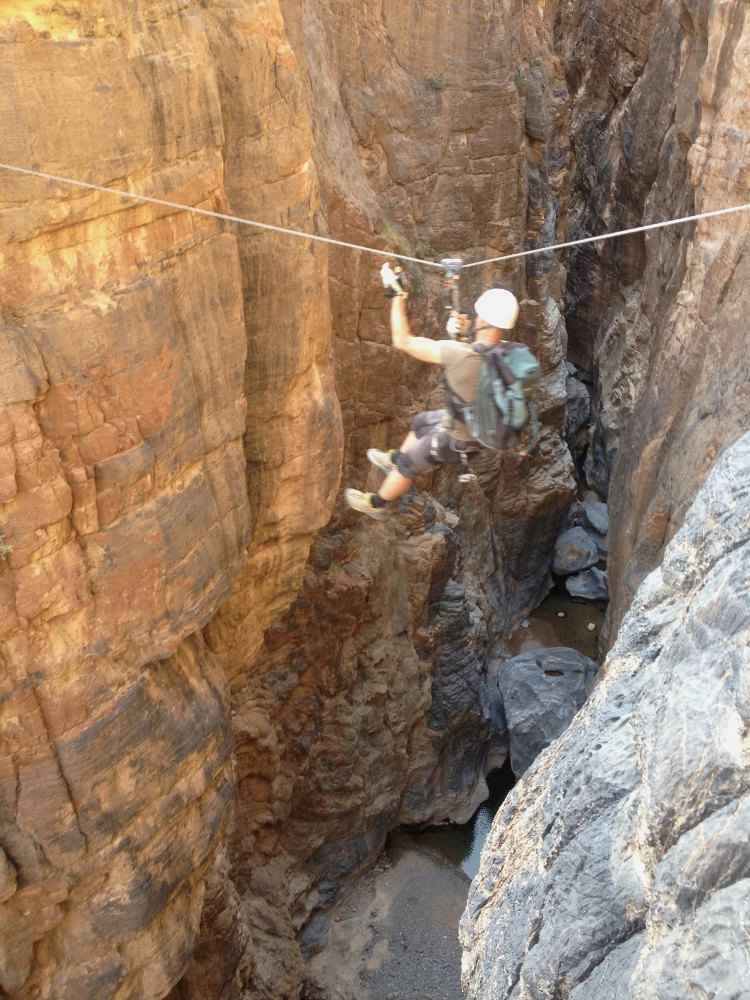
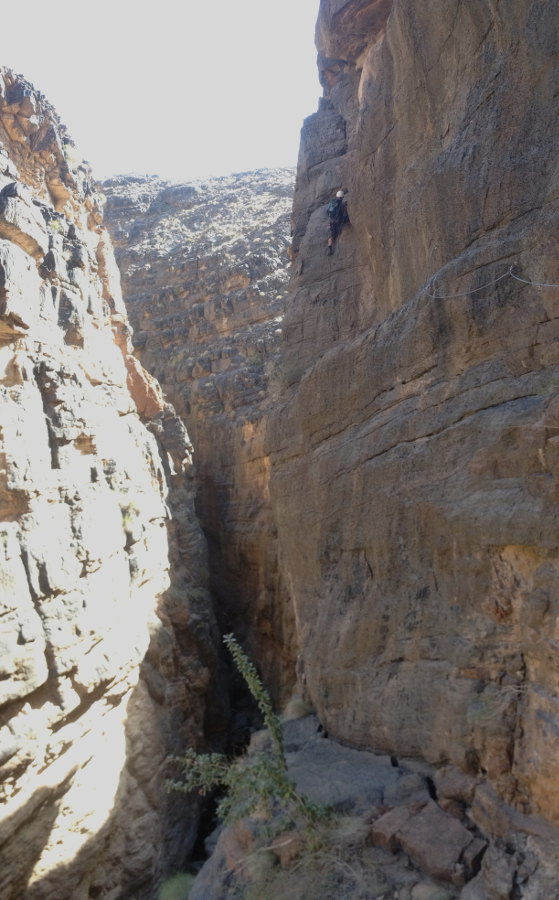
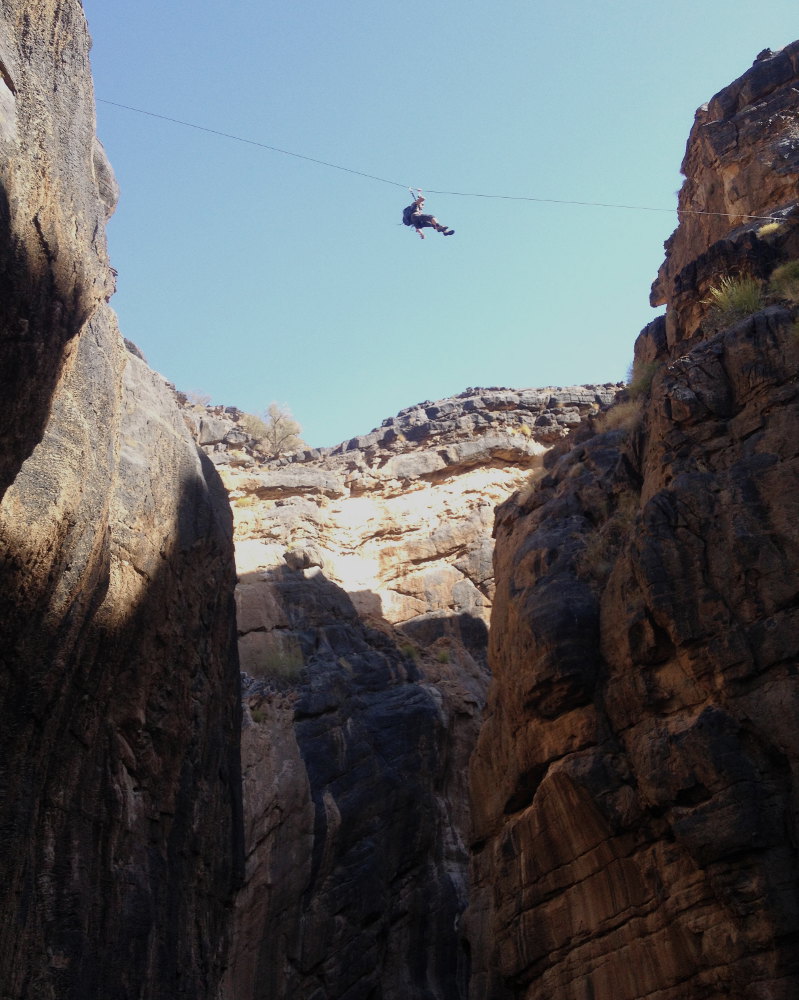
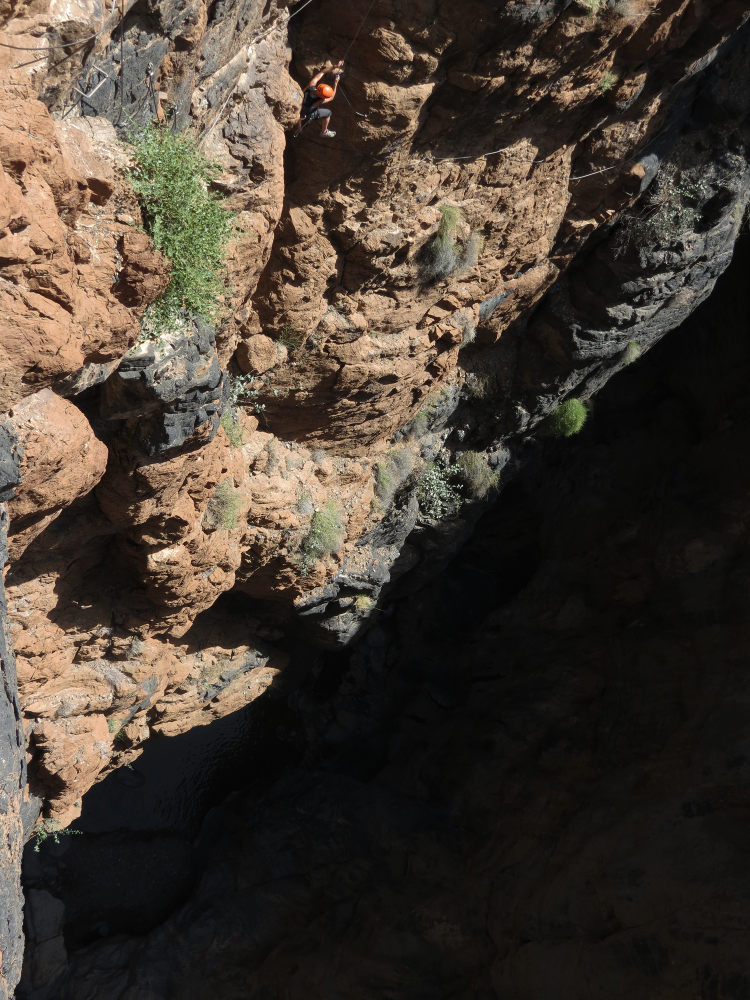
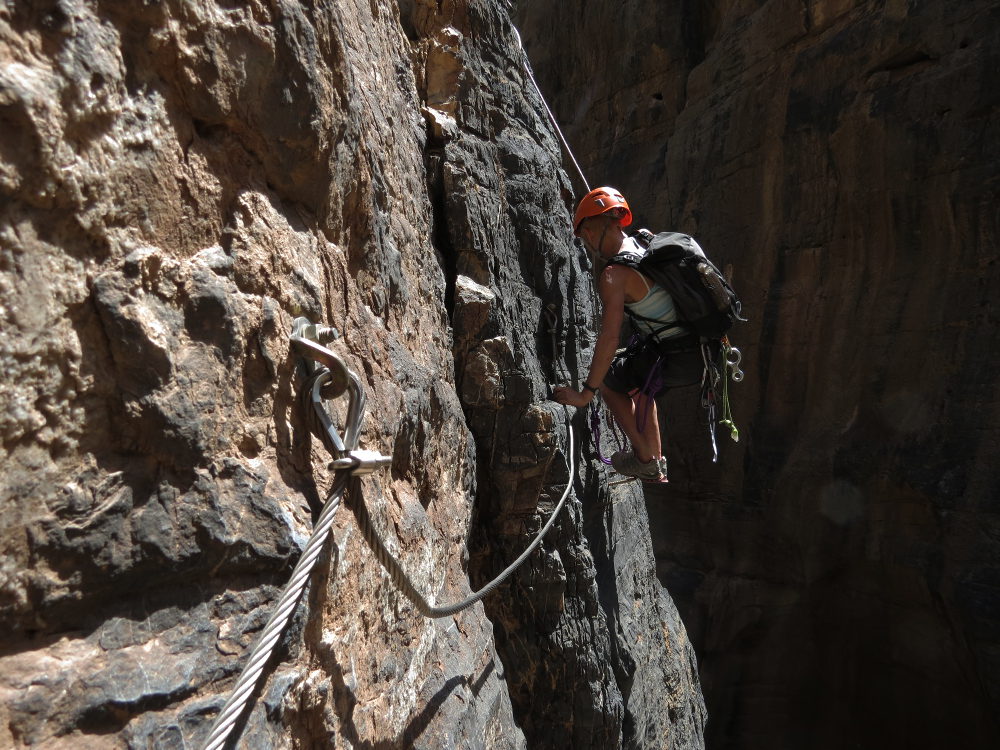
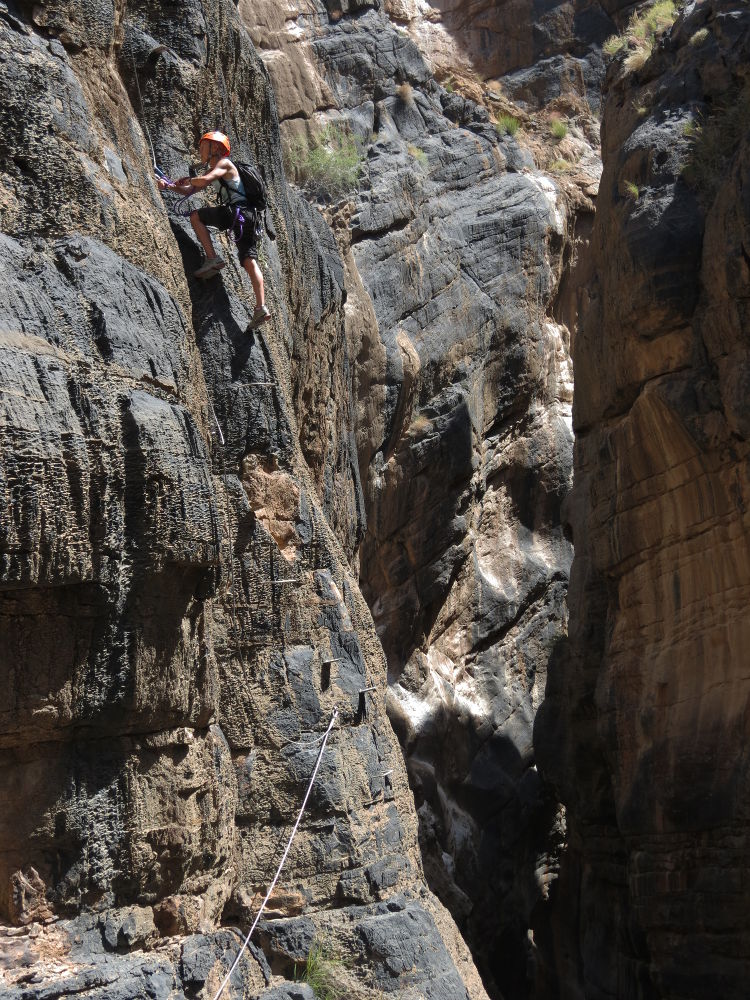
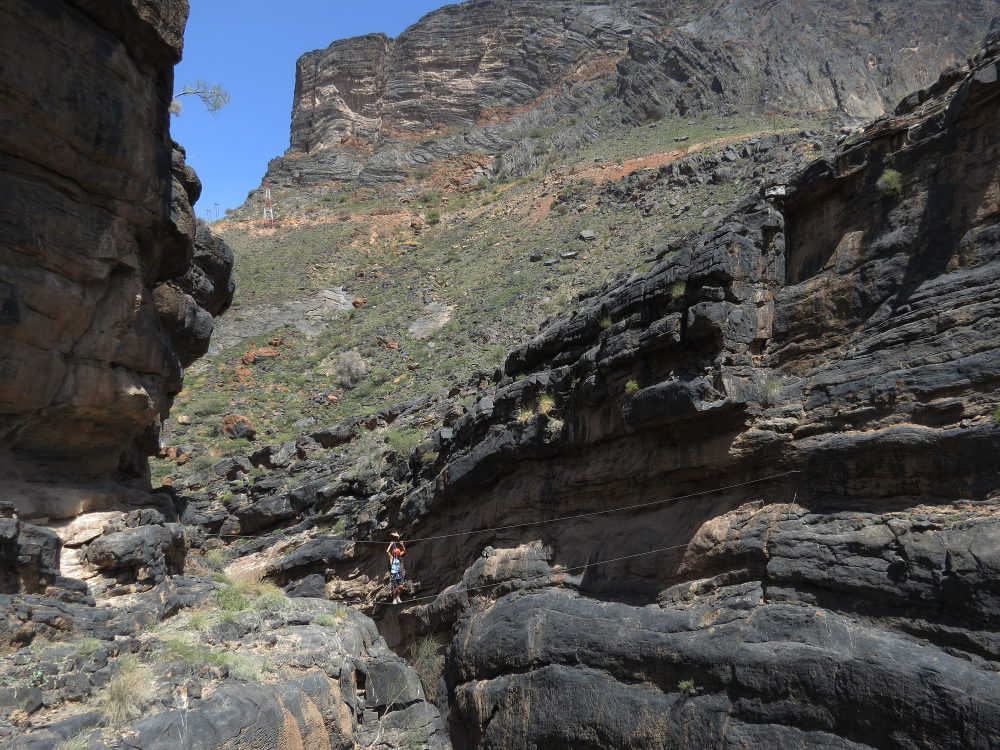
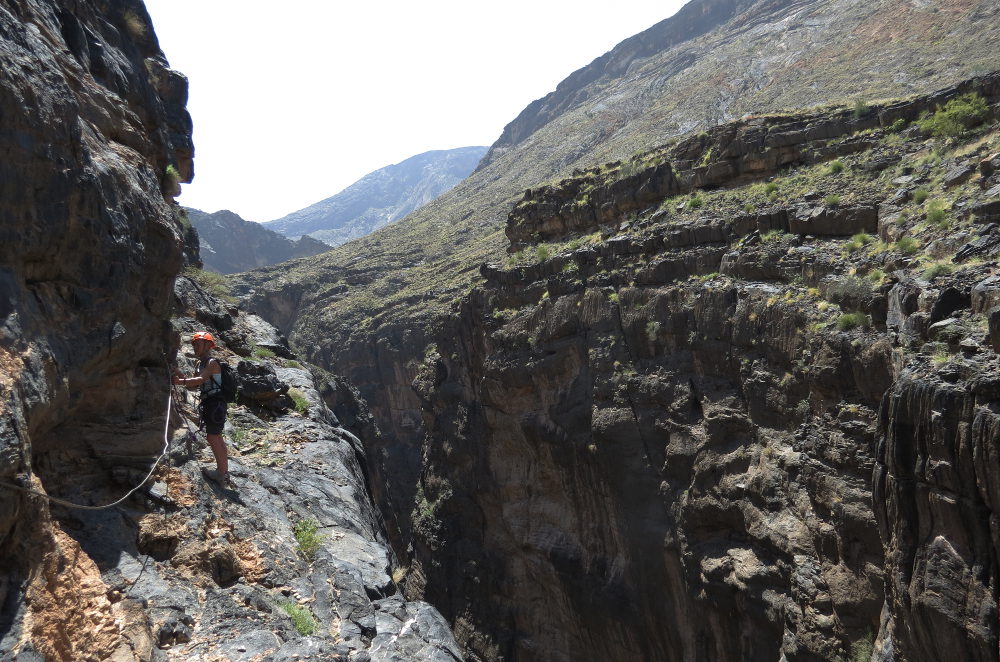
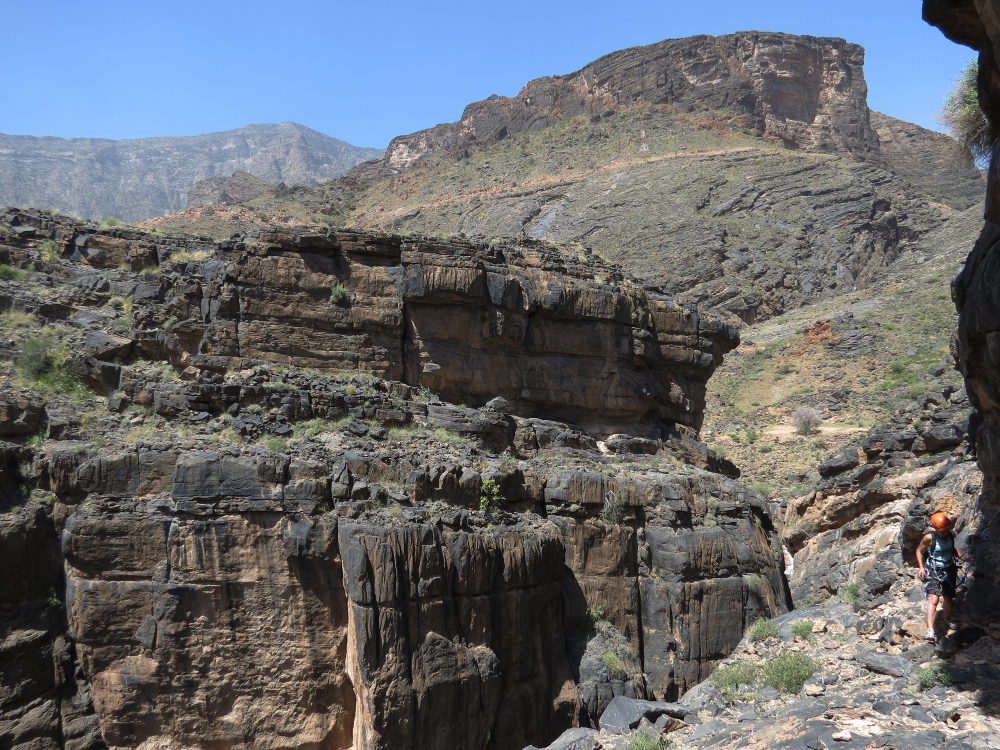
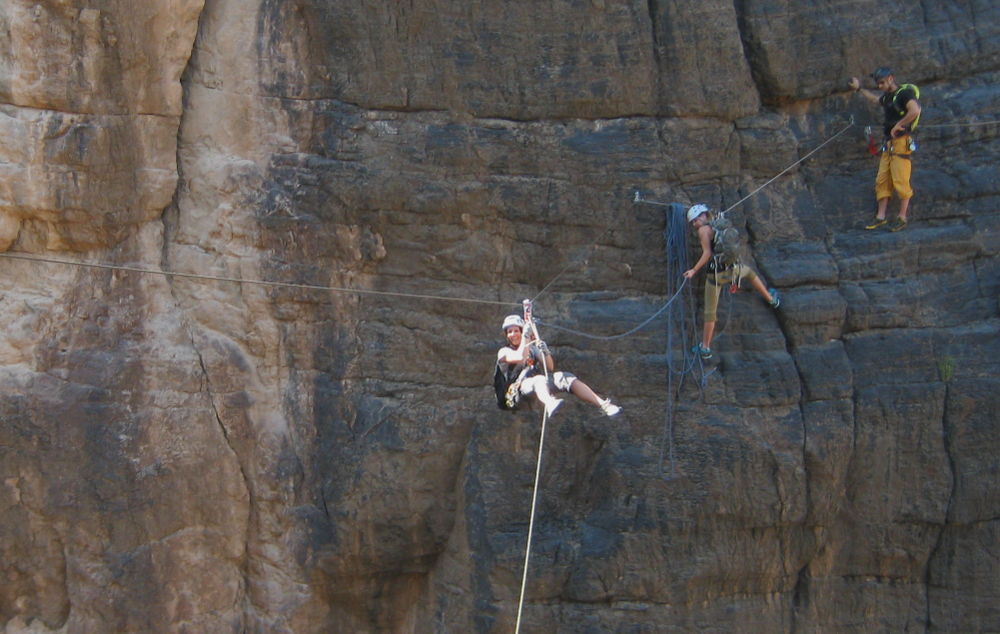
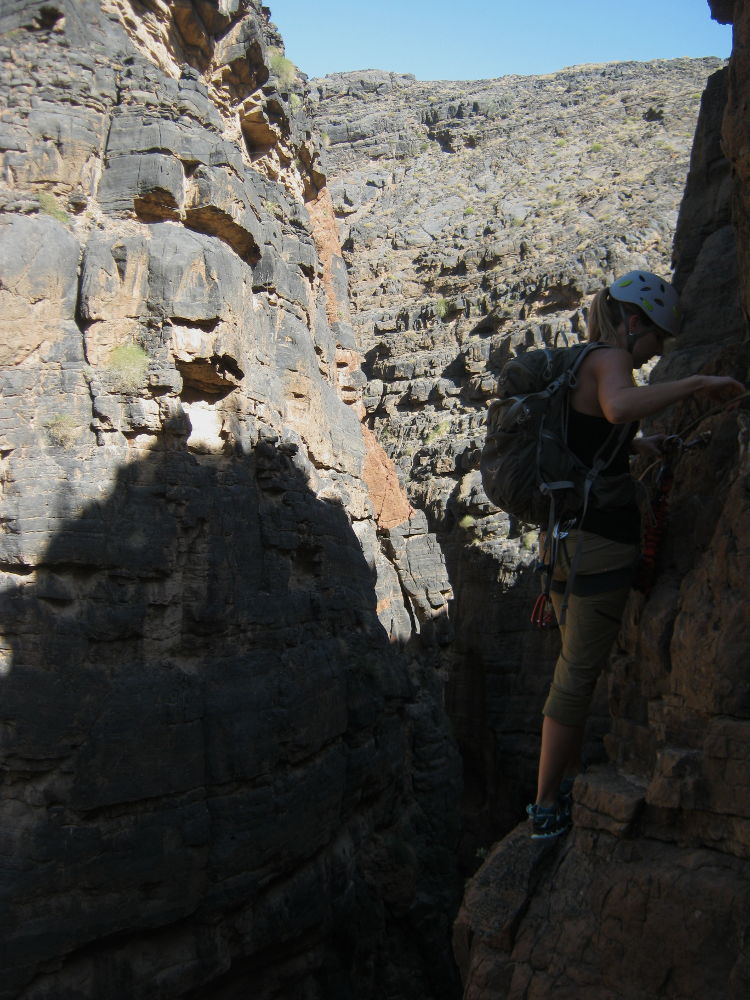
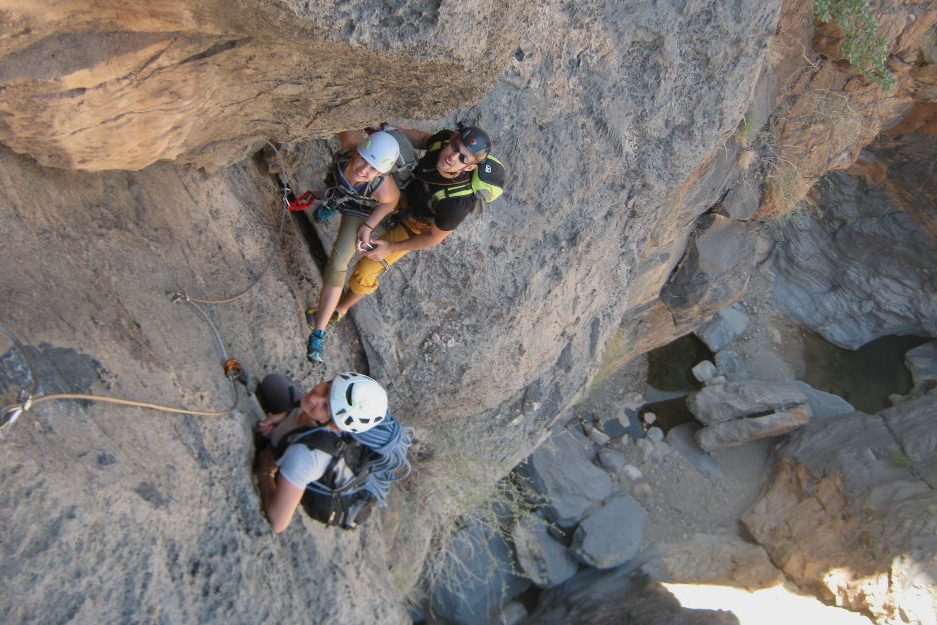
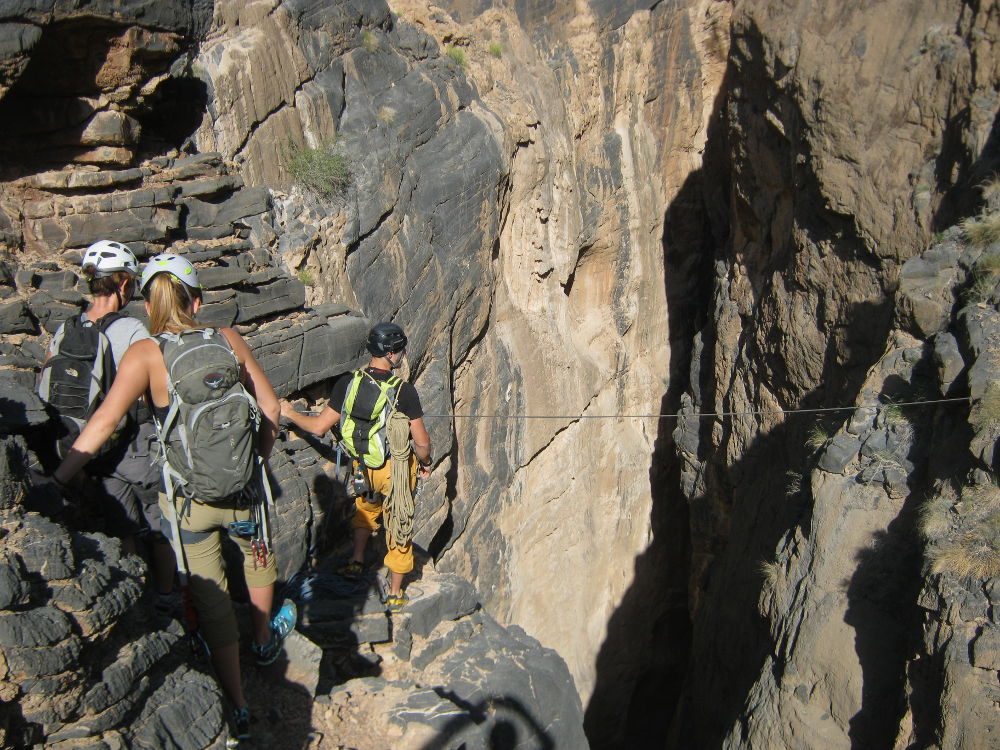
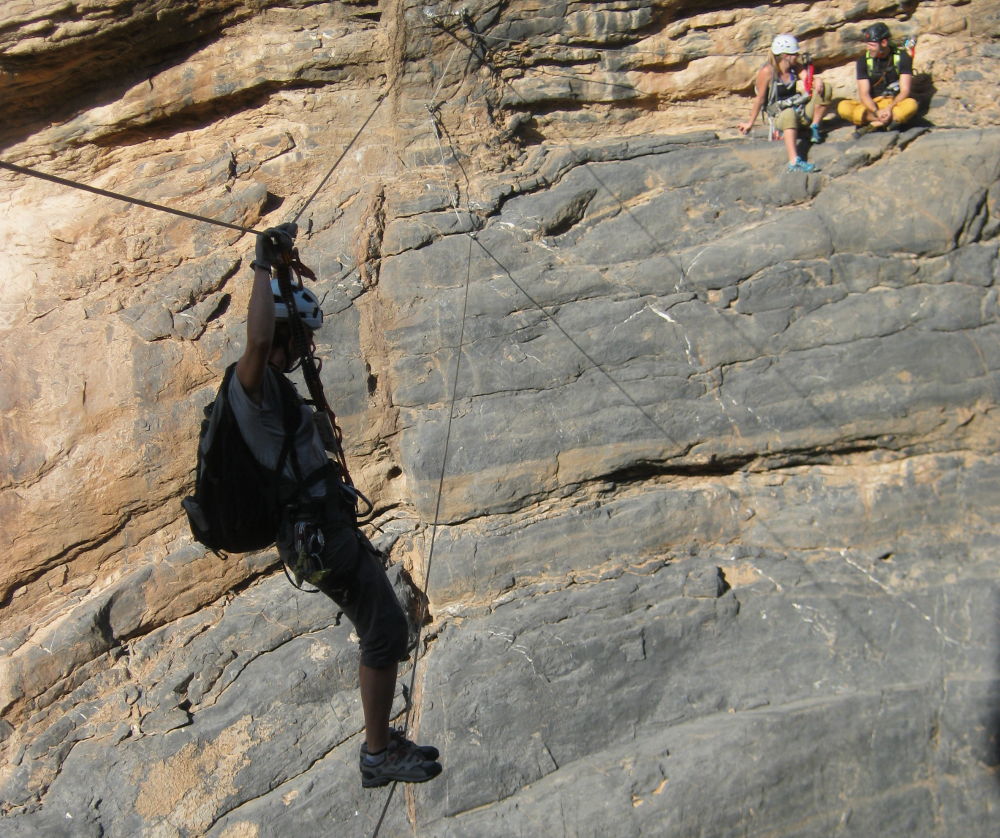
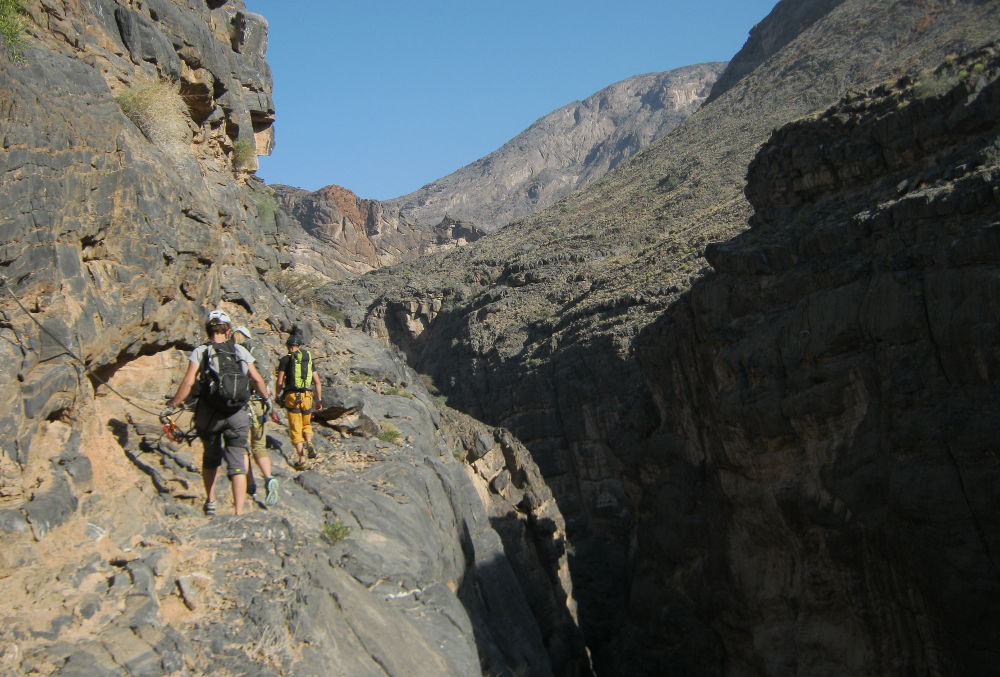
At the end of the Wadi Bani Awf, just before reaching the magnificent little village of Balad Seet, in the heart of the Jebel Shams, is the Snake Canyon via ferrata. Impeccably equipped for all levels, this route is well worth the detour, if only for the fantastic setting. 4 large, very aerial zip lines, an equally impressive final monkey bridge, technical and physical traverses and de-escalations, all with 100m of empty space. Unfortunately, the ferrata has been dismantled at the start of the 1st and 4th zip lines! It is unfortunately not feasible at present (as of March 1, 2016).
❱❱ Technical summary
Type ✦ Via Ferrata
Location ✦ Bilad Seet
Region ✦ South Batina, West Hajar
Country ✦ Oman
Height difference ✦ 80m
Direction ✦ South
Difficulty ✦ K3
Duration ✦ 2h to 3h
Interest ✦ ★★★
❱❱ Access to the place
See the 2 maps and precise directions on the original topo by Bill Huguelet and Kim Vaughn. The finish via Wadi Bani Awf is easier, with less track and, above all, less dangerous. The finish via the pass from Al Hamra is superb, with breathtaking views over Jebel Shams, but very steep and impressive. In all cases, a 4×4 is essential. Park at the white and red pylon (unmissable, see map on doc).
❱❱ Map & topo

❱❱ Itinéraire
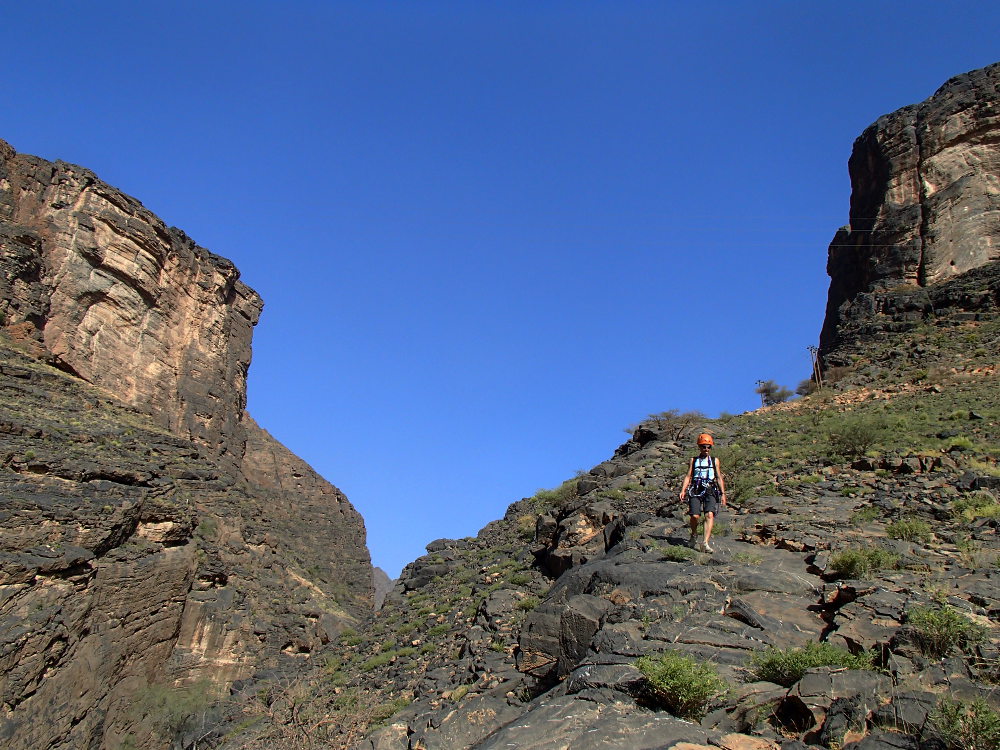
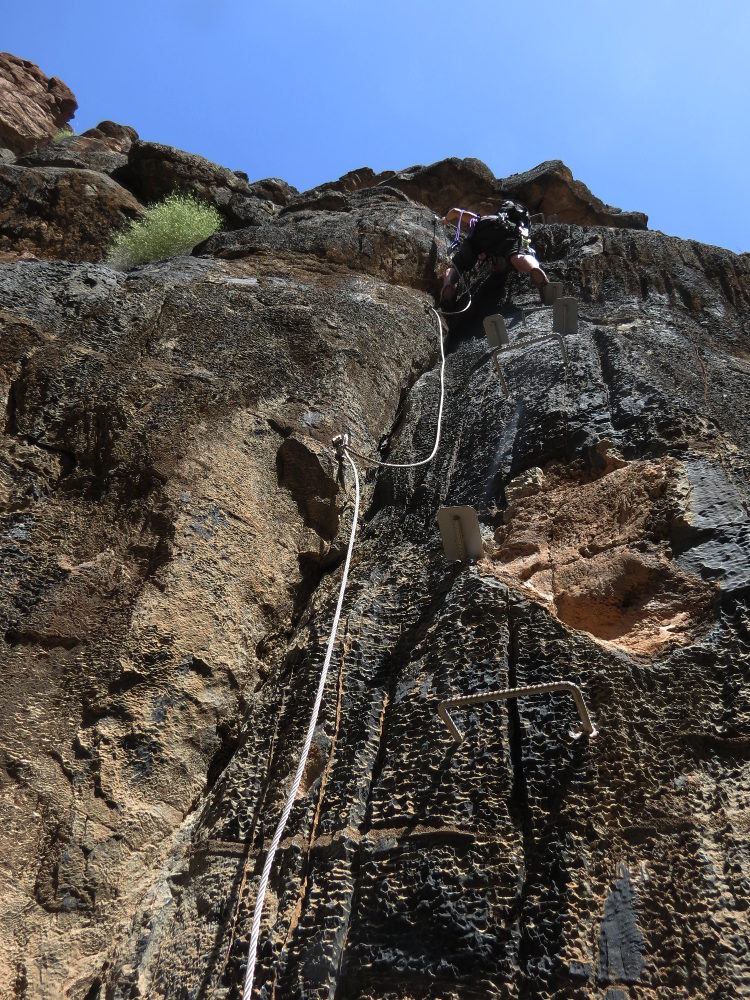
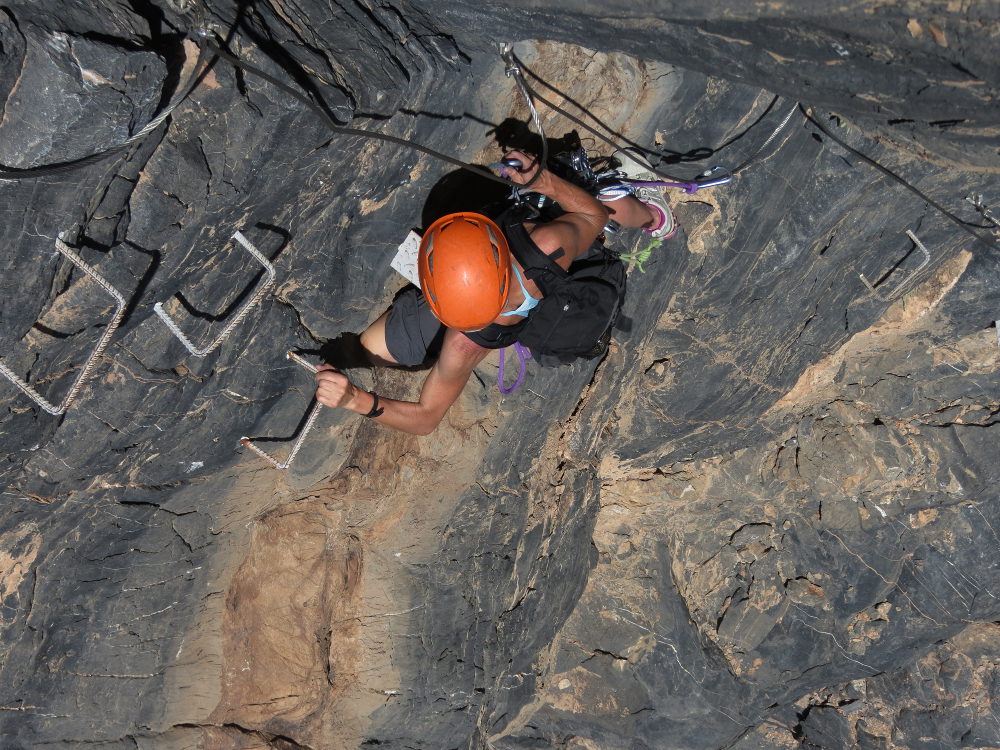
Descend, joining the edge on the right. You'll soon see the 1st zip line. Improvise a passage through the rocks (beware of a slightly exposed descent). A series of cables leads back to the start of the 1st zip line.
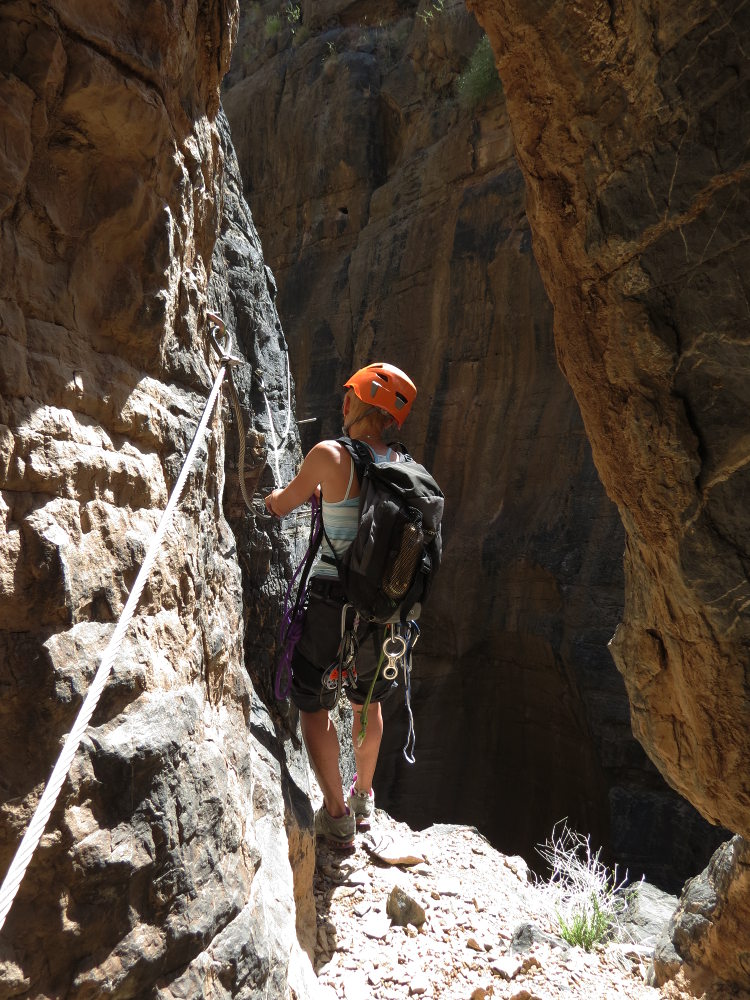
The Snake Canyon ferrata is perfectly equipped from end to end, with an impeccable lifeline and numerous points, some of which can be used for abseiling. You may need a 50m rope to help you at the end of the 1st Tyrolean traverse (otherwise you'll have to haul about 10m), and gloves won't go amiss. Double pulleys a must!
Cross the plateau and climb up towards the track to reach the starting pylon.


Leave a Reply