


TOPO | CLIMBING7.COM
Publié le
 Partager sur WhatsApp
 Partager sur Twitter
Partager sur Instagram
Partager sur Twitter
Partager sur Instagram

 Partager sur Facebook
 Imprimer le topo
 Laisser un commentaire
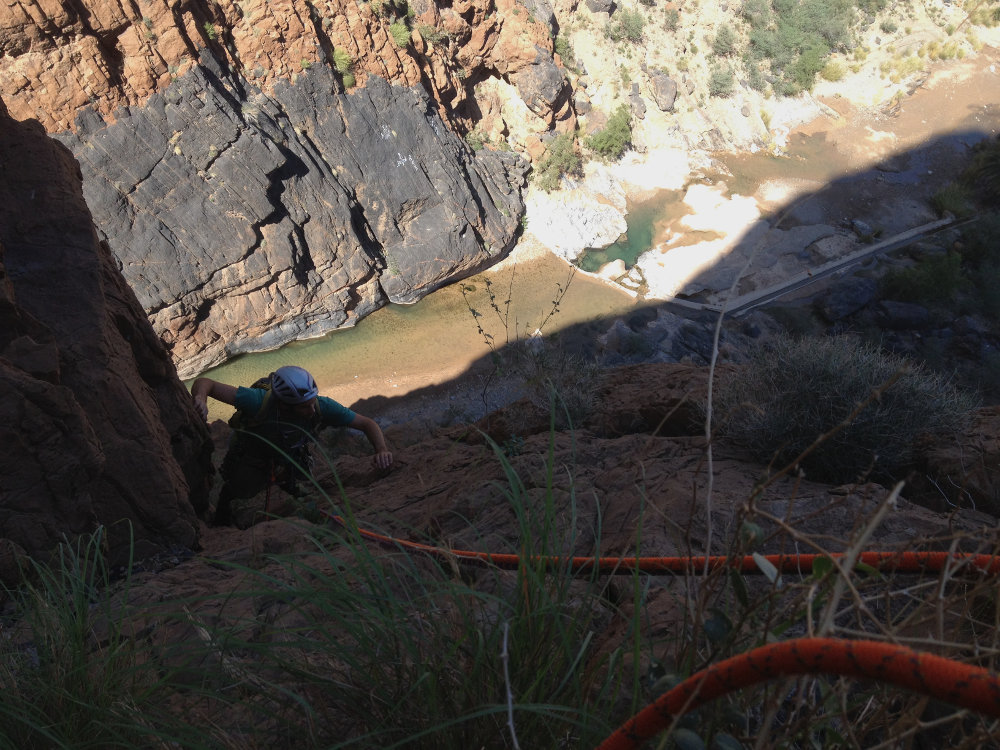
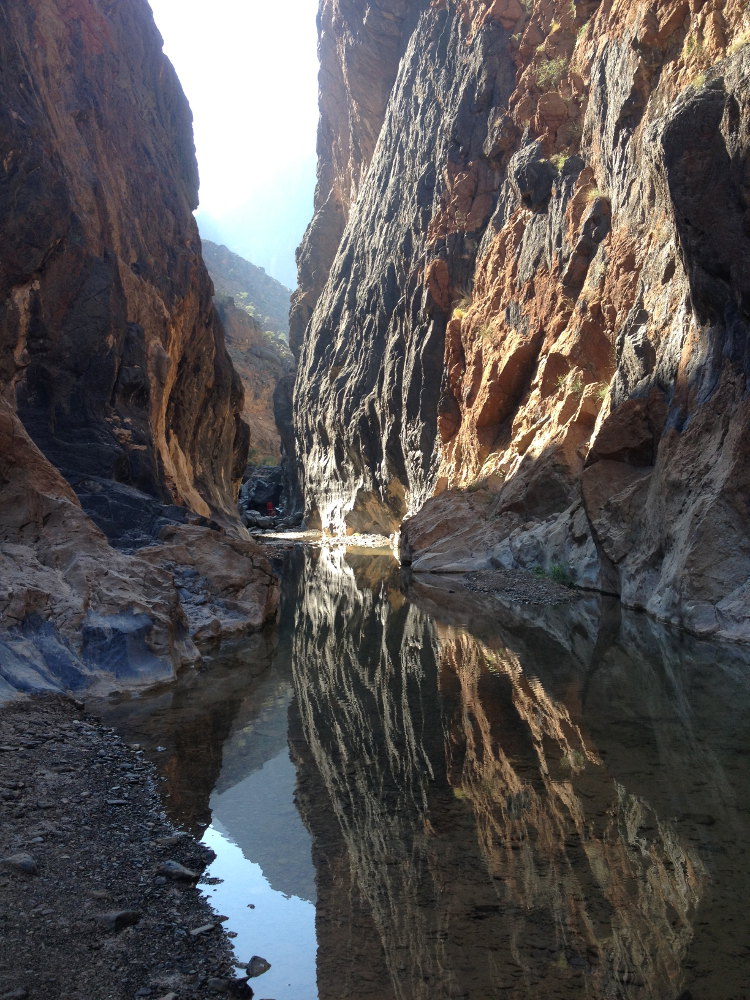
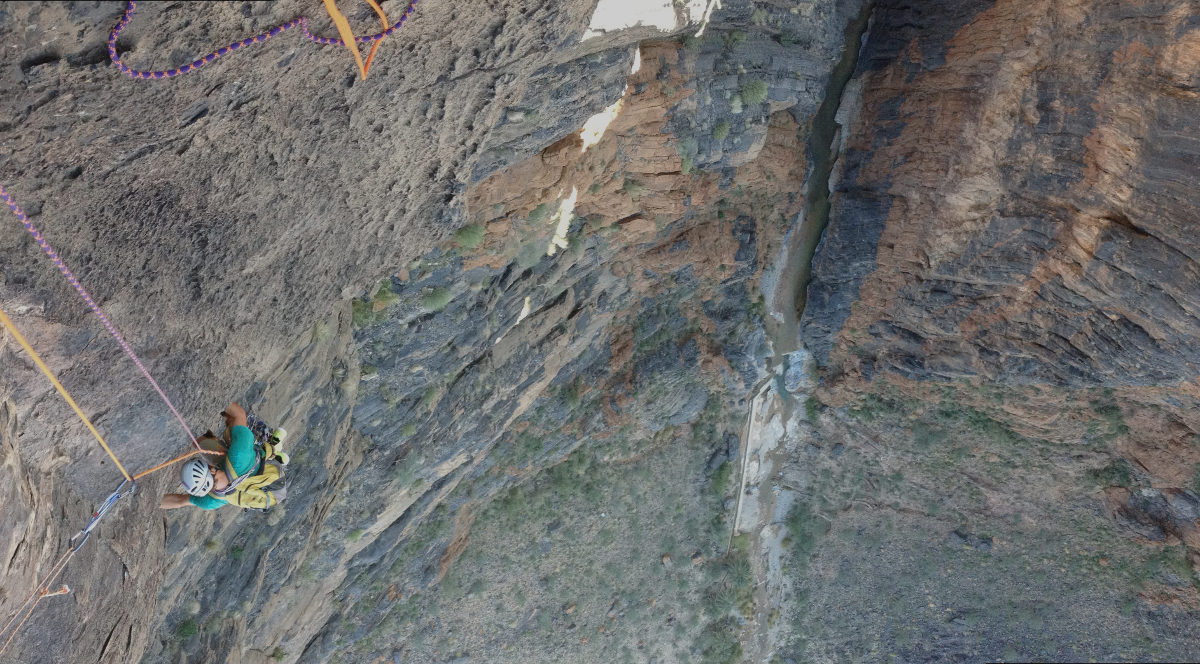
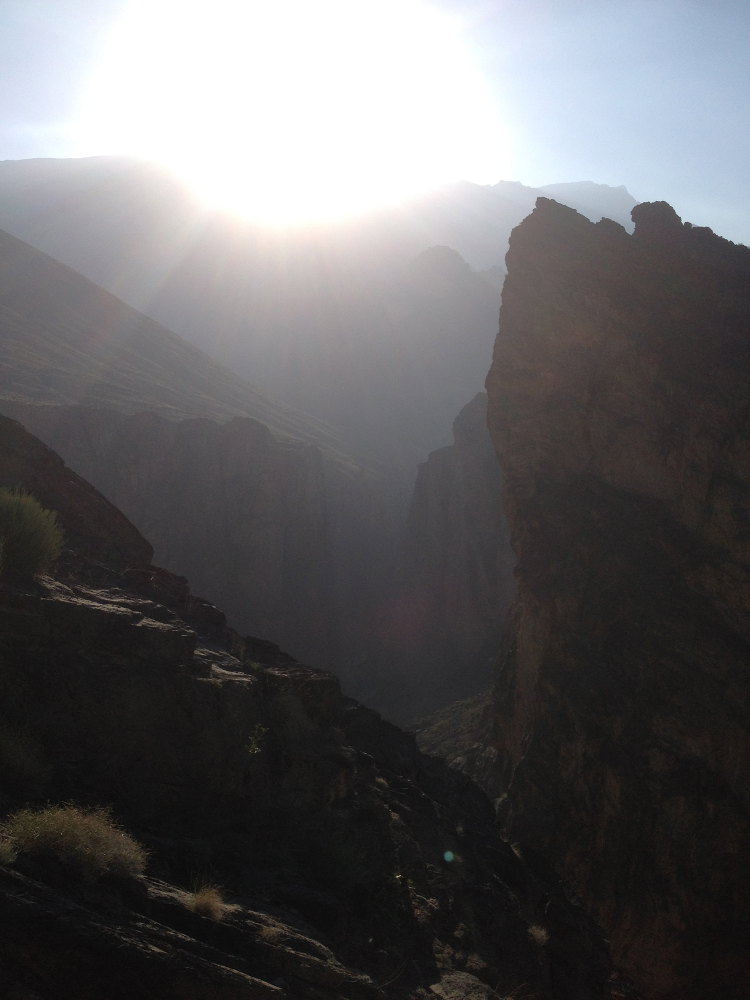
Wadi Bani Auf, just outside the village of Zammah, before the climb to Bilad Sayt. Two large pillars mark the exit from the final gorge of Snake Canyon. The wind will blow it up the center of the east pillar. The route is generally in trad with a few pitons, lunulas and bolets in place, particularly on L5. The first 4 pitches are easy (III/IV/V) on excellent orange rock. L5, on the other hand, is much harder (6a obligatory and a big boulder step in 6b) and really exposed! The rock changes and the crack at the start of this 5th pitch is sinful, while the 6a finish is very airy and protected by 2 or 3 bolts a long way off... The final pitches are of no interest, just to finish the summit. It's still a fine route, given the surroundings, but it's heterogeneous and a little too exposed on L5.
❱❱ Technical summary
❱❱ Access to the place
From the coastal road from Sohar to Muscat, take the Rustaq road and enter the wadi bain Auf in the direction of Hat and Bilad Sayt. 4×4 is compulsory, as after a few km of road, you end up on the track, which climbs steeply in places. When you reach the village of Zammah, leave the track leading up to Bilad Sayt and continue along the wadi bed towards the 2 pillars (obvious). Park further along, 50m from the wall.
❱❱ Map & topo
☰ Télécharger la carte sur Google map
❱❱ Itinéraire
Instant! Go past the small dam to the orange ramp. Obvious start in the central gully.
Opened in 2006, the northwest-facing route is almost always in the shade, except on the southwest-facing L6 and L7. Around 300m in 7 pitches (40m, 40m, 40m, 30m, 50m, 50m, 50m) in IV/V, except on L5 where 6a is mandatory. Bring a set of friends and belayers, long quickdraws and pants to protect you from the vegetation.
L1 (40m, III/IV)
Climb slowly to the 1st shelf to do belay 1.
L2 (40m, IV+)
Climb the perfect dihedral on incredible rock to the next plateau. Perfect belay to the right, equipped (1 piton + 1 bolt).
L3 (40m, V)
Follow the main dihedral up to a small wall that you have to pass on the left (piton on the ridge) as the crack is farty. Relay 3 on a flat area (no equipment).
L4 (25m, IV)
Easy transition, aim for the tree (strap) then the belay above (lunula) at the foot of the grey/white wall.
L5 (50m, 6b or 6a/A0)
Go into the mini-crack where the piton is located and join the crack a little to the left (be careful, unstable rock). Pass through the crack, avoiding anything that moves, then cross to the right at the top to find a bolt (hidden at the start) and a second bolt under the 6b pitch. This bouldering pitch is quite hard, but if you pull on the nail you can reach a nice hole and continue in 6a, which is airy and quite committed, but with nice holds, until you reach the belay a little further up on the right, on a piton and bolt.
L6 (50m, V then III)
Nice aerial step out to the right (piton) and onto the sloping ridge. The rest in III.
L7 (50m, III)
Climb the easy gully to the near summit (unless you need to go further left with V?).
Climb to the summit (easy but exposed), then take the north-facing slope at sight. Look for the best option in the various gullies, zigzagging in places to find the passage. Cut off at the end to return directly to the starting point (no cairns - gone since 2006?).


Leave a Reply