


TOPO Canyoning | CLIMBING7.COM
Publié le
 Partager sur WhatsApp
 Partager sur Twitter
Partager sur Instagram
Partager sur Twitter
Partager sur Instagram

 Partager sur Facebook
 Imprimer le topo
 Laisser un commentaire

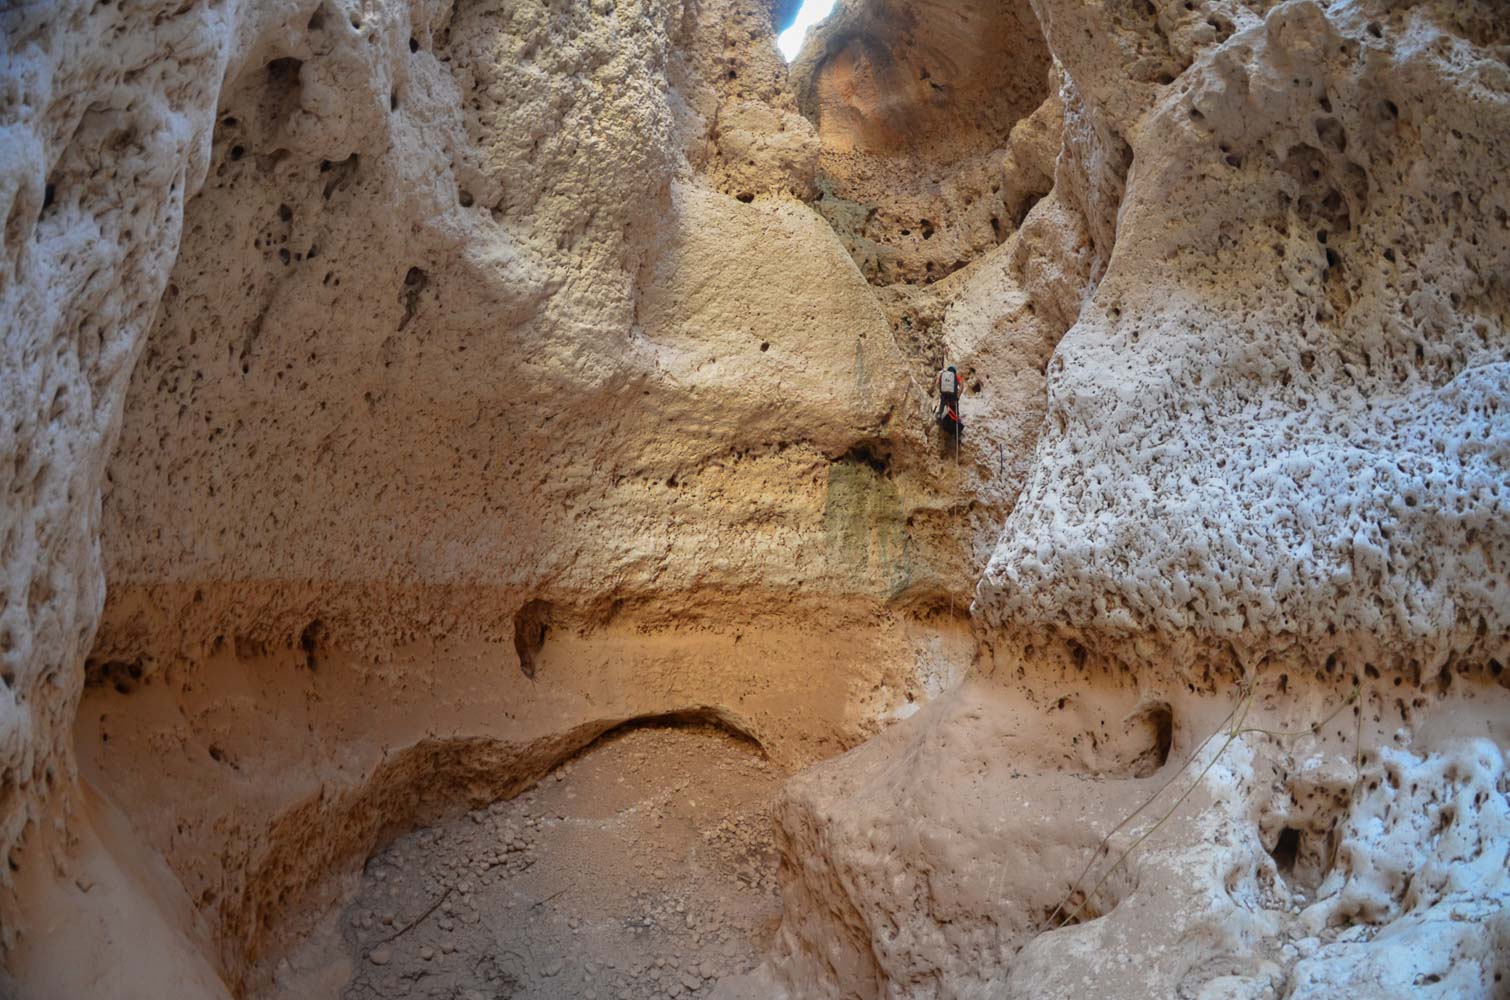
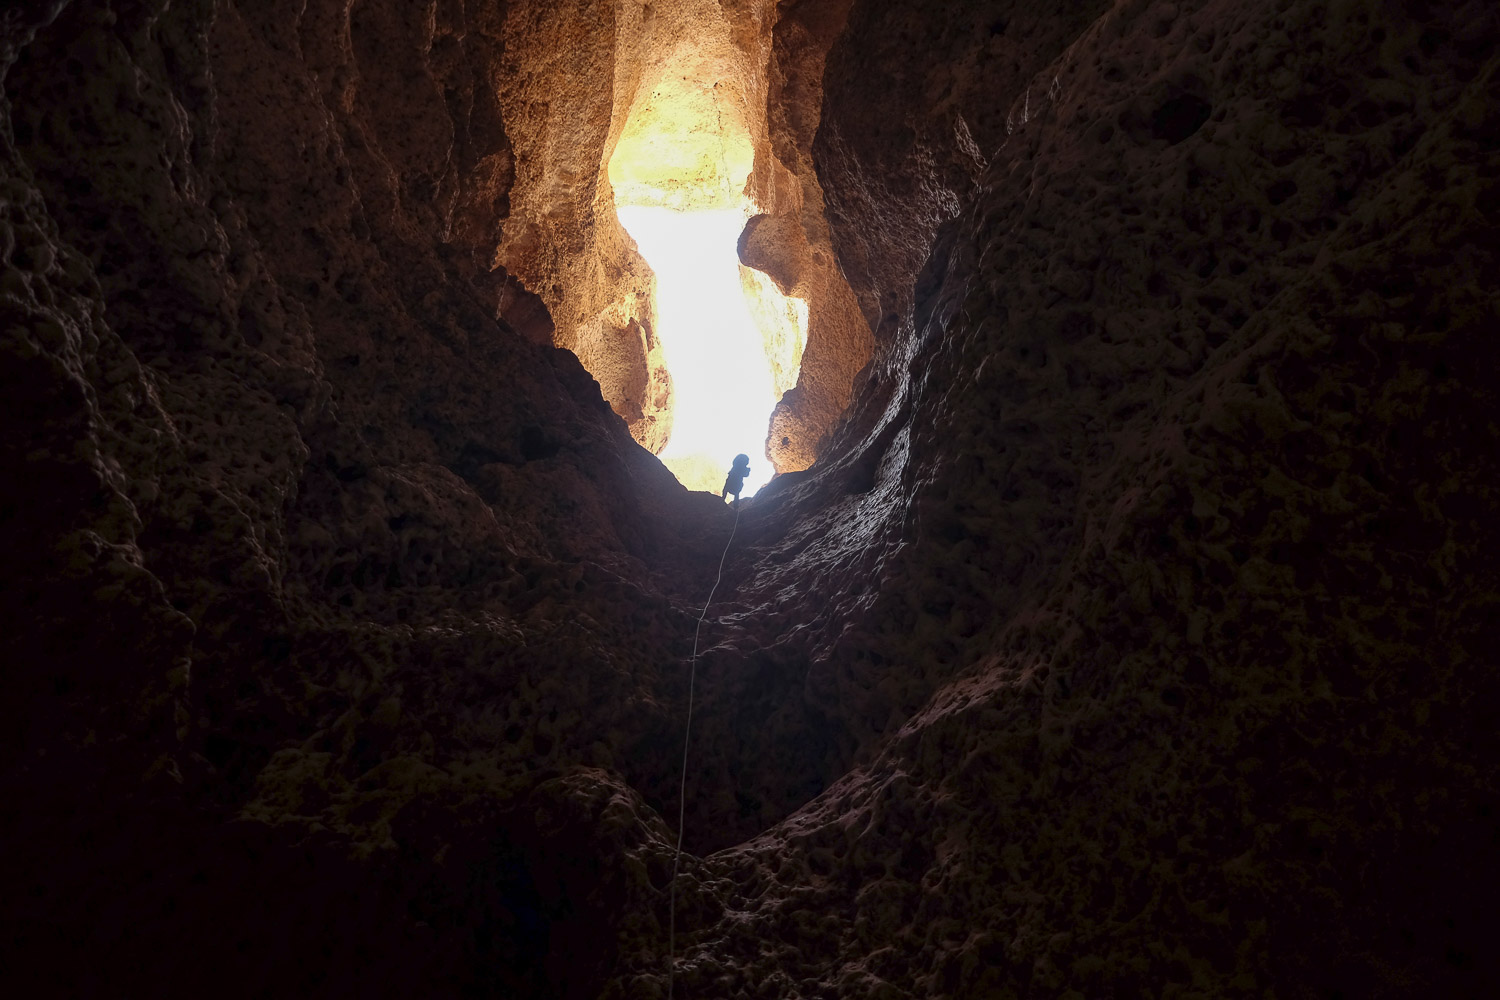
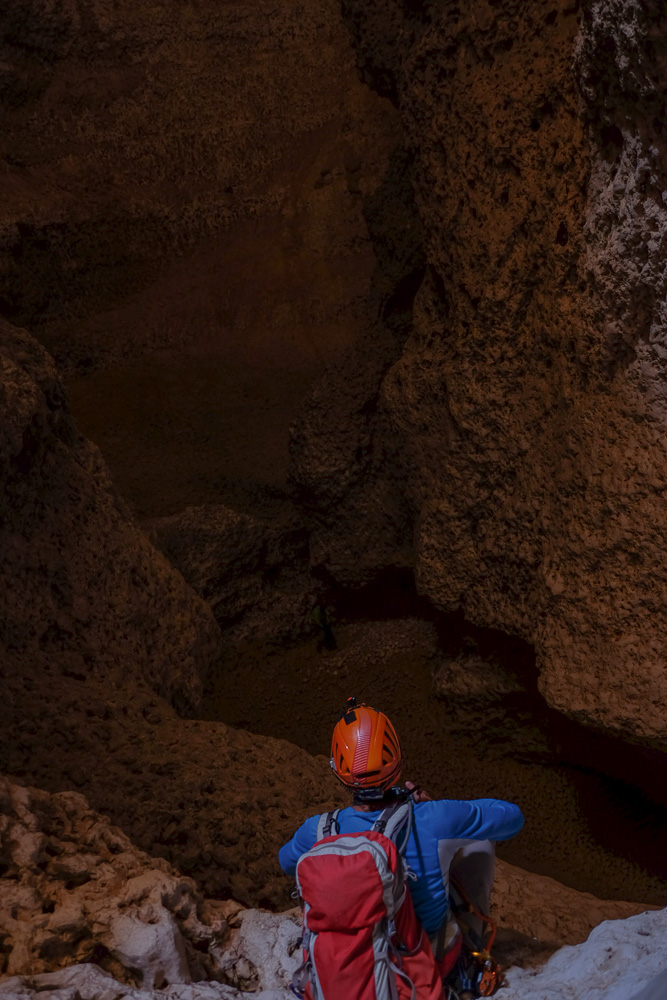
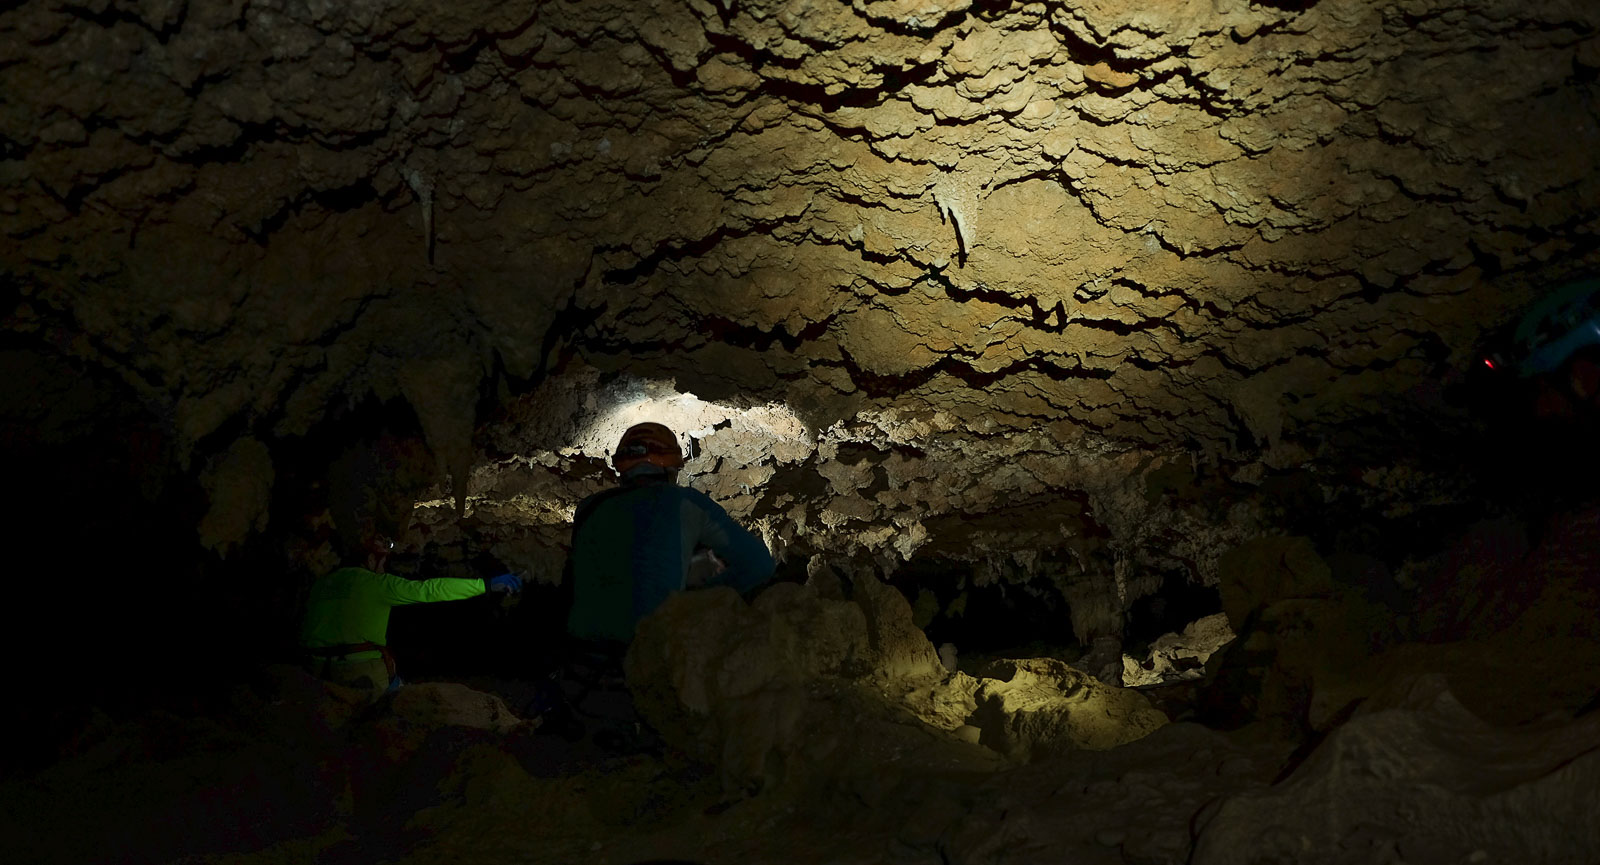
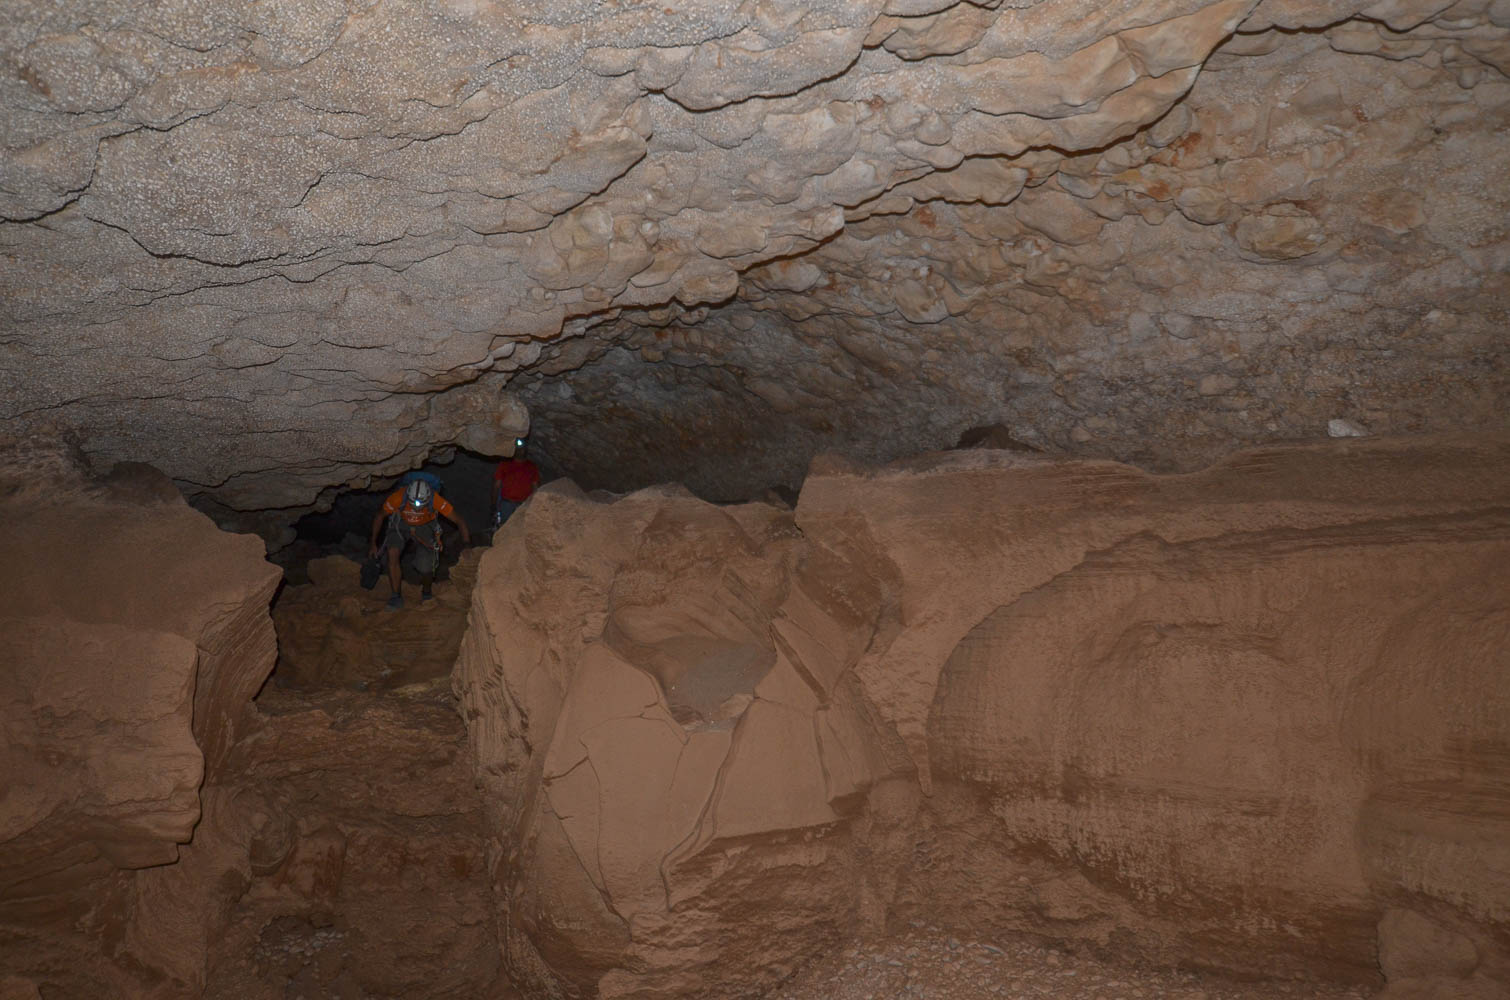
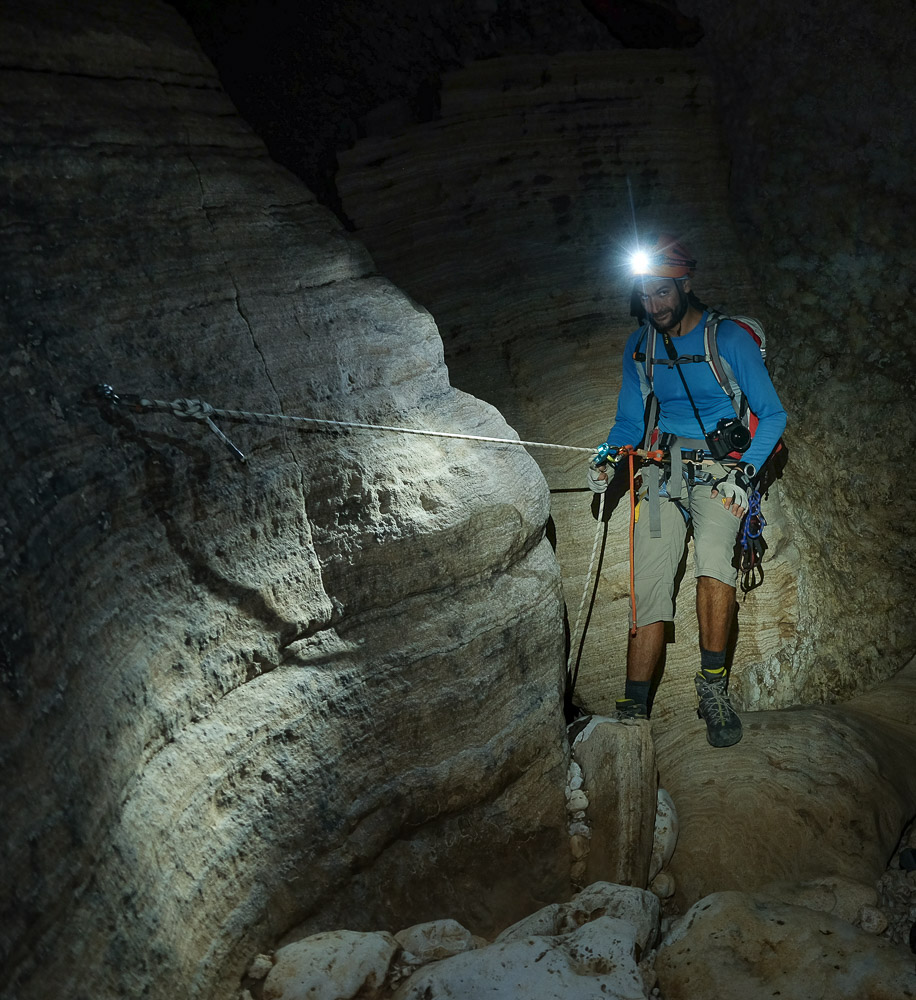
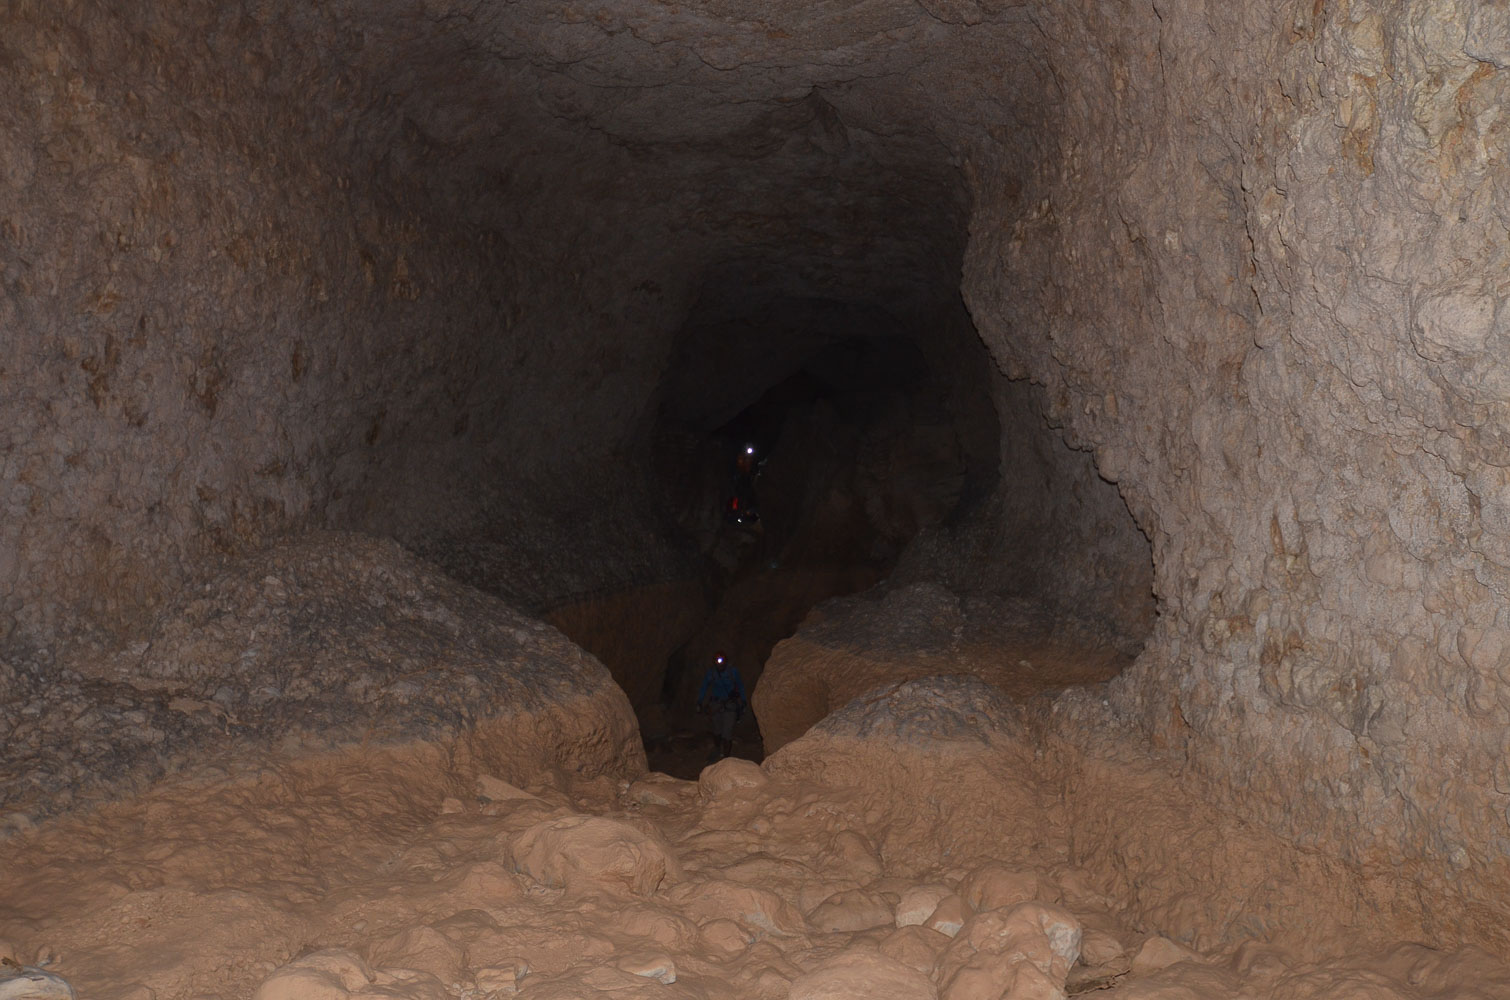
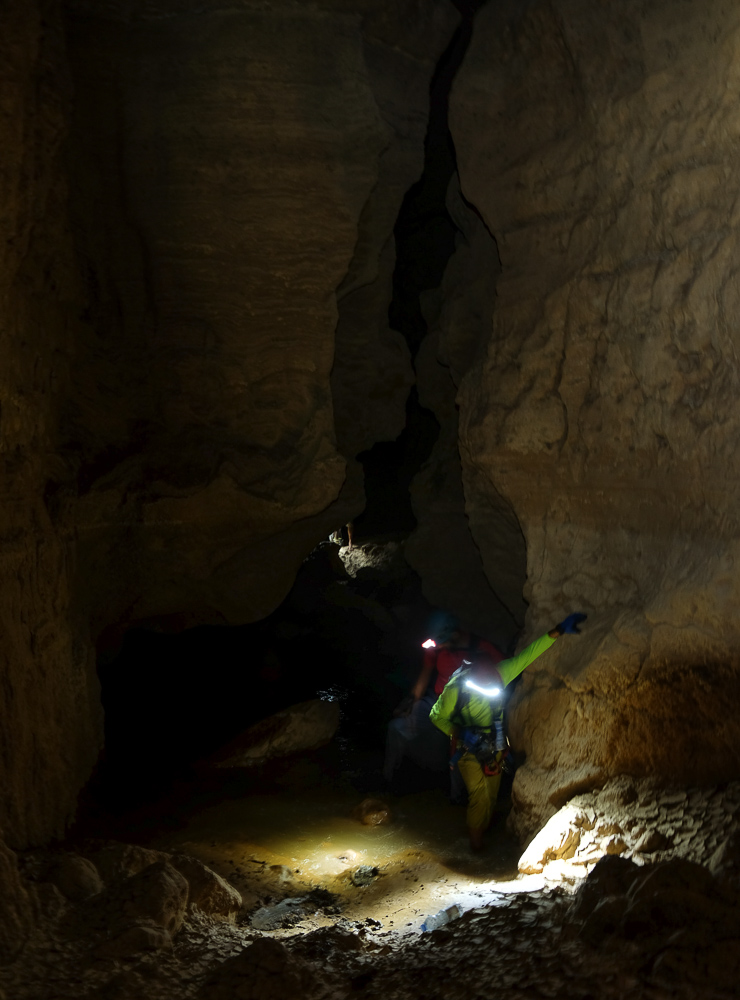
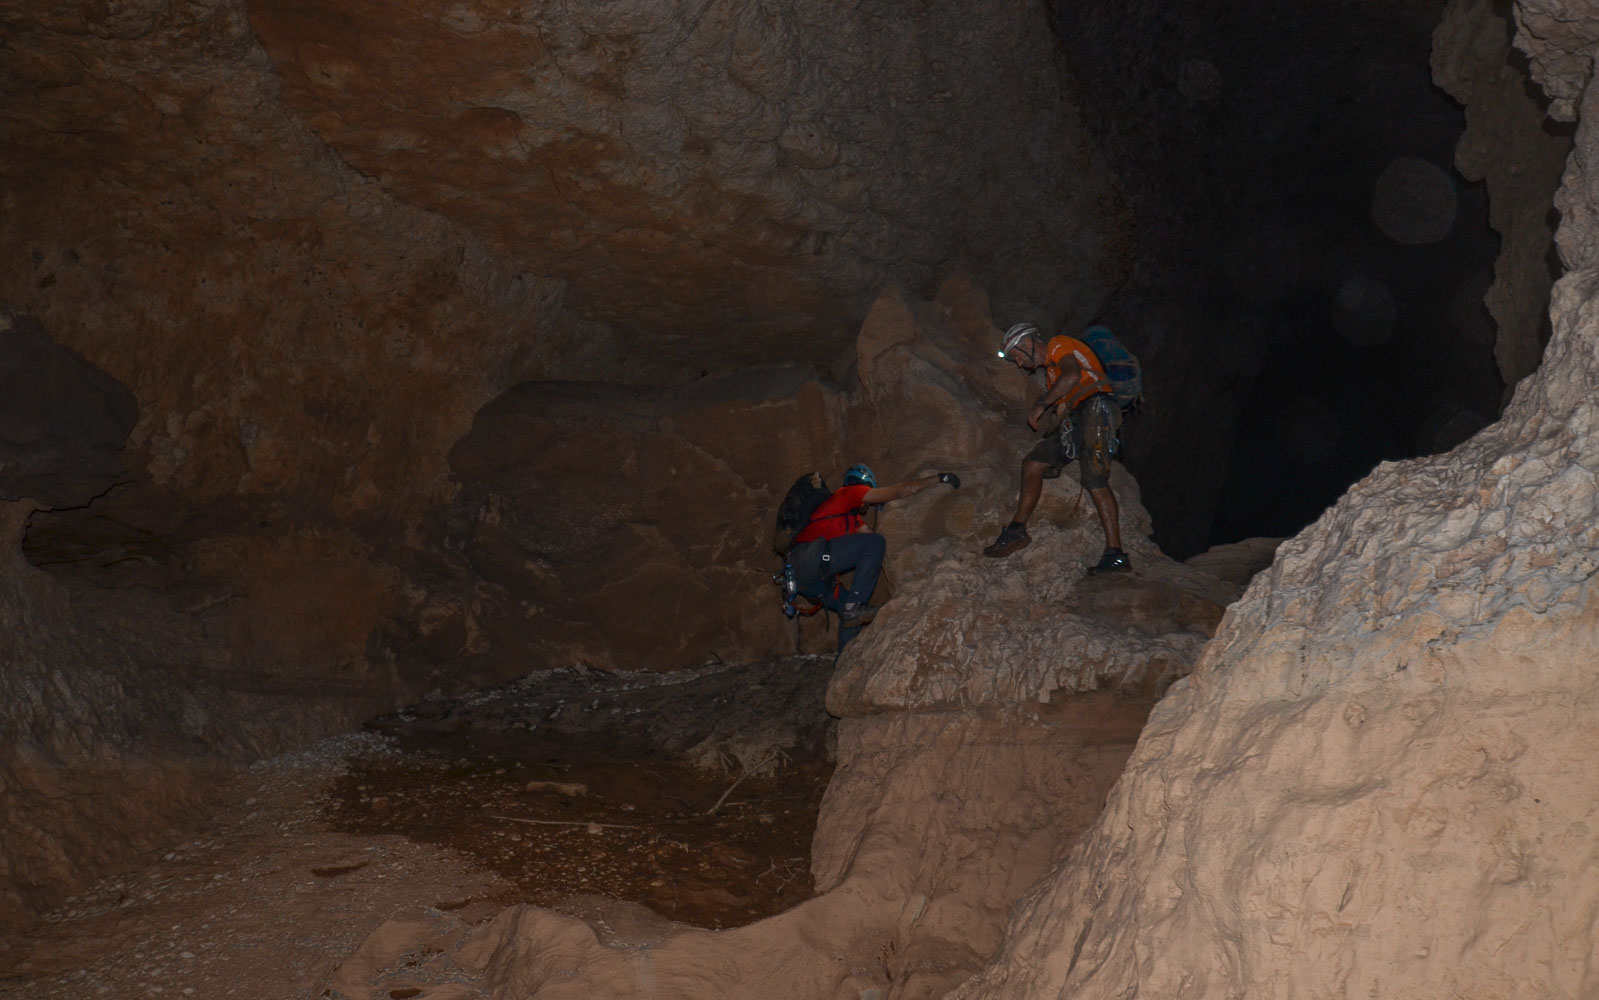
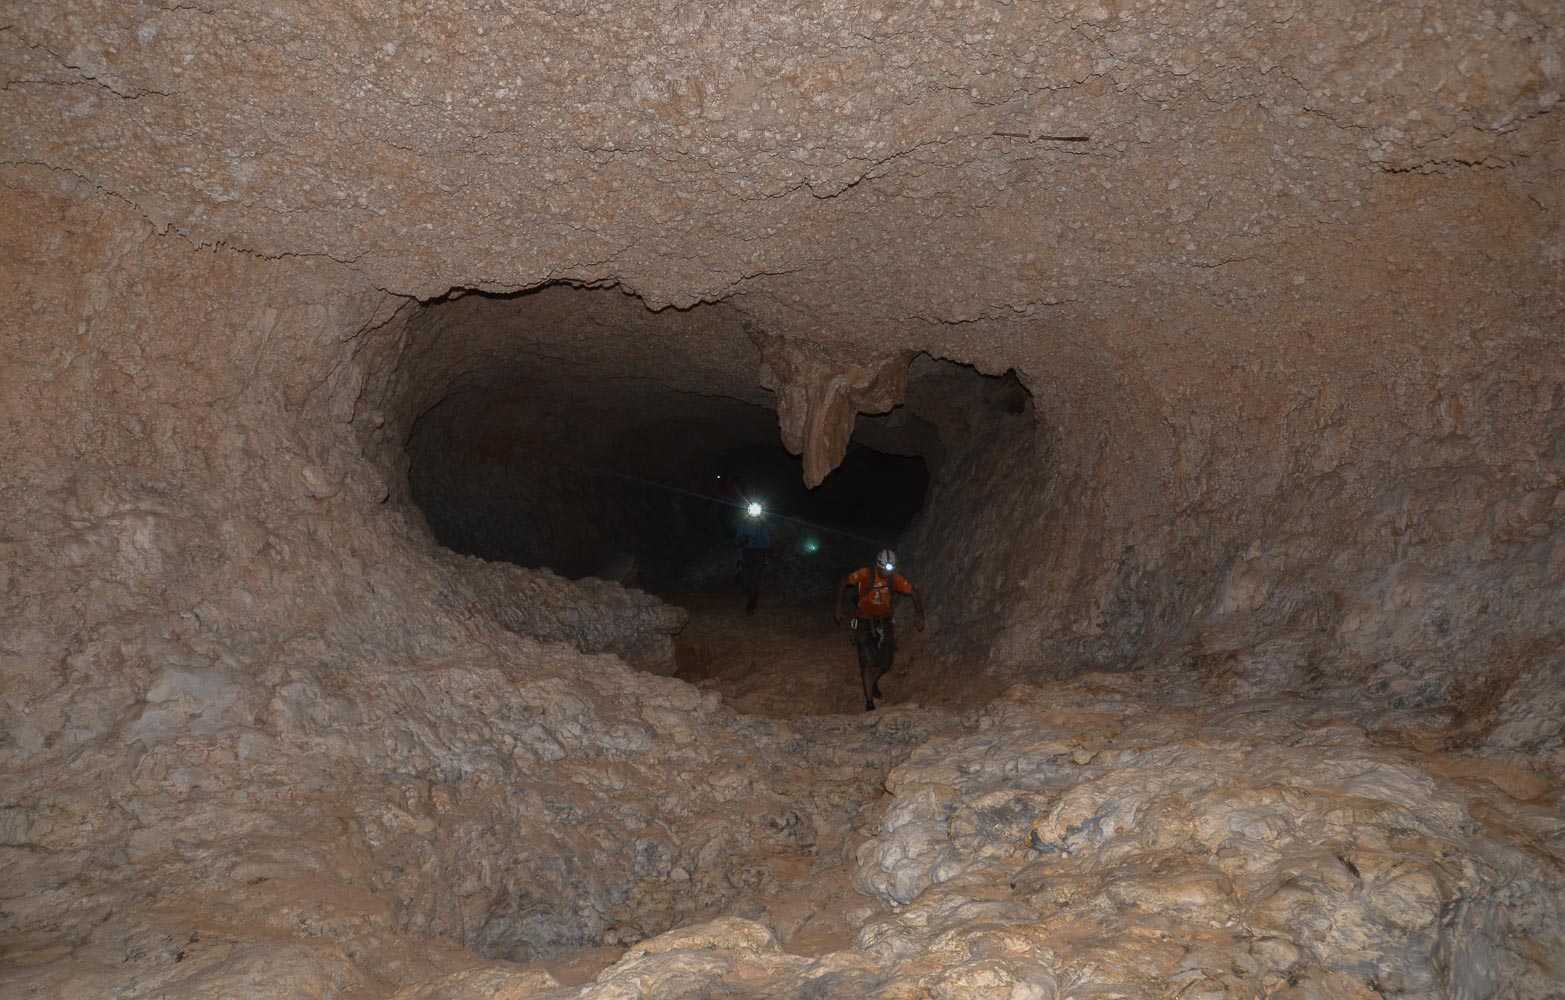
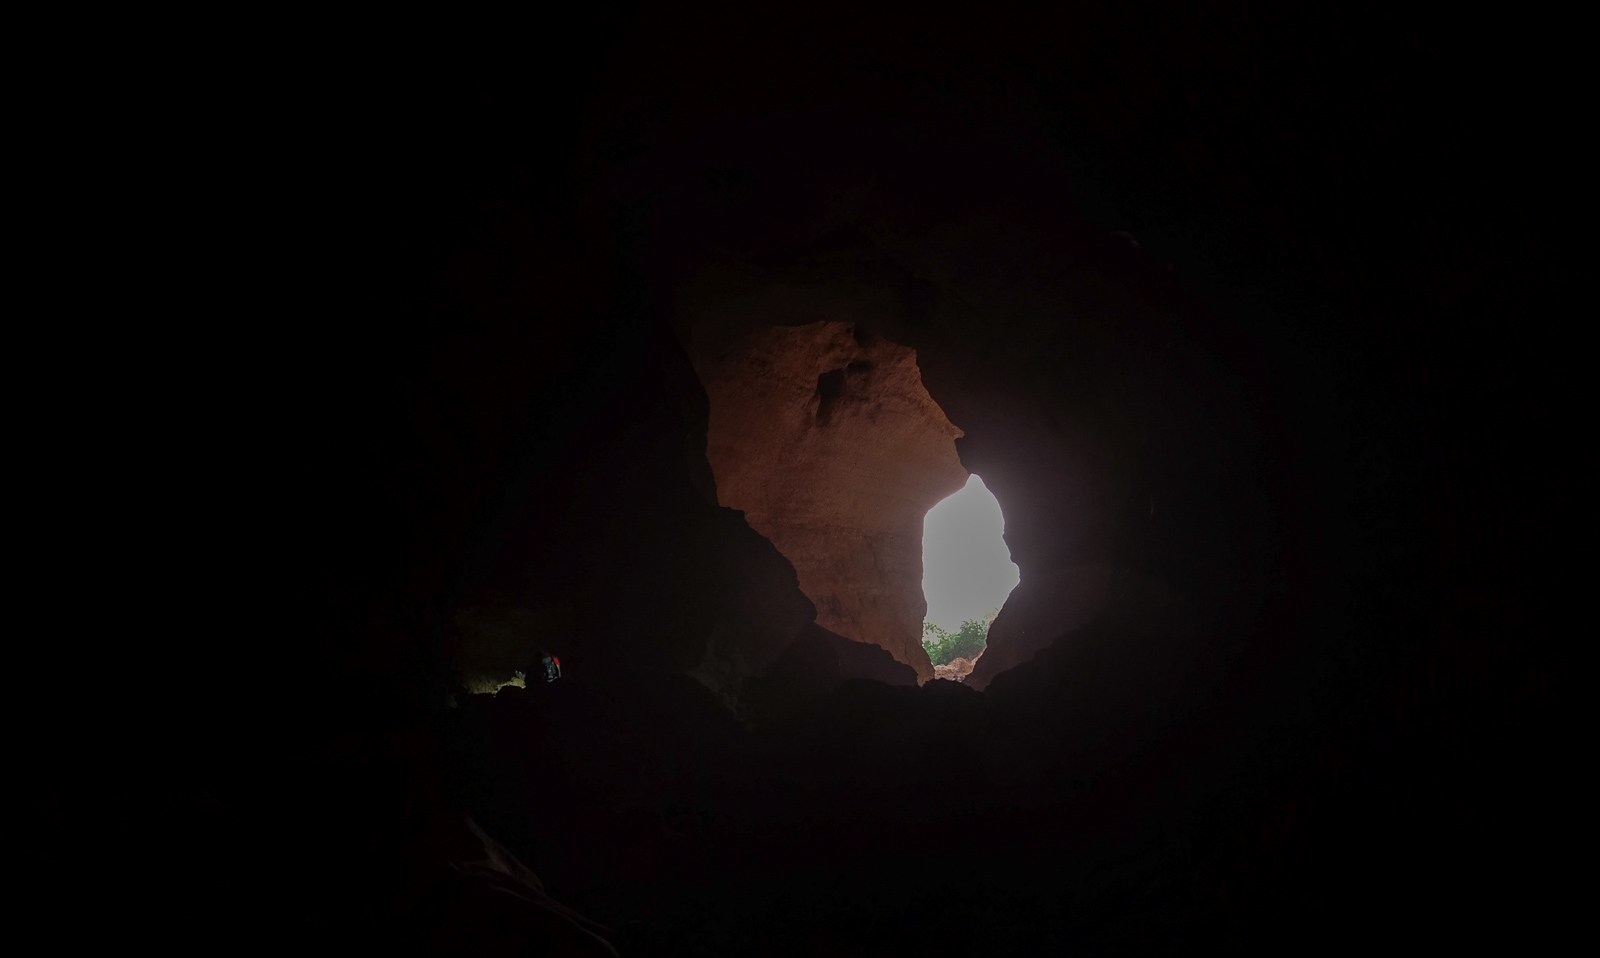
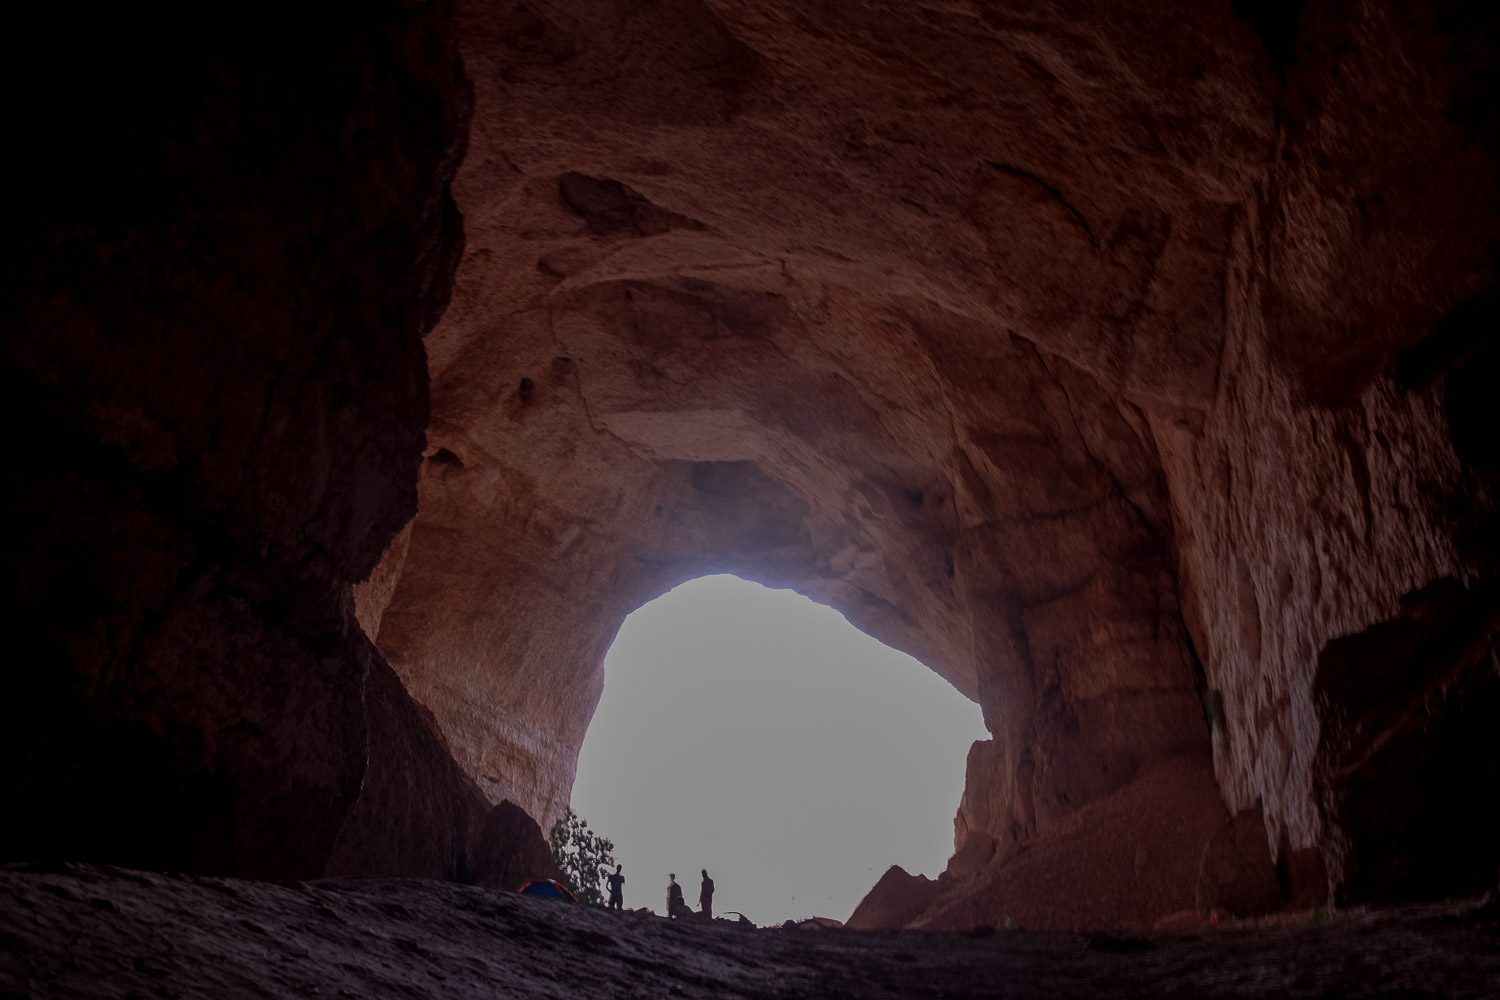
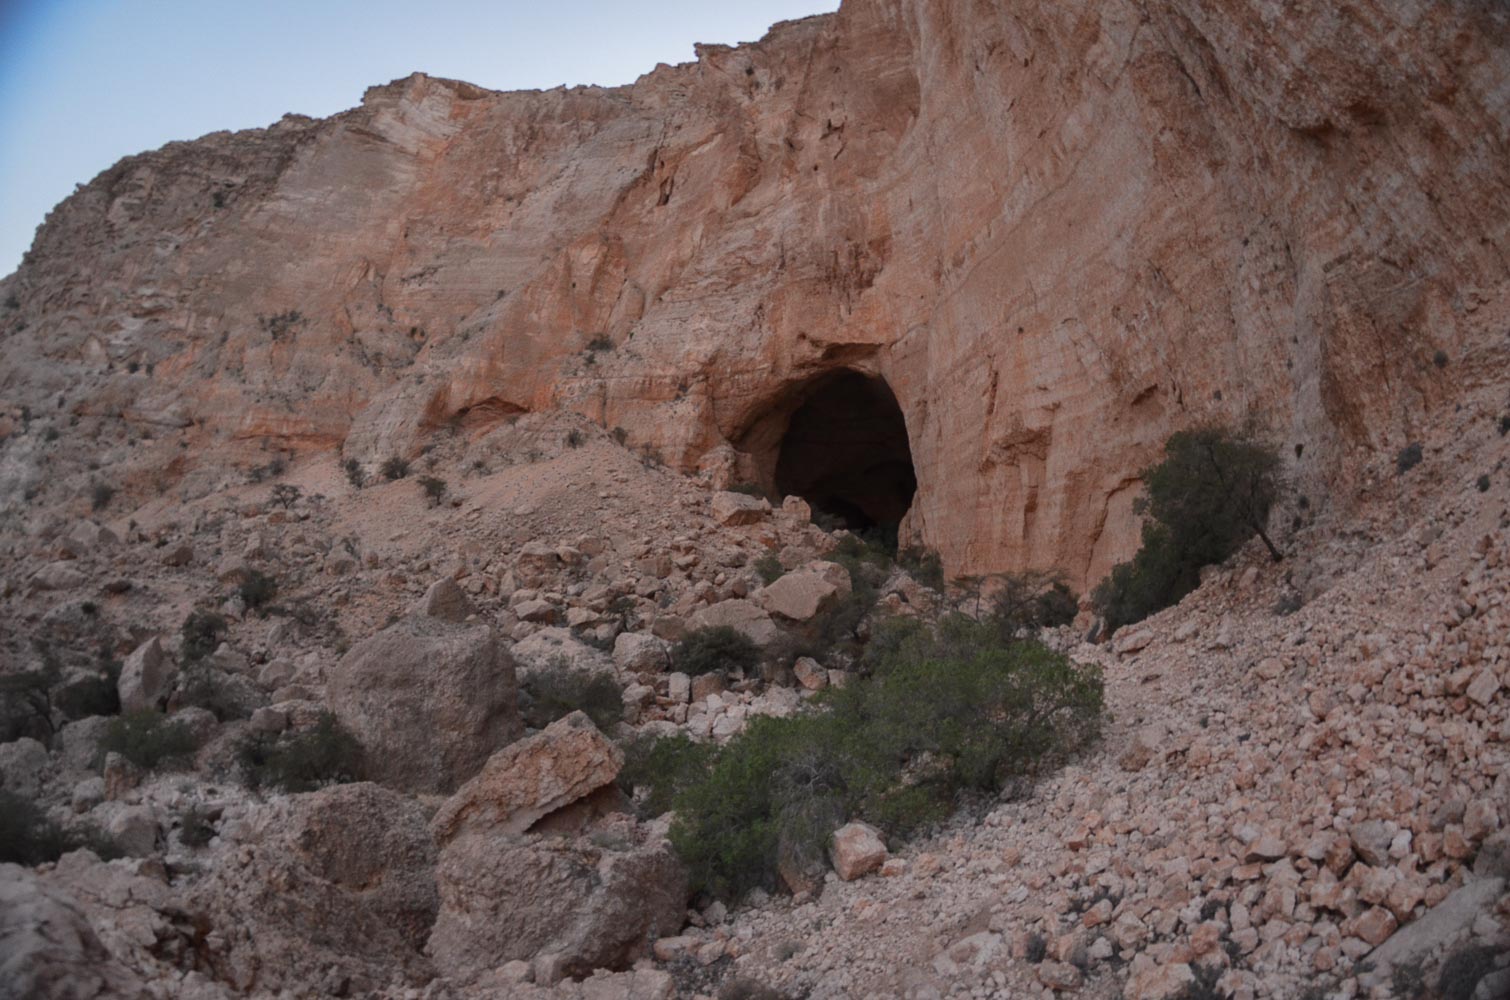
Selma Plateau, Eastern Hajar. The 7th Hole, one of the most spectacular entrances to the underground network that runs through the interior of the mountain. The first level takes us into the splendid, gigantic chasm and its first 120 metres, before we pass the second 150-metre level and end up in the dark. From here begins the incredible journey through a veritable underground canyon, over 300m from the surface. A short excursion down a perpendicular tunnel to Selma Forest, where stalactites and stalagmites gradually block our way, with less than 1m of ceiling. Then the immense galleries gradually give way to a narrower, more incised final corridor, with numerous obstacles to overcome - rope climbs, aerial crossings on handrails, abseils, short swimming pools - before finding the exit, Tahri Cave, an enormous 80m-high hole that lets in the light of the fading day. A challenging but unique experience.
❱❱ Technical summary
Type ✦ Caving canyon
Location ✦ Selma plateau, Fins
Region ✦ Hajar Oriental
Country ✦ Oman
Length ✦ 6kms ?
Vertical drop ✦ v5-a2-V ?
Difficulty ✦ TD
Max abseil ✦ 60m
Duration ✦ 9h à 10h
Interest ✦ ★★★
❱❱ Access to the place
From the coastal road linking Quryat to Sur, exit at Fins and climb to the right on the mountain side. Follow the track for a while, pass the entrance to Ta'ab and tackle the steep climb to the plateau. Before the summit, leave the 1st car at the end of the return trail. Continue on to reach the plateau and cross it. Pass Majilis El Jinn and continue on before turning left onto a track and reaching the edge of the 7th Hole (GPS points on the Google map indispensable).
❱❱ Map & topo
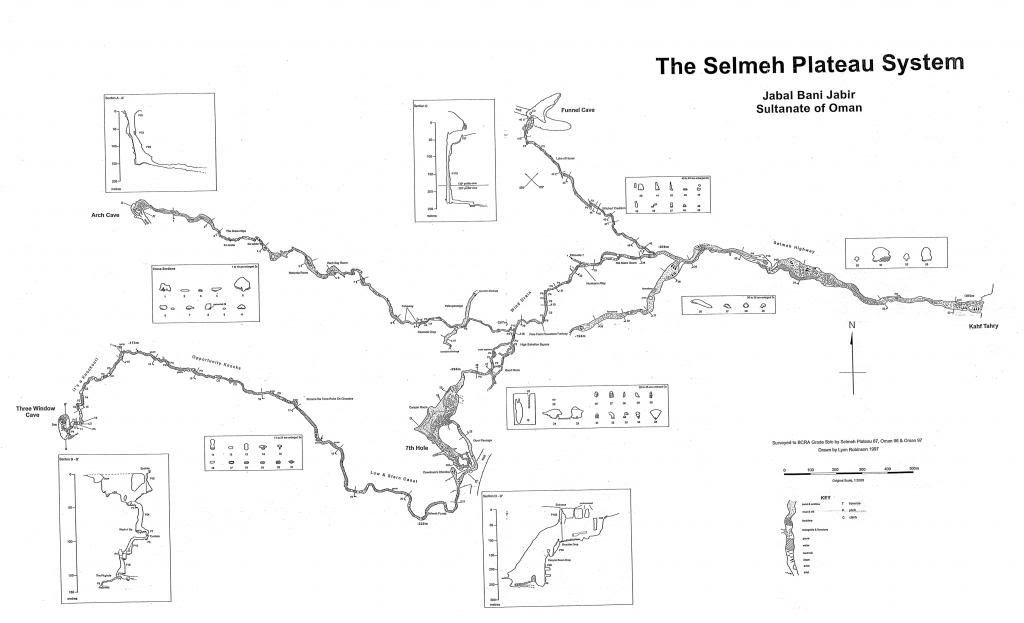
❱❱ Itinéraire
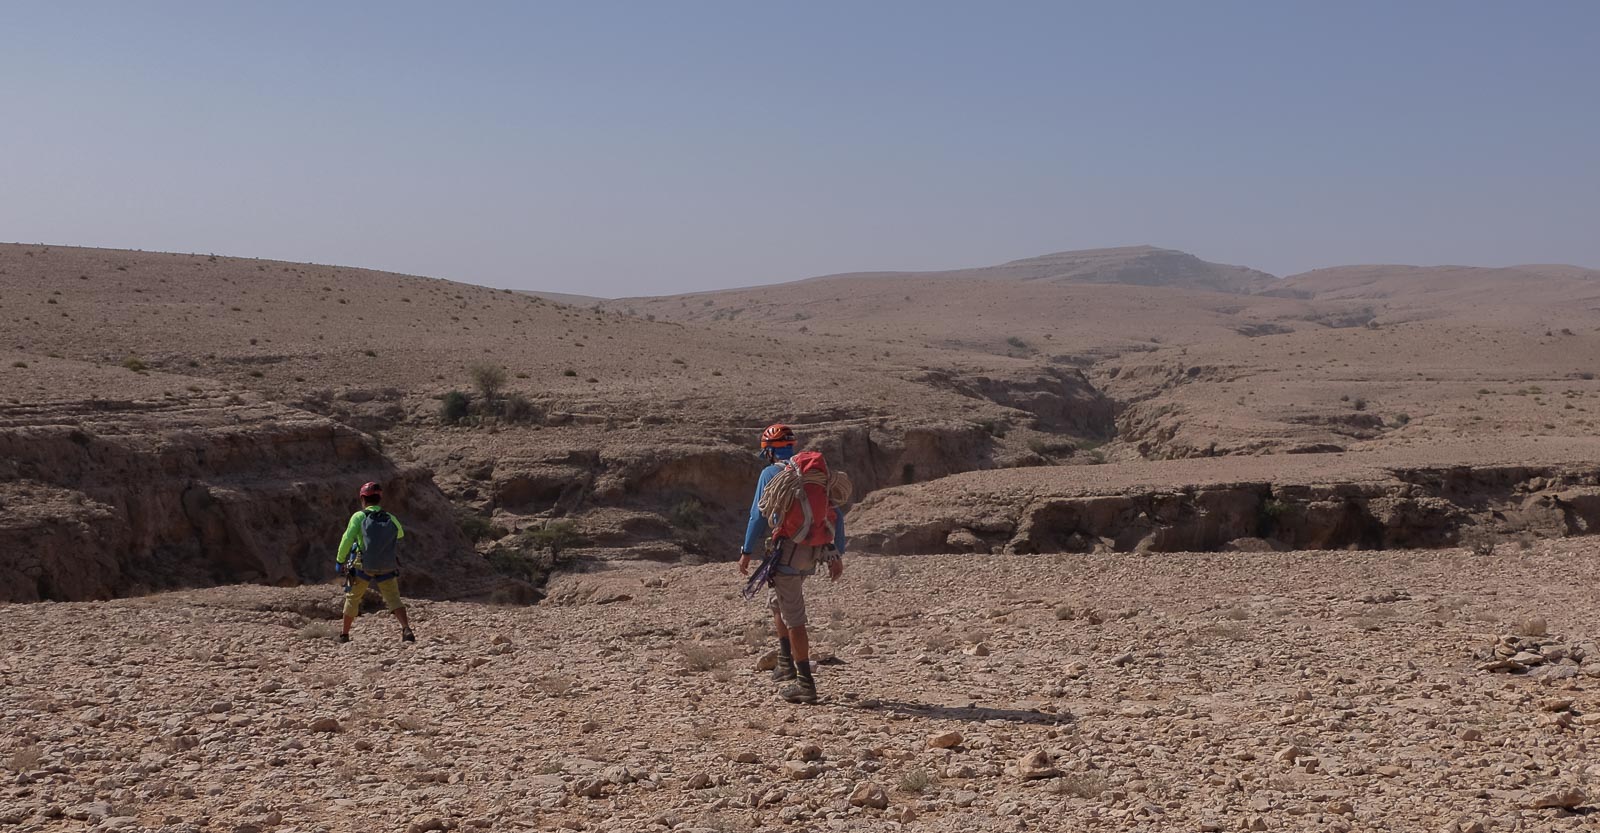
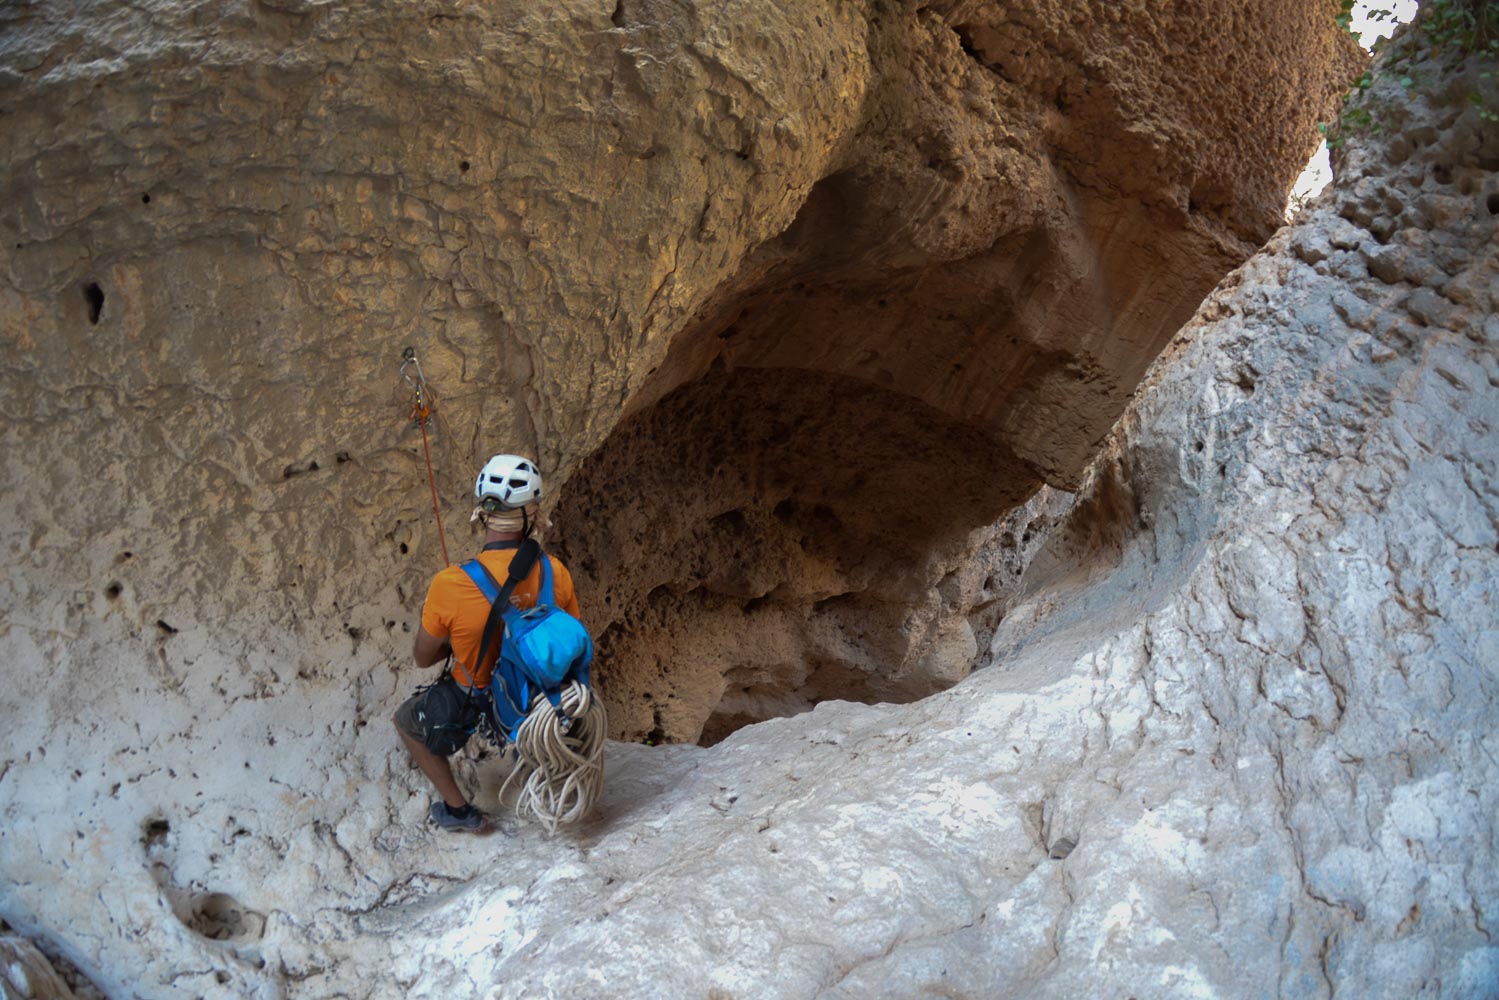
The descent can of course be made directly from the 7th Hole, but requires 120m of rope and special abseiling equipment. We accessed it via an entrance a little further south, in a nearby wadi. Walk towards the small gorges visible from the plateau. Find a small gully and then easily climb out to reach the bottom of the wadi. Follow the path to the right and quickly descend to reach the 1st abseil, in a small kettle. This is the 1st abseil.
Technically, 3 ropes of 60m are enough to descend to the bottom of the chasm. We used 2 fixed ropes of 40 and 50m for the first 2 abseils, then a 200m fixed rope for the next 2 abseils of 50 and 100m (with the inconvenience of having to return the next day to retrieve the ropes and climb back to the surface).
For the rest of the trip, bring at least 1 Jumar handle (+ 1 Basic is better for making pedals on some of the overhanging ascents) and, for those who are a bit chilly, a wetsuit for the possible water sections in the gallery's narrow passages (we passed 5 where swimming was compulsory). All abseils and rope ascents are equipped with fixed ropes in average condition. It goes without saying that a headlamp is vital, so bring enough to last 8 hours in the dark!
Leave the cellar, passing through and under the large boulders, to reach a more or less marked mule track on the left. Climb up the side of the path and begin to cross it. You pass a number of wadis, returning inland at times, before setting off again on large outside switchbacks. The lights of Fins can be seen at the very bottom, along the coast. After about 1 hour, don't miss a fork in the road to the left at a tree to head back up towards the parking lot (highly visible yellow and red markings). It climbs steeper before crossing again and then attacking the final steep slope towards the track where the car is located.


Leave a Reply