


TOPO Climbing | CLIMBING7.COM
Publié le
 Partager sur WhatsApp
 Partager sur Twitter
Partager sur Instagram
Partager sur Twitter
Partager sur Instagram

 Partager sur Facebook
 Imprimer le topo
 Laisser un commentaire

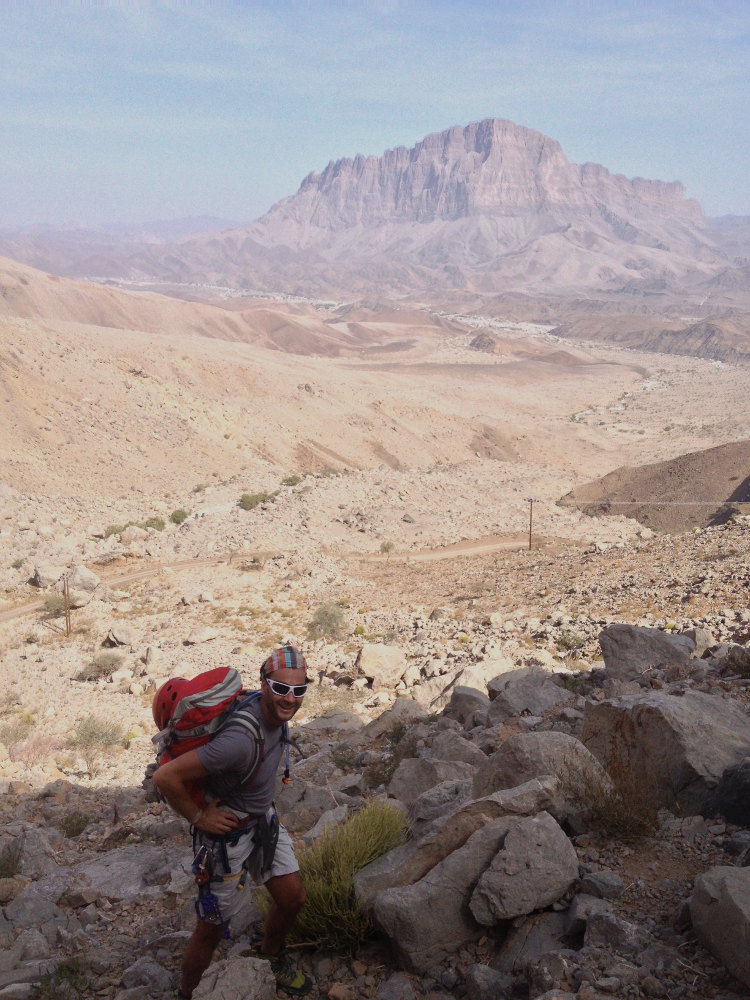
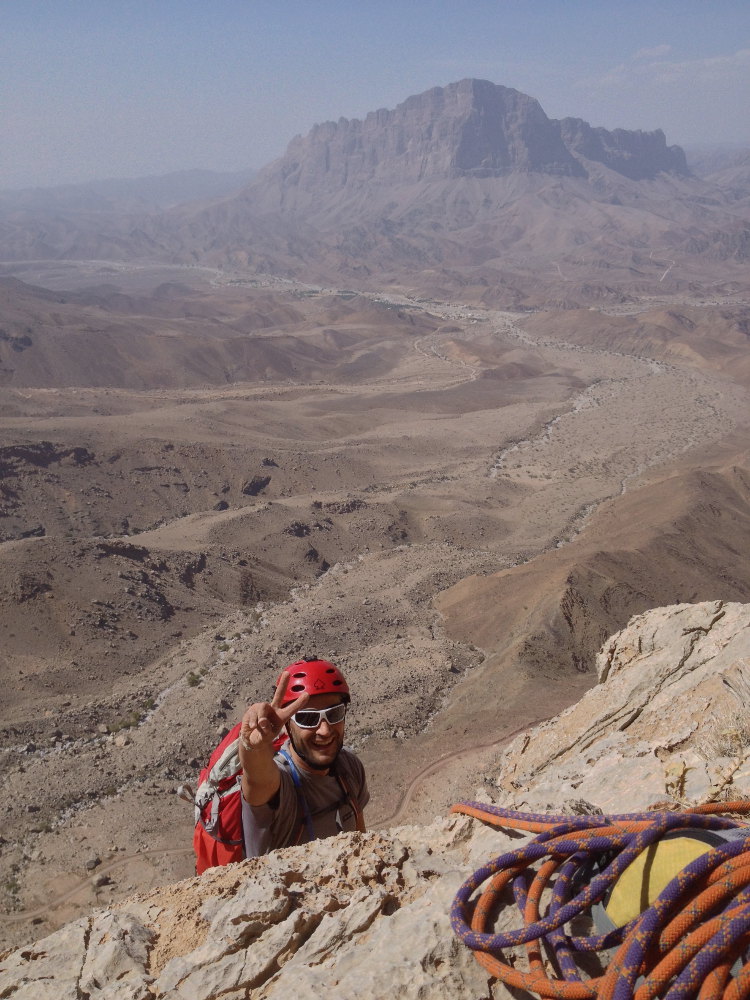
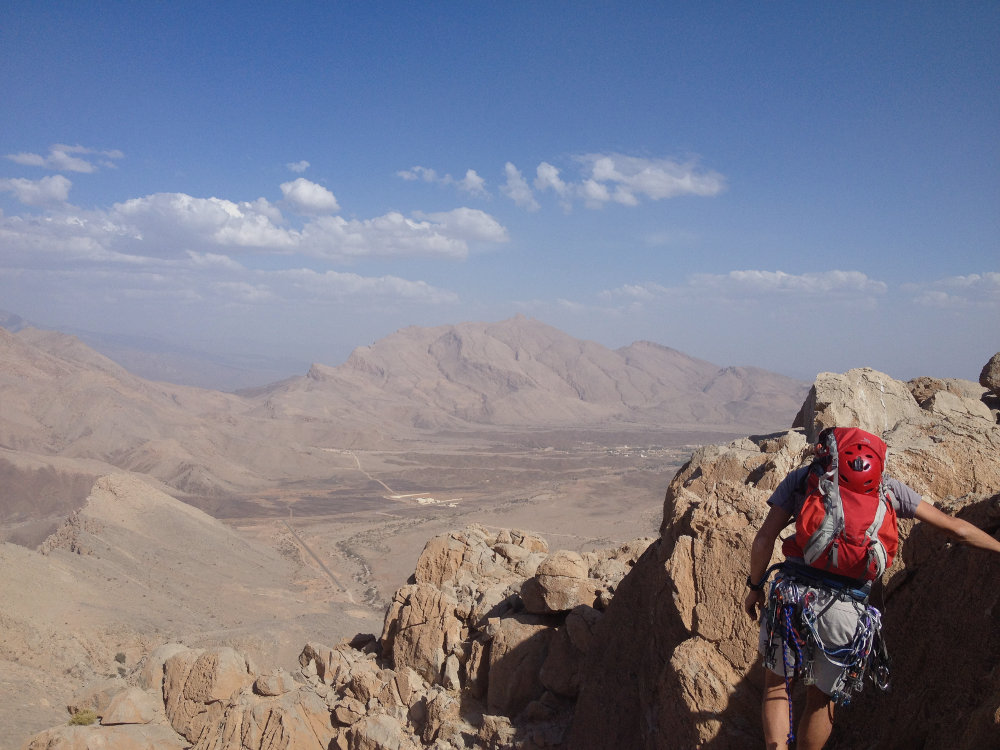
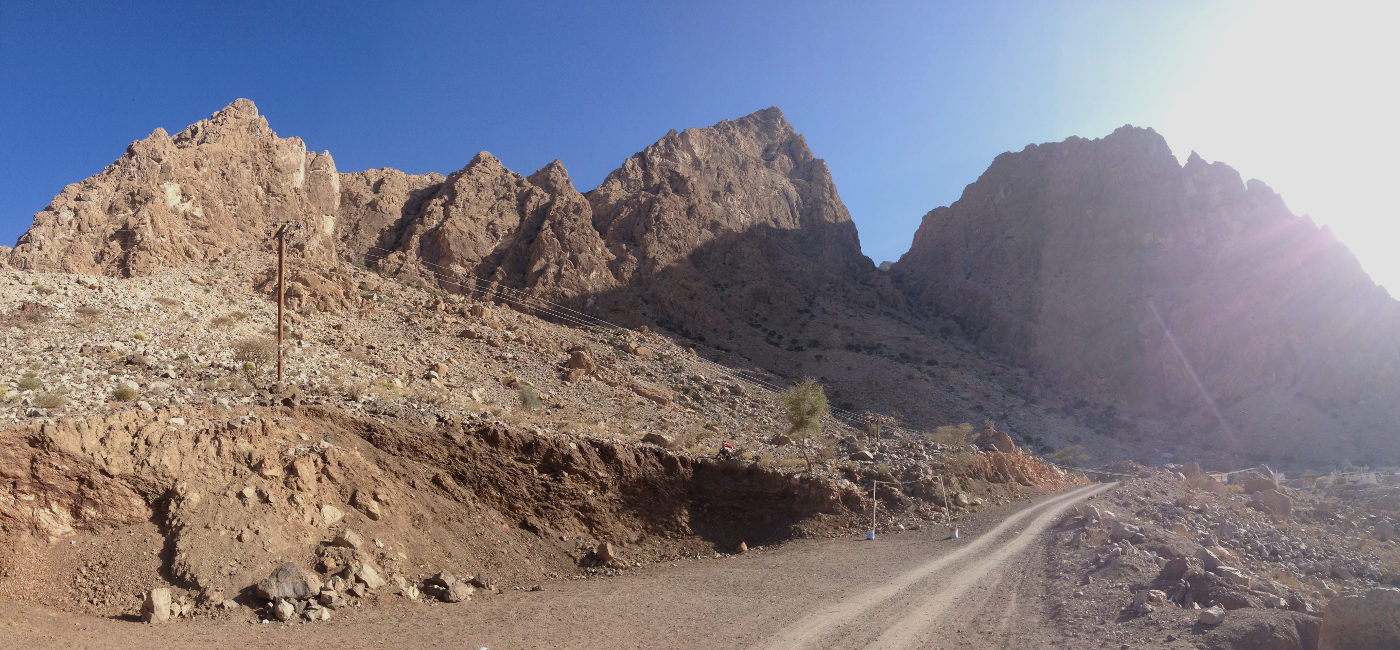
To the left of the north face of Jebel Kawr lies a large rocky spine, Jebel Qashait, and next to it a more imposing peak, Jebel Assala, which continues eastwards on a long wall with multiple smaller peaks, Karnräbäb. The Luadabuam Pillar route climbs up the center of the easternmost peak (to the left of the wall). It seems that today "s route doesn "t correspond exactly to the topo in Hoberhauser "s guidebook, especially on pitches L4 and L5, which we opened further to the left. No matter, the route, with its exceptional panorama of Misht, is beautiful. The first 2 pitches are the most interesting (especially L1), although on L2, it's difficult to protect and there are some small boulders that move and just want to go, so be careful. The rest is pleasant and easier, with an aerial finish and a view of the whole area from the top that's well worth the detour.
❱❱ Technical summary
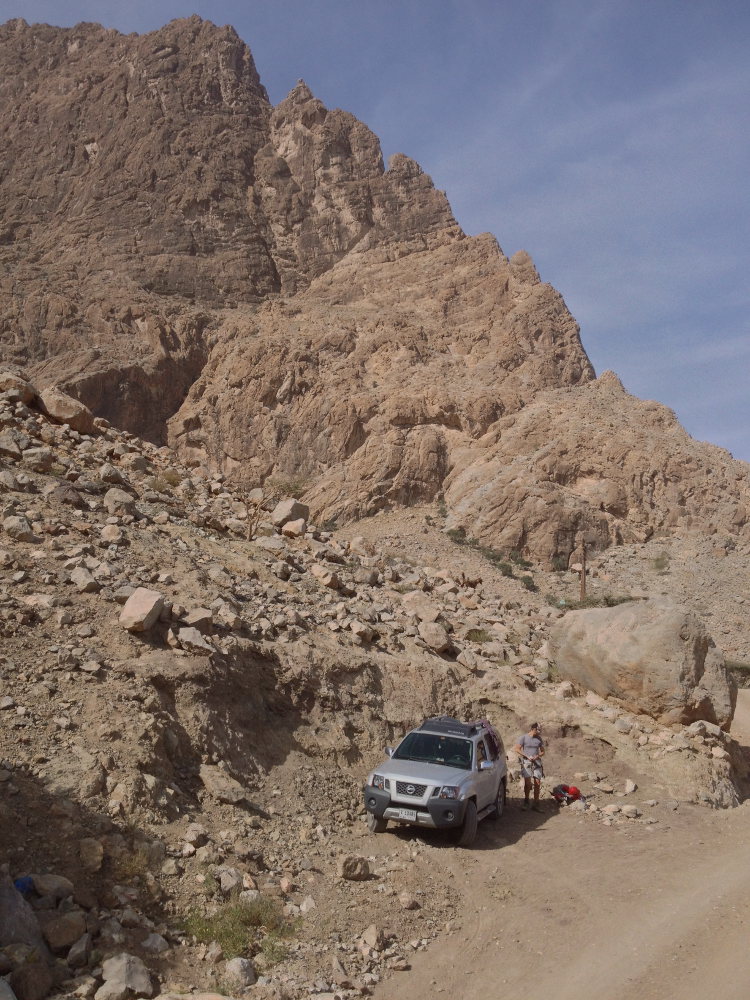
❱❱ Access to the place
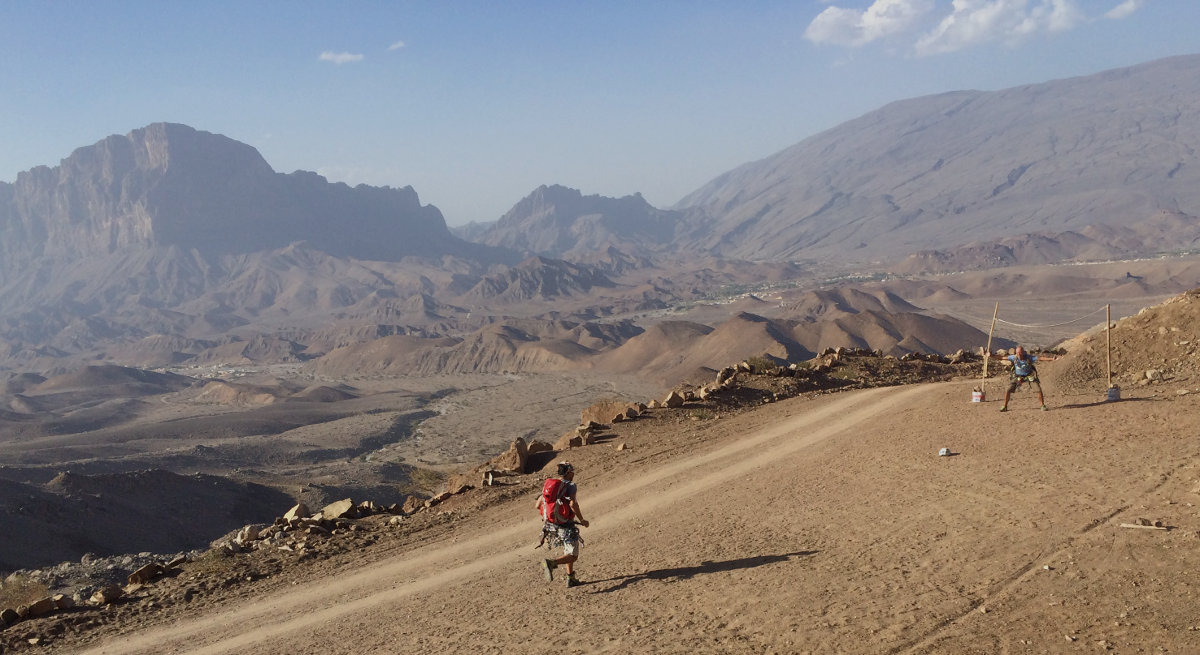
From the road from Ibri to Nizwa, turn left into the Misht valley at Kubarah. Pass under Misht, the village of Al Ayn and at the small roundabout at the end, turn right towards Sint and Sant. Before starting the long, winding climb to the plateau, a track towards Hail Habesh leads to the hamlet at the foot of Jebel Assala. Park shortly before entering the village.
❱❱ Map & topo

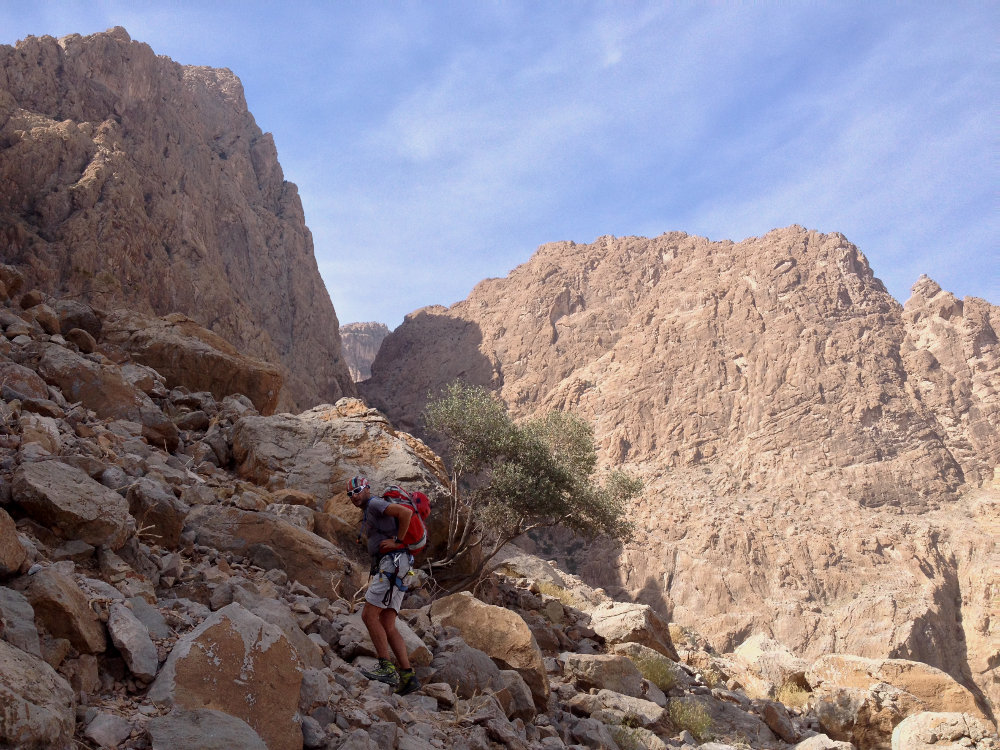
❱❱ Itinéraire
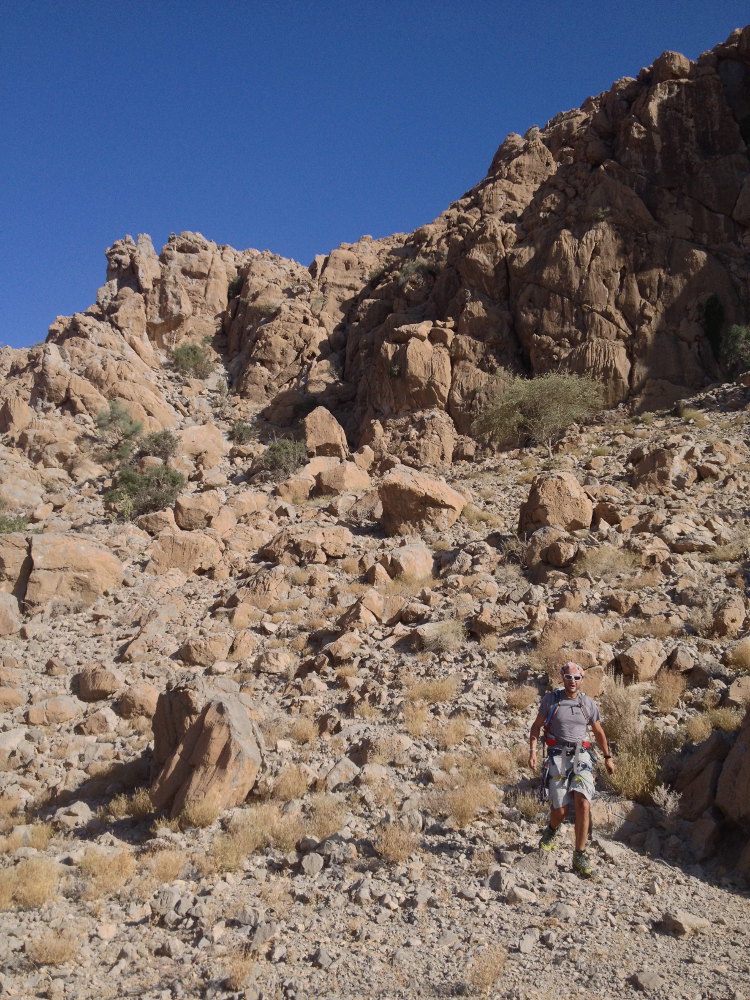
Go back a little and climb the pebble slope that leads to the foot of the rock. The start of the route at a dihedral is fairly easy to find. A cairn at the start.
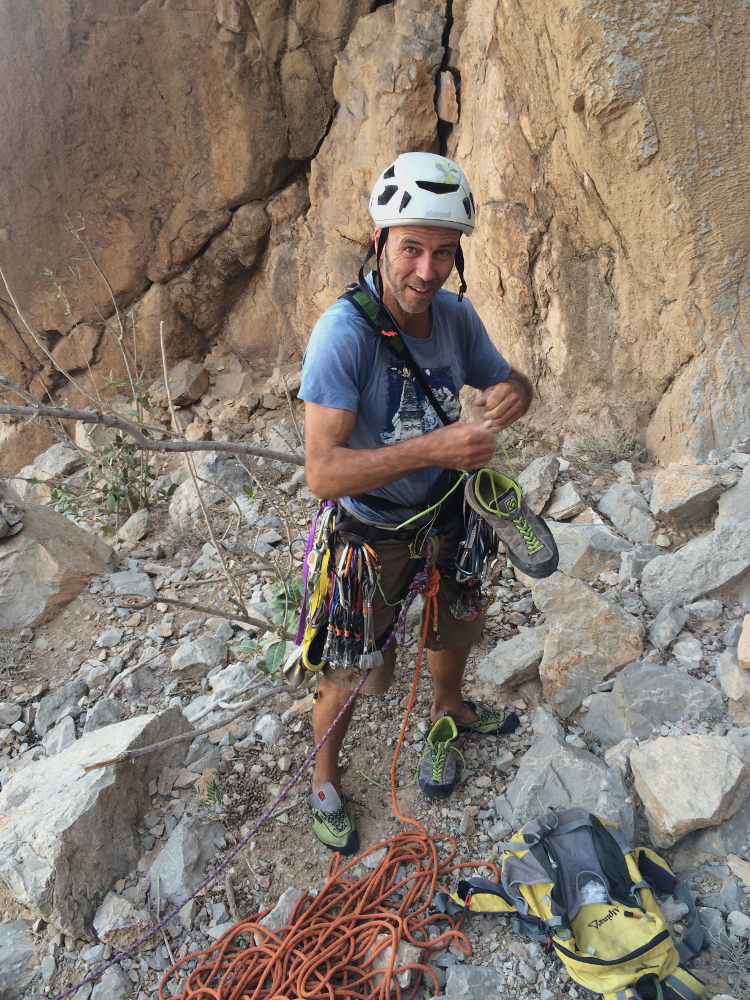
The route is northwest-facing, sunny in mid-afternoon, and about 250m long in 6 pitches (30m, 50m, 30m, 55m, 45m, 40m). Only the 1st belay is equipped (2 pitons + lunula). No equipment after that, but a full set of friends, doubling the medium sizes, and a set of jammers. The maximum level is V+/6a on the first 2 pitches. Be careful on L2, difficult protection and poorer rock.
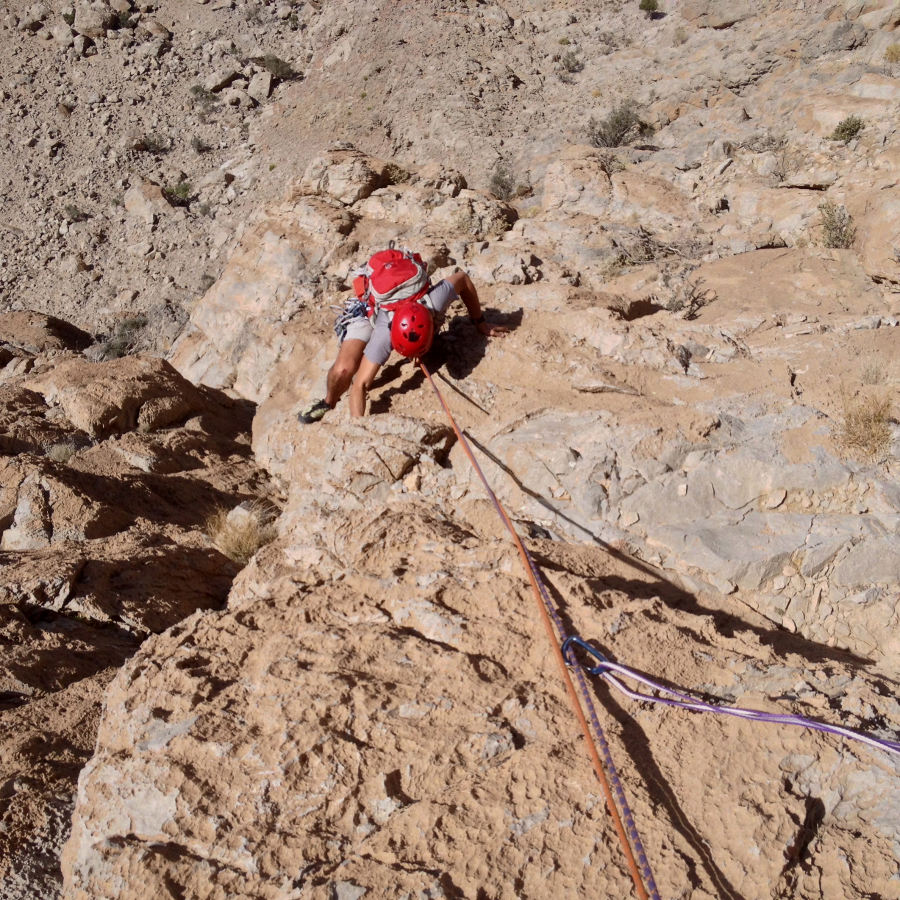
L1 (30m, V+)
10m of dihedral at the start, then cross to the flat and attack the vertical wall, aiming more to the left. Finish on a diagonal crack to the left of the shrub. Just above, the equipped belay 1.
L2 (50m, V+)
Climb straight up, pass a lunula (double it...), continue straight on a thin crack before turning left under a bulge. Then climb up a vertical on a difficult passage to protect and suspect rock! Finish on a flat area with a hole to the left of the belay.
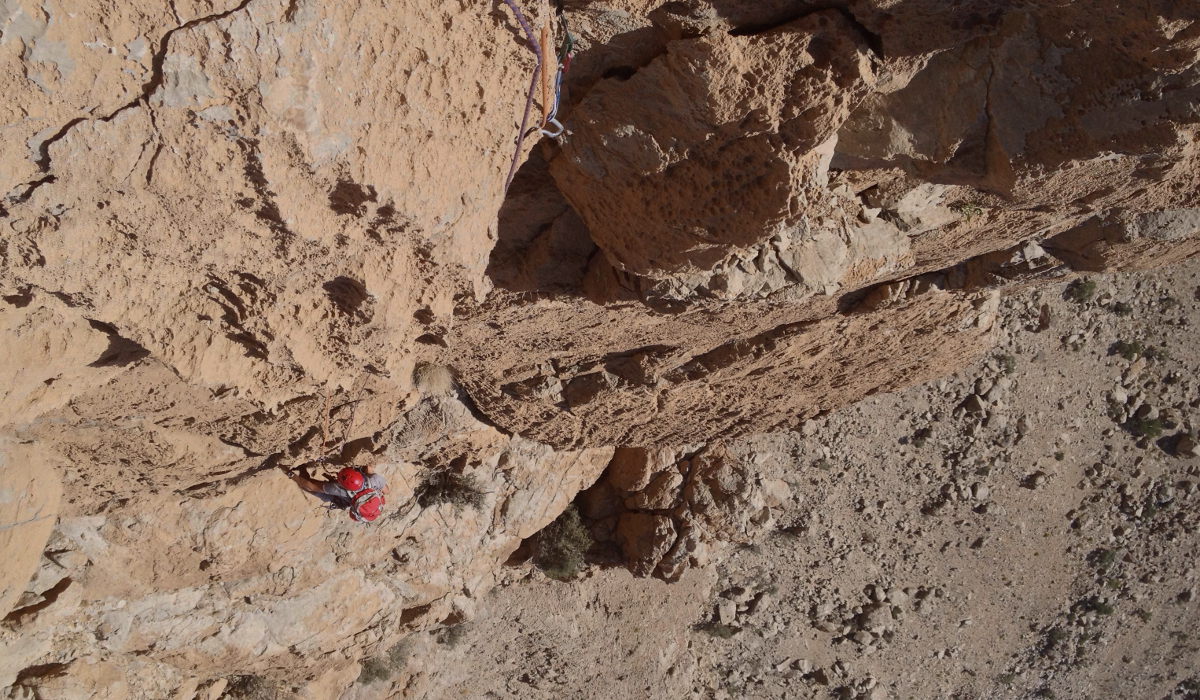
L3 (30m, V)
Climb dorit and turn right under a white overhang, then climb the dihedral before exiting under a large arch and a nice flat. Climb the belay at the left angle.
L4 (55m, V)
Climb above and to the left on very easy terrain a series of juts and mini dihedrals to pass to the left of a large white wall (normal route more to the right of the white wall).
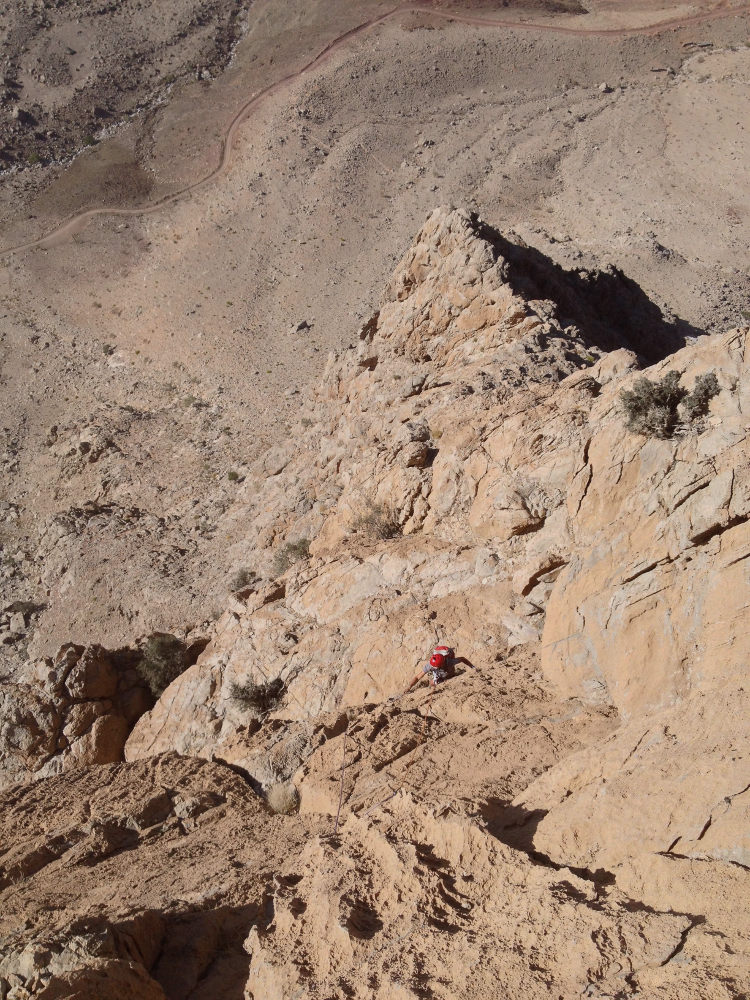
L5 (45m, V)
Climb easily to reach a tree, then pass a small summit. Climb opposite on the slab to set up the belay at the foot of the large final wall.
L6 (40m, IV+)
Aerial length, more impressive than difficult. Rejoin the large white vault and a little before climb the picot slab (mini vire). Then climb straight up to the summit, a difficult climb to protect, but really easy, and finish on a small final dihedral.
Cross over to the opposite side and descend the stony slope, aiming for the saddle-shaped flat, but keeping to the left. Catch the main stream as it descends, and after a few climbs, you'll find the ground and a marked path back to the village.


Leave a Reply