

TOPO Via ferrata | CLIMBING7.COM
Publié le

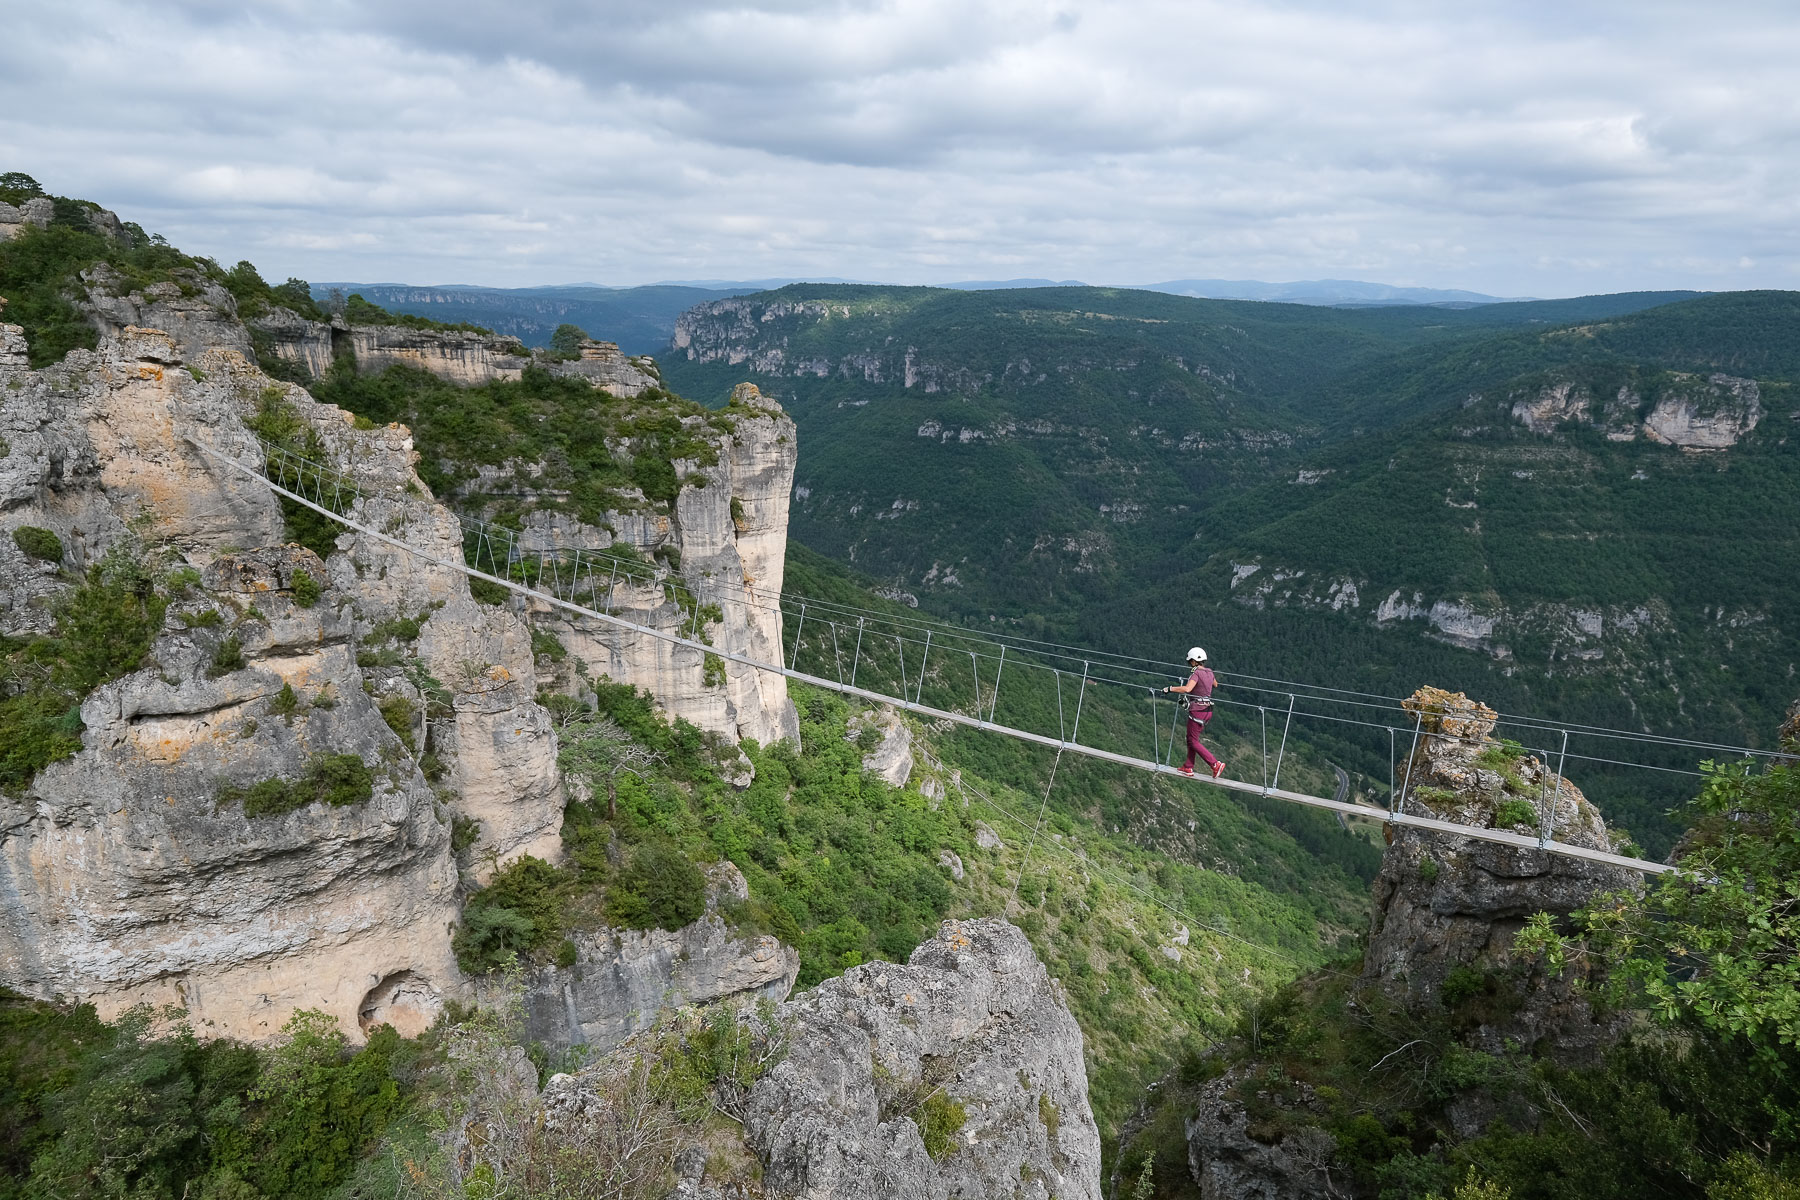
Traced on the cliffs overlooking the Dourbie valley, the Boffi ferrata offers aerial courses overlooking the Dourbie valley, with the town of Millau and the huge viaduct elegantly spanning the Tarn valley in the background. There are 2 possible routes: a short, less-difficult one and a very-difficult parallel one a little lower down, both ending with an optional sequence of 2 spectacular zip lines. The TD we tested consisted of a traverse above the void, with a number of slightly overhanging sections, and in the middle of the course an impressive metal net to climb suspended in the void, also optional. The equipment in place is perfect, and with shortcuts and junctions between the 2 courses, you can enjoy the experience in complete safety. Not to mention the presence of dozens of impressive griffon vultures, circling and circling alongside us, our partners for the day.
❱❱ Technical summary
Please note: access to the via ferrata is forbidden between March 15 and June 15 due to the nesting of birds of prey.
The data below corresponds to the difficult route.
■ Departure point: Montpellier-le-Vieux, Millau, Aveyron (12)
■ Course type: via ferrata with optional zip lines
■ Orientation: west and south
■ Length: 800 m
■ Vertical rise: +80 m
■ Estimated total time: 2h to 2h30
■ Min and max altitude: 750 m / 840 m
■ Equipment in place: rungs, pedals, an optional large net, 1 beam, short overhanging sections, 2 large final zip lines, one of which can be avoided by a large footbridge.
■ Equipment to be provided: classic equipment, double pulley.
Difficulties: yellow course PD or K3, red course D+ or K4+.
❱❱ Access to the place
From Millau, head for Montpellier-le-Vieux on the D110, which winds its way up to the Causse Noir plateau. 5km before Montpellier-le-Vieux, take a track on the right, with a sign indicating the ferrata and climbing areas. 5 minutes to the end, park before the forest fence.
❱❱ Map & topo
The route of the via ferrata and the return are indicative.

❱❱ Itinéraire
Continue on the main track, which descends, climbs, descends again and then turns off at a sign indicating the ferrata. It ends on a small path that joins the edge of the cliffs where the 2 routes start.
Here is a description of route D in red on the guidebook.
From the end of the 1st zip line or the second, a path leads back to the main approach trail in just a few minutes. Return via the approach path.
Leave a Reply